How to Make A Wall Mount for Heavy Items
VIDEO
In this project, I build a wooden mount for a huge propeller that my sister and her husband wanted to hang on their wall as decor. Take a look at the video:
BACKGROUND
Last summer, my sister wanted a wood plank wall for her foyer. I helped her install that, and she has been very pleased with it. Her husband is a pilot and has been for many years. He has flown many different planes, and happened to acquire this propeller from an old Cessna. It had the original bolts with it too, so they wanted to know if there was a way to mount it to the wall. We talked about it, and came up with a design. Now, all I had to do is build it.
TOOLS & MATERIALS
Jointer - http://amzn.to/2BLeCPJ
Planer - http://amzn.to/2DKBMTI
Table saw - http://amzn.to/2D8c4Hy
Drill press - http://amzn.to/2zpHO8B
Cordless Drill - http://amzn.to/2C0JDfa
Forstner bits - http://amzn.to/2D9GBor
Miter Saw - http://amzn.to/2EXgXnI
Drum Sander - http://amzn.to/2E2dUh3
Lacquer - http://amzn.to/2Da7wk2
STEPS
This propeller was quite heavy, and we wanted it to hang at an angle. Those were just a few of the challenges of this project.
I started out with a piece of eight quarter (2") soft maple, and as you can see from the photo below, there is quite a cup in this board.
I started out at the planer, just trying to take a little of that arch out of the board.
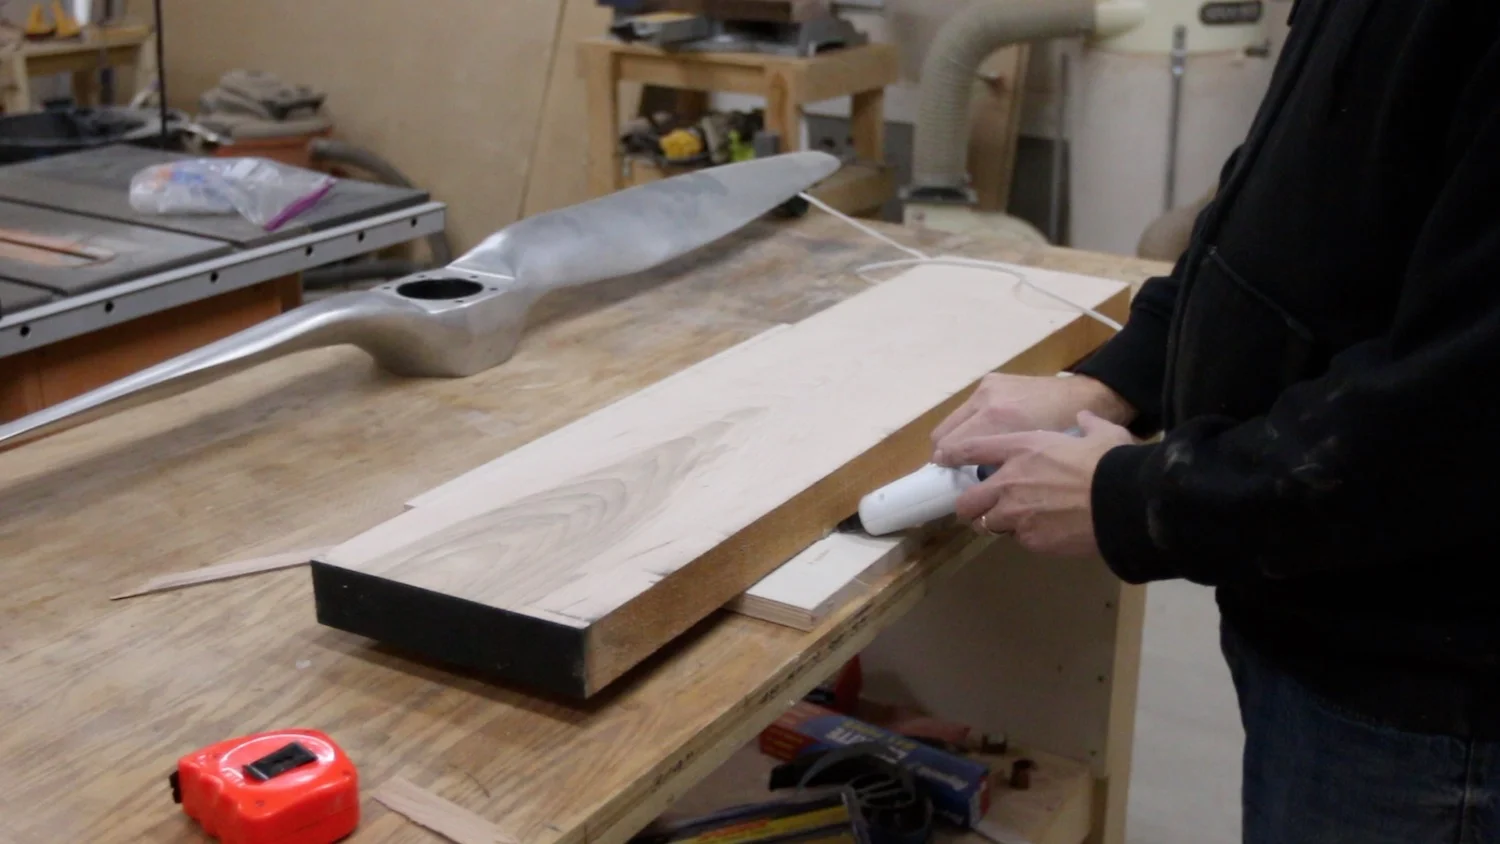
To get the rest of it, I ended up securing it to a piece of plywood with hot glue and some shims, so that it would be level.
Then, I ran it through the drum sander a few times. What I didn't realize is that I was creating a banana out of this nice board. You see how the ends are hanging off of the end of the plywood? Well, this caused there to be no support for my work piece as it passed under the drum sander, so it would tip up...sand a lot in the middle, and then kind of tip toward the back. Luckily, I caught this is time and grabbed a couple more plywood boards to put under it on either end. This seemed to work.
After I got one flat side, I removed the plywood sleds, flipped the board over and ran it through the drum sander a few more times. This is probably not the most ideal way to flatten a large piece since the drum sander cannot take off much with each pass, but it seemed to be my best choice this time.
Once it was flat and parallel on both large faces, I took it to the jointer to get one edge square to the face. Then, I ripped it through the table saw, referencing that square side against the fence. This gave me a nice square board that had parallel sides.
I cut the board to final length at the miter saw, and then began laying out the inside that I would need to route out as a recess.
I got the propeller to the angle that I liked, marked the holes for the bolts and took it over to the drill press to drill out the holes.
On the back, in order to save on weight and to allow the French cleat to sit flush inside the mount, I needed to route a recess in the entire piece.
For an edge treatment, I used a chamfer bit along all of the front edges.
I sanded the piece a bit and then put a few coats of spray lacquer on it, sanding between coats with 320 grit sandpaper.
I cut out a few French cleats for the back of the piece, as well as for the wall. Then, I secured them flush inside the workpiece.
Back at my sister's house, we found the center of the wall and then located the studs.
We tightened the propeller to the mount with the bolts and some nylon washers.
That's when we ran into a problem. I had routed out the inside so that it would sit flush and so that the bolts would have somewhere to go. However, when I created the French cleat for the wall, I didn't take into account where the bolts would be. It would not sit down on the wall cleat since the bolts were hitting it. Luckily, I grabbed a forstner bit in my drill and drilled out some recesses in the wall cleat. This seemed to take care of it and when we tried to hang it on the wall again, it went right into place. This thing is very solid up there, since we have 4 screws that are more than 3.5" long into 2 different wall studs. I ended up making the mount much wider than I originally planned, but I think it looks nice in contrast with the propeller. Plus, we didn't want it to look funny on the wall with how there studs fell. We had to try to make it look even and on purpose, despite the stud location.
CONCLUSION
Overall, I'm pleased with how this turned out, and my brother in law really likes it. My sister says after quite a few days, it still catches their eye and they stare at it. Let me know what you think in the comments below. Please ask me any questions that you might have about this project. This is a great way to hang heavy items on a wall. Thank you for following along and I'll see you in the next project!


