Lazy Susan from a Fallen Oak Tree
VIDEO
I recently made a lazy susan from a fallen oak tree. Watch the video to see all of the details or follow along below:
BACKGROUND
Sometimes, everyday things in our lives develop special meaning over time, without us even realizing it. Years ago, I saw my mom cry at the loss of some very old, very large trees during Hurricane Katrina. Those trees represented something to her, and they were gone in a moment.
My wife's grandparents have lived in the same house for nearly 60 years. Over those years, many trees have grown and fallen, but one particular tree stood strong for probably most of the time they lived there. That is, until last year, when the oak tree I'm speaking of was struck by lightning and became unsafe to leave standing. It was very near their house, and had to be taken down.
I didn't have a way to mill the lumber, and I didn't even have a way to get it back to my house if I had milled it. I don't have a truck, trailer or mill of any kind. Therefore, all of the wood was turned into firewood, so as not to be wasteful of a resource.
In that same vein of not wanting to waste, I grabbed 4 pieces of the oak firewood from their pile one year ago when we were at their house for thanksgiving. I thought to myself that it would be very special if I could make something for them out of the tree that stood by their house for so many decades.
TOOLS & MATERIALS
Table saw - http://amzn.to/2BVoGkE
Bandsaw - http://amzn.to/2B5DT5A
Jointer - http://amzn.to/2BUGAnA
Planer - http://amzn.to/2C7Cw4f
Compass - http://amzn.to/2l0cD2j
Clamps - http://amzn.to/2Ac6RNC (These are a little cheaper at Home Depot)
Wood glue - http://amzn.to/2BDihhS
Epoxy - http://amzn.to/2AaDr2r
Mineral oil - Buy locally
Wood burner - http://amzn.to/2AbhccW
Lazy susan hardware - http://amzn.to/2Ae3k1B
STEPS
As mentioned before, these were just pieces of firewood. Some of them still had the bark on, so I started by popping off all of that bark.
I milled all of the boards down to have two flat and parallel sides.
Then, I took them to the bandsaw to resew them into halves.
I wanted to get as much yield from these boards as possible.
I arranged them to where I thought they looked good, and then ran them through the planer so they would be all of the same thickness.
I glued them together, and then I needed to fill some voids with epoxy.
I am using West Systems epoxy and adding a bit of very fine sawdust into the mixture.
There were some wormholes and other cracks that needed filling. I Didn't want everything perfectly smooth, but I wanted it stable.
I used a torch to get all of the bubbles out of the epoxy.
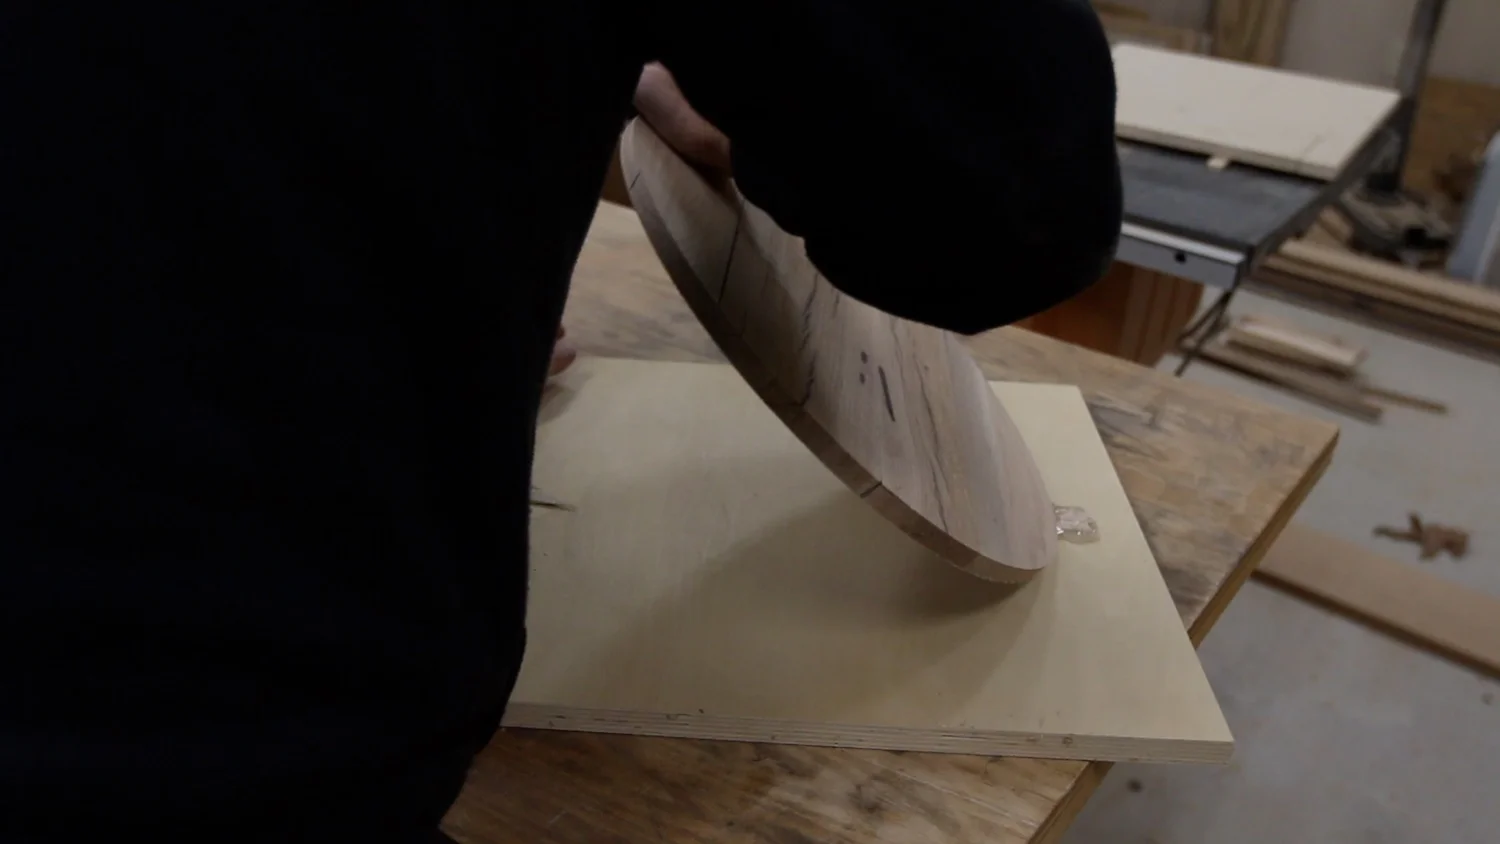
Before I filled the voids with epoxy, I flattened the lazy susan right out of the clamps. When it sat overnight, it cupped a little bit. I created a quick flattening jig by shimming the lazy susan on a piece of plywood. Then, I secured it all with hot glue. I ran it through the drum sander a few times. Then, I removed the board from the plywood, flipped it over and made the other side parallel.
I marked the center after it using a compass. This circle cutting jig has been very valuable. I'm not sure where all I gleaned inspiration to build it, but there are a lot of videos about it out there on YouTube.
I added a rounder to one side and a chamfer to the under side. This would help it to feel more elegant.
I oiled the board with some mineral, soaking it fully.
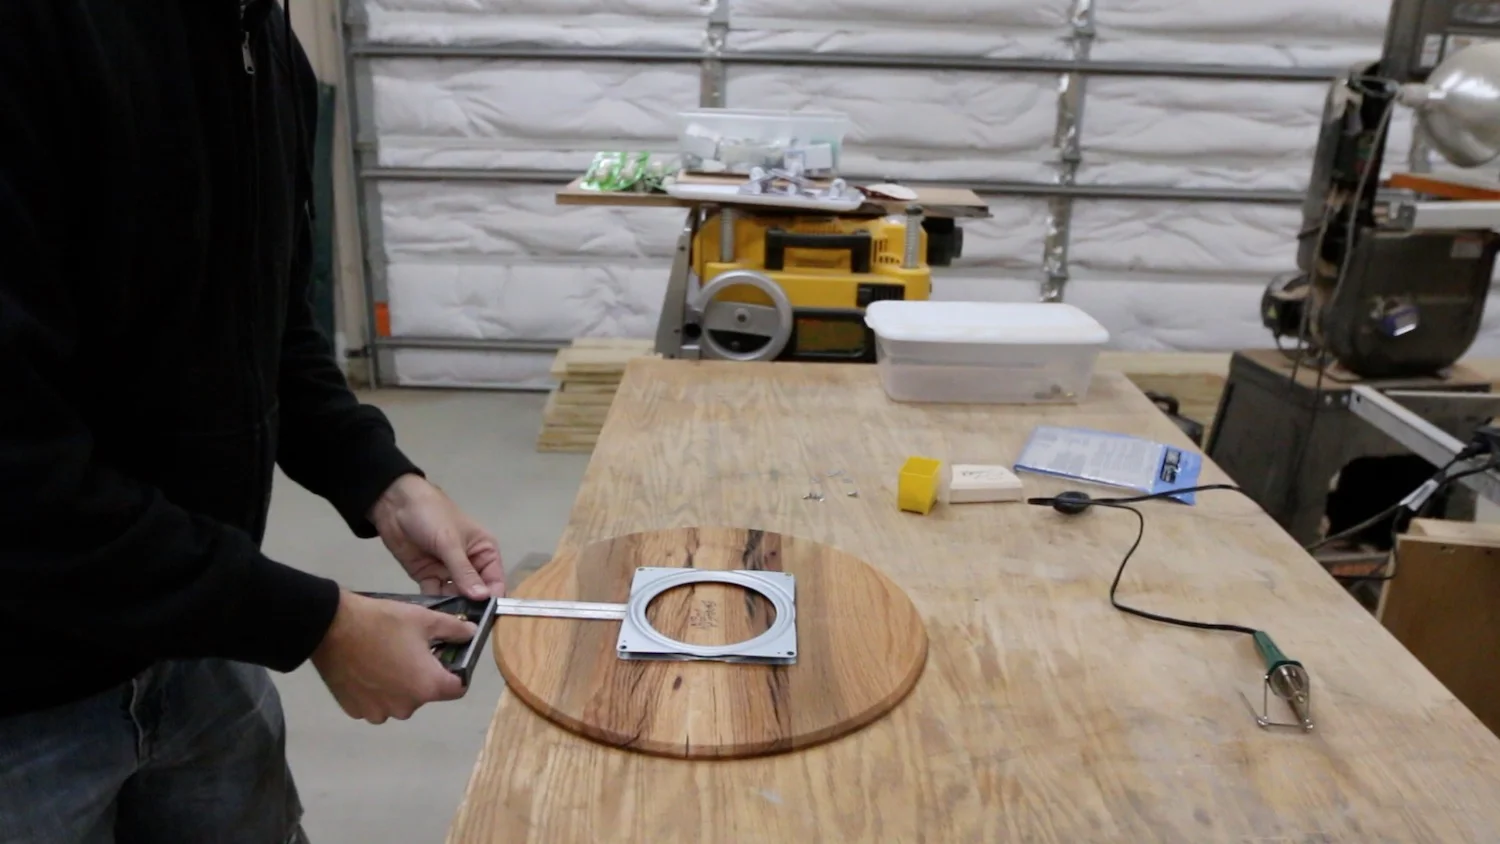
After making sure the hardware was centered, I marked where the screws needed to go, drill them out a bit so it wouldn't split, and put in the screws.
I used some cabinet bumpers as feet for this. They worked well, and I wish I would have thought of using them sooner.
CONCLUSION
Thank you for taking the time to watch and read about this project! If you build something like this, I'd love to see it. Follow me over on Instagram @Brudaddy and be sure to tag me so I can see your project!


