DIY Reclaimed Metal and Wood Mirror with LEDs
VIDEO:
In this project, I’m making a DIY reclaimed metal and wood mirror. This is the last in the series I did in collaboration with Meadows Woodshop up in Kentucky a few weeks ago. Many of the projects were done with reclaimed parts from bourbon barrels, so if you’ve not see the others like the bourbon barrel pendant light or the bourbon barrel sink, go check those projects out. Watch the video and follow along below:
BACKGROUND:
I few weeks back, I went up to central Kentucky to collaborate on some projects with my friend, Jeremy from Meadows Woodshop. We knocked out a lot of projects together, many of which were made to live there at his woodshop. He has a cool office where he will entertain clients and hold meetings, so he wanted some nice stuff to show off.
Jeremy makes a lot of things out of reclaimed bourbon barrels. He actually does work for multiple bourbon distilleries and is always looking for new products he can pitch for them to carry in their gift shops. He had a huge pile of bourbon barrel hoops (the metal bands you see around a bourbon barrel) lying around and this industrial mirror was one of the projects we made using one of those hoops.
TOOLS & MATERIALS: (affiliate links)
Starbond adhesives (Save 10% using CODE: bruceaulrich) https://www.starbond.com/?rfsn=272403
Angle grinder - https://amzn.to/2QDsDlp
Wire wheel: https://amzn.to/37Gs9US
Drill & Driver: http://amzn.to/2C0JDfa
Palm router: https://amzn.to/2qBTztP
Chamfer bit: https://amzn.to/2OPb1Um
Random orbit sander - https://amzn.to/2C0gR0k
Jigsaw - https://amzn.to/2pIpS6F (I don't have this one, but it is better)
Water based poly: https://amzn.to/2OTAHyX
Track saw: https://amzn.to/35Dt0DW
Biscuit joiner: https://amzn.to/2OPPriD
STEPS:
I started off this project by finding a bourbon barrel hoop that was in pretty good shape. It was not all bent up and did not have too much rust. Remember, these are reclaimed from actual bourbon barrels that have held bourbon for years, often exposed to some elements and moisture.
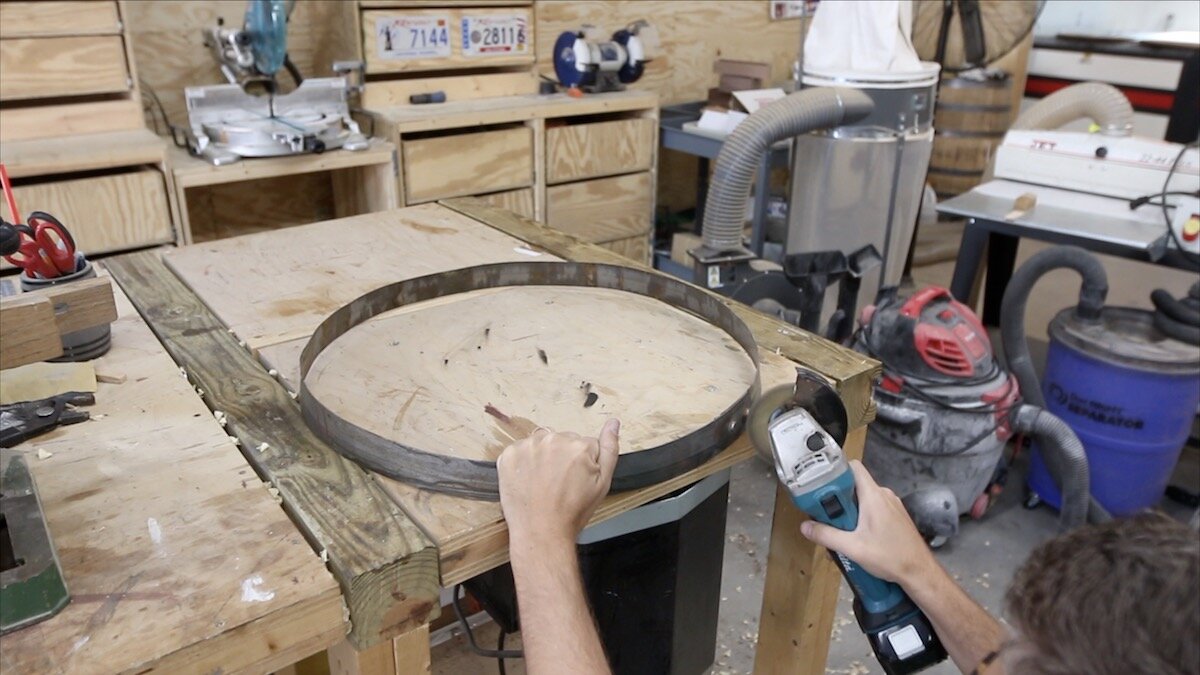
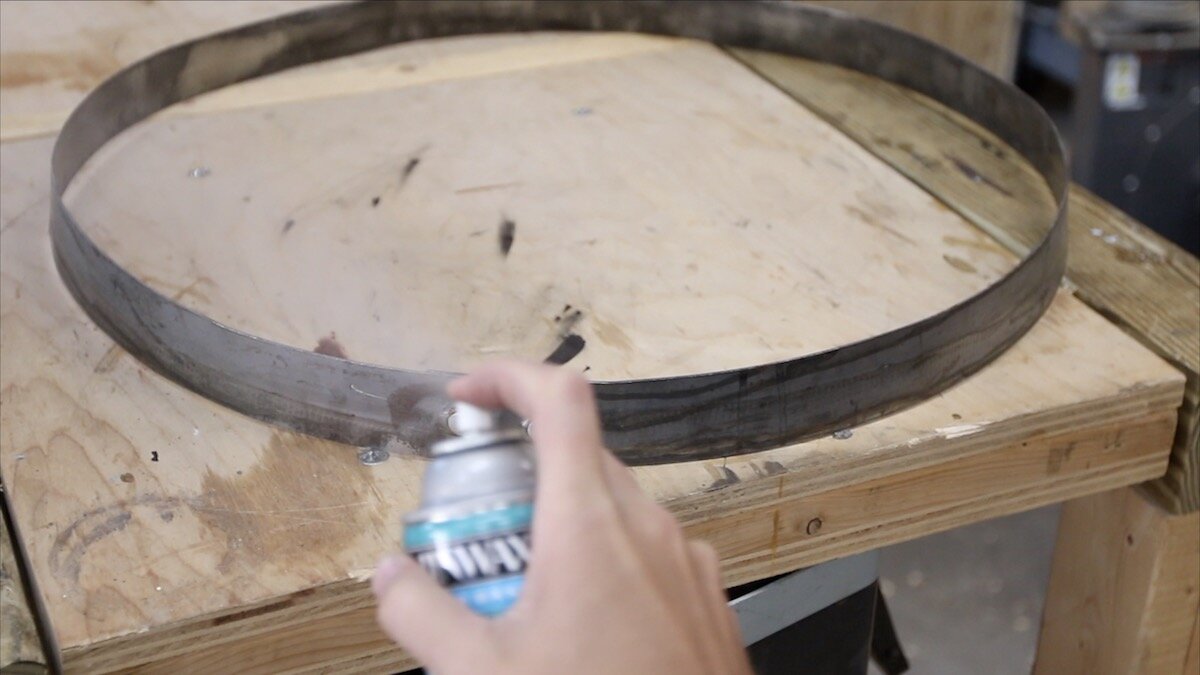
I grabbed an angle grinder and a wire brush attachment for it and started removing the surface rust that I could find. It doesn’t take much with the wire brush, just a little touch here and there. Then, I used some polyurethane to seal the metal so it would not continue to rust with more exposure to the elements.
PREPARING THE WOOD BASE
Next up was the wood. For this, I’m using some rough cut walnut that Jeremy had on hand. He actually got this from someone who removed a tree local to him, so it’s cool to be able to use something that grew very near him during its life. We didn’t have a jointer, so luckily, this lumber was mostly flat.
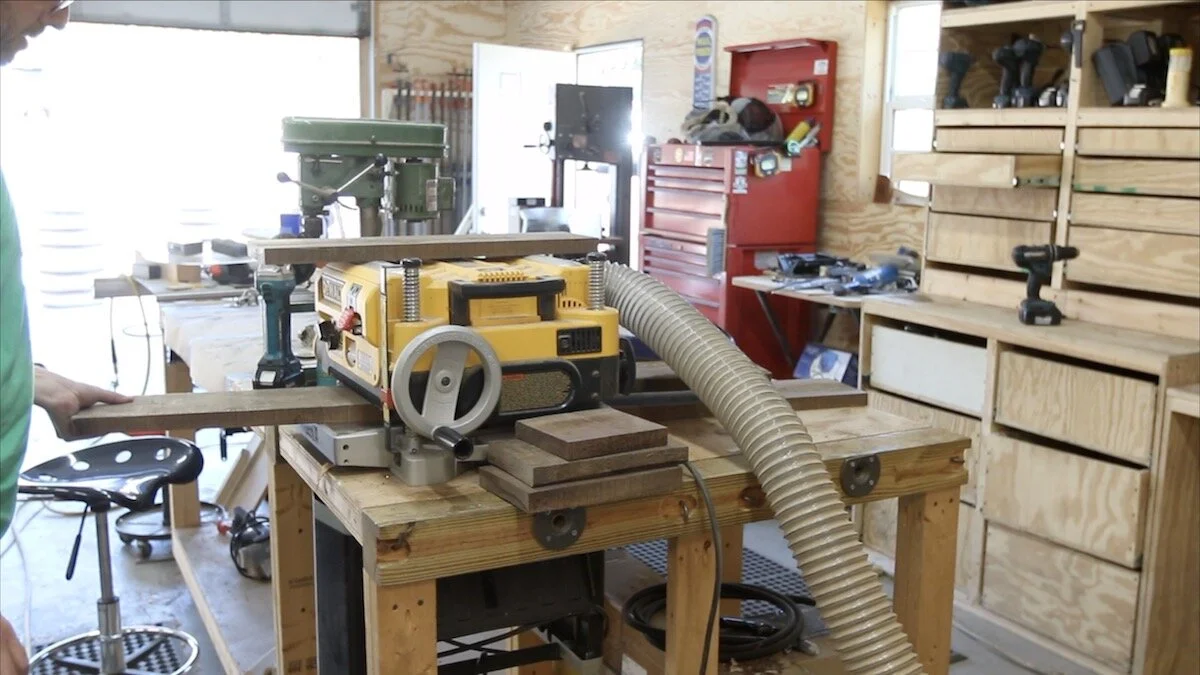
I cut the boards to length at the miter saw and then ran them through the planer a few times on both sides until I had the thickness needed. I think the boards ended up at about 3/4” thick.
To joint the edges and make sure they would go together into a panel, I used a track saw. I had never tried this before, but it worked pretty well.
Then, I added some biscuit slots with the biscuit joiner to help with alignment. These don’t provide much strength, but they really help insure that your glue up with remain pretty flat and it saves you from a lot of sanding later in the process.
Into the clamps the boards went to create one single panel from these four boards. You don’t really want to over tighten the clamps when making a panel like this, because you could cause the panel to bow a little. Also, it is a good idea to add clamps on the top and bottom of the panel to help even out the clamping pressure. That is also to ensure a more flat panel. Oh, and wipe off as much of the excess glue as you can with a damp cloth. That will help save you from some extra sanding of the glue later.
MAKING THE CIRCLE:
In order to make a perfect circle, I whipped up a quick circle-making jig for the bandsaw. I’ve made this kind of thing before, and Jeremy had some scrap plywood lying around, so it just worked. I figured out the diameter of the hoop we were going to use on the outside, split it in half to get the radius of the circle, and then set my point on the jig to that number.
The way this jig works is that you have a runner that goes in the miter slot of the bandsaw. At 90 degrees to that, you have a bar glued onto the bottom that will stop when it bumps into the table of the bandsaw. At the determined radius distance from the blade, you make a small drill hole and put the end of a nail in that hole. Then, you put your wood panel with center marked into that spot, push the jig until it bumps into the table of the bandsaw, and start rotating. You just keep rotating until you have a perfect circle. It’s really quite simple.
CLEANING UP THE CIRCLE:
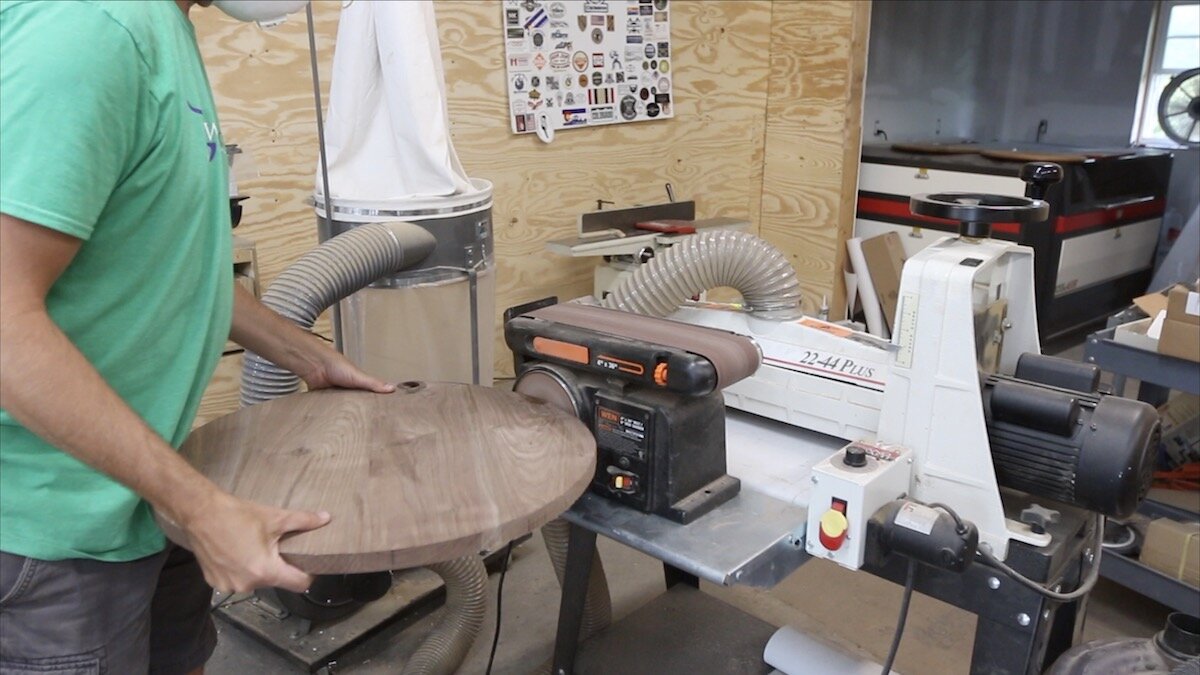
The bandsaw tends to leave some harsh marks, especially with the blade on it that I was using. So, I just took the now circle panel over to a disc sander to clean up those marks. Look at how tiny this sander was in comparison to this huge circle! ha
EDGE TREATMENT FOR THE CIRCLE:
I wanted to have a little shadow line inside the barrel hoop where the walnut meets the steel, so I added a very small chamfer to the front edge of the walnut circle. In hind sight, the metal hoop was deep enough that you couldn’t really see this shadow line that I was hoping for. Not a whole lot of wasted effort on my part, so I’m fine with it.
PREPPING THE MIRROR FOR LEDS:
I wanted to use some LEDs behind the actual mirror to reflect out and kind of radiate light from behind the mirror. To help with this, I grabbed some foil tape and stuck some to the craft paper backing of the mirror. I wanted this to help reflect the light out from behind the mirror.
STABILIZING A KNOT:
I grabbed some CA glue that had a brown tint to help stabilize a knot that was in the walnut circle. We left this since we thought it looked cool and would actually show. We used it as a design element, but we didn’t want stuff to keep crumbling out of the hole. That’s why I used some of this CA glue to stabilize it. (link to this stuff above)
APPLYING FINISH:
For the finish, I just used a couple of of coats of water-based poly that we had access to there in the shop. I brushed on a couple of coats of it, and it really brought the walnut to life!
FINAL ASSEMBLY:
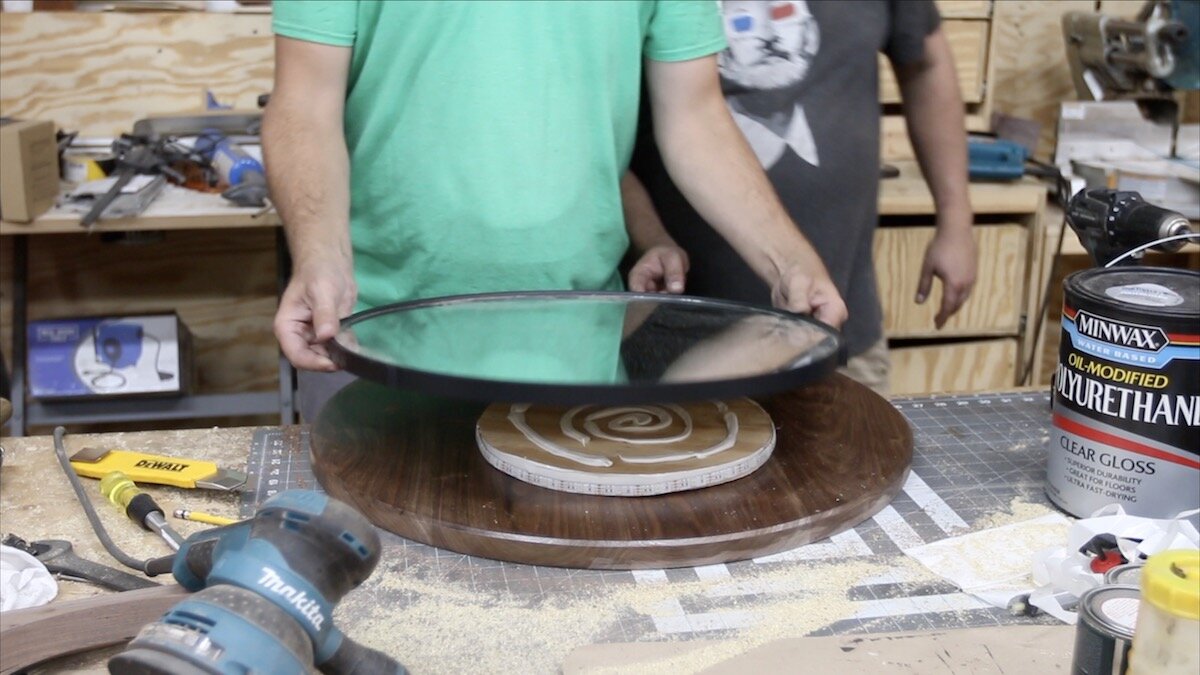
To secure the mirror to the walnut circle, I cut a smaller circle out of some scrap plywood. It was small enough that it would not show out from behind the mirror, but large enough that it would serve as a good surface to adhere the mirror to. Also, it would allow me to affix the LEDs around this smaller circle, and not have them actually show from behind the mirror. Only the light they give off would show, which was the goal.
I don’t have a photo of it here, but you can see we had to cut a hole in the walnut circle so we could access the LED power box later. This kit was battery operated, so we needed to have access to change those batteries out.
Then, I just applied some construction adhesive to the smaller circle, and put the mirror down on that. We set a gallon of paint on it until it dried, to make sure it grabbed very well.
Adding the hoop to the outside of the walnut circle was really simple since I was quite exact with the circle. It was a perfect fit, and only had to be lightly tapped into place with a hammer. We didn’t even have to use any adhesive to secure it.
HANGING THE MIRROR:
To be able to hang the mirror, we added one of those sawtooth hooks to the back. This thing wasn’t too heavy, and we were going to use a sheetrock anchor, so it would be able to hold any weight from this one hanger.
LEDS - QUALITY MATTERS:
The LED kit we used was not a very high quality one and it showed. Well, it actually DIDN’T show…pretty much at all. It was very underpowered, so even when blocking pretty much all of the light, this was as much as the light showed. You can see from the very dark photo below that the LEDs were a big flop. However, the mirror still looks great without the LEDs and it doesn’t harm the look of it at all!
CONCLUSION:
Thank you so much for taking the time to browse this project and watch the video! That means a lot, and I’m thrilled to have you join me! I really like how this one turned out and I would love to hear what you think about it.
If you are into Instagram, go give me a follow over there @Brudaddy.
I’ll see you soon on the next project!

