DIY Serving Tray
VIDEO:
In this project, I should how I made this DIY serving tray out of highly spalted white oak. Watch the video and keep reading to find out exactly how I made it:
BACKGROUND:
I bought a ton of white oak a little while back, and buried in the pile was this nice, spalted piece. It was pretty skinny, so when someone contacted me wanting me to make a serving tray as a gift, I thought this piece would be perfect for that.
It had a live edge on some places, and I was able to keep that live edge on both long edges of the serving tray. My client was pleased, I was pleased and ultimately…the person who received it as a gift was pleased. I’d say that’s a win!
TOOLS & MATERIALS:
Table saw - https://amzn.to/2C11FzS
DeWalt planer - https://amzn.to/2CXLyo7
Supermax drum sander - https://amzn.to/2q1u6GG
Trim router - https://amzn.to/2J8acm9
Random orbit sander - https://amzn.to/2C0gR0k
Drill & driver - http://amzn.to/2C0JDfa
Miter saw - http://amzn.to/2GxJbX4
Jointer - https://amzn.to/2myoGBj (Mine is a Grizzly, but couldn't find a link for it)
Mahoney's Walnut Oil: https://amzn.to/2CJTB6P
STEPS:
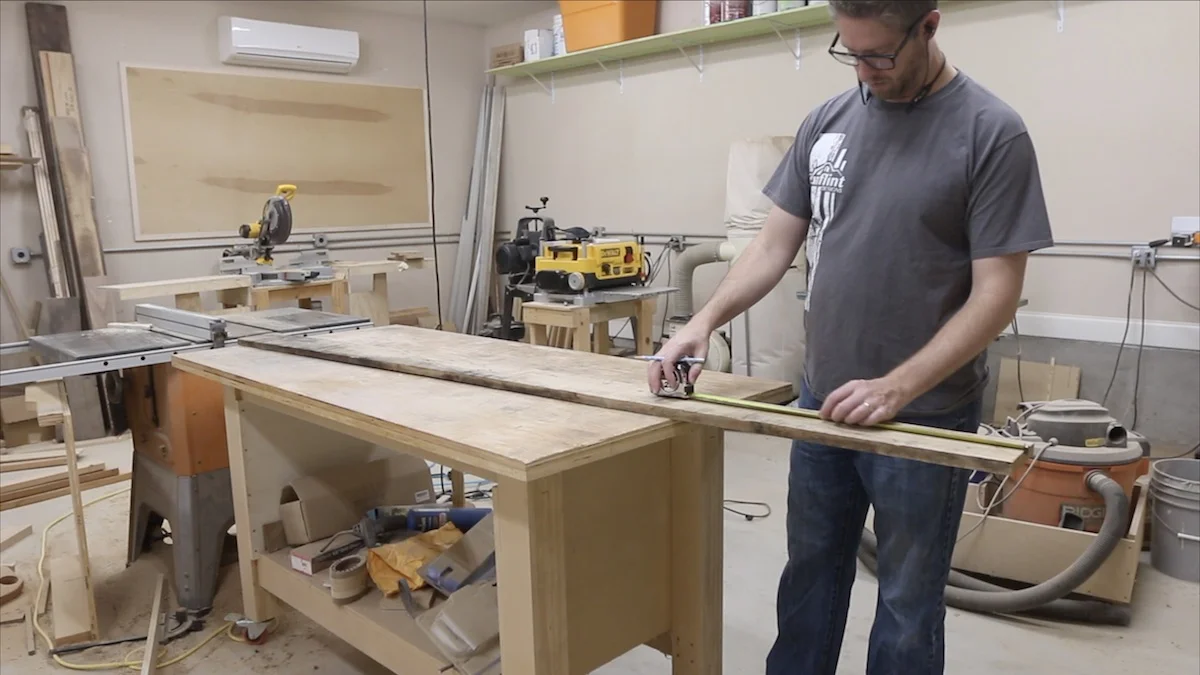
I started off this project like many of my other woodworking projects…using rough lumber. That means I had to go through the milling process I do on a lot of them. Here’s the fast version:
Cut to rough length on the miter saw
Joint one face flat and one edge flat and square to that face
Run though the planer to get the opposite face flat and parallel to that one
Rip into the widths I need at the table saw, referencing the flat edge against the fence.
CREATING THE BOTTOM PANEL
I didn’t have a single board wide enough to create the panel that would be the bottom of the tray, so I had to cut up a few boards and glue them together to make a panel.
I went through that same process, and then took the pieces over to my clamps to glue together. I typically use a little bit of waxed paper on my clamp so it doesn’t get glue all over it. I’m not worried about it staying pristine, but just don’t want the glue to hinder the usability of the clamp at all. The waxed paper peels off very easily and is relatively cheap in the amounts I use.
TRIMMING THE PANEL TO SIZE
I didn’t have specific sizes needed for the pan, so I was just using dimensions that were close to another tray I’ve made in the past. That’s always nice to do, because you can be more fluid with your materials and often waste less.
I trimmed it to final dimension on my crosscut sled over at the table saw.
LASER ENGRAVING FOR CUSTOMIZATION
The client wanted to have her friend’s name laser engraved in the bottom of the tray. She was giving this as a gift, and wanted it to have that extra special touch of personal meaning.
I didn’t get any video or photos of laser engraving this piece, but if you want to see the Glowforge in action, take a look at this video on making the leather patches, or my blog post about it.
I used some dental pick type of tools to remove the masking tape from the surface of the panel. This is put in place and then engraved through, so that there is no smoke stain on the surface of the wood. It just prevents having to sand afterward.
CUTTING PIECES FOR SIDES
For the sides, I had this skinny piece of highly spalted white oak that I wanted to use, as I mentioned earlier. It had some live edge spots on it, so I wanted to try to incorporate those into the process.
I knew I wanted to have the ends with the handle to be taller than the long sides of the tray, but I didn’t really know what design I wanted on the handle pieces.
I ended up going with a French curve (no clue why they are called this, but the set of plastic marking tools I used is called a “French Curve Set.” If any of you know why they’re called this, leave me a comment below and inform me!
Anyway, I just marked where the shorter sides would meet these taller end pieces, and marked another spot on the end pieces that would be the top. And I connected the two with this gradual, sloping curve. I like how it turned out, and I think I’ll be using that method again.
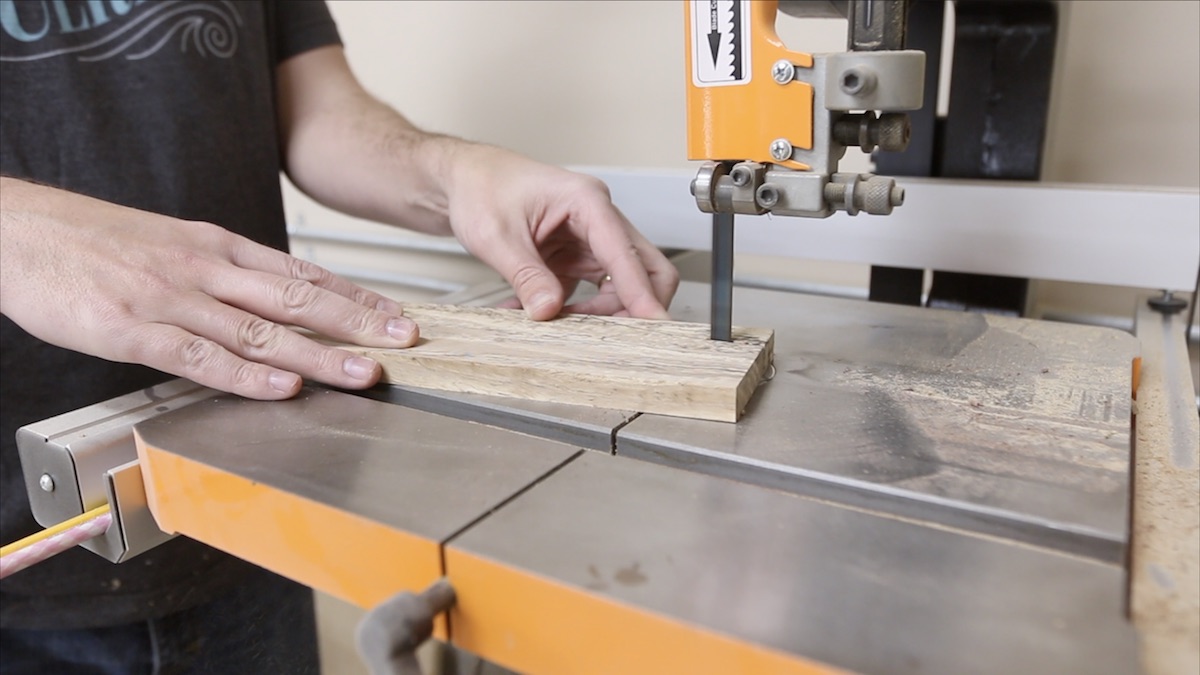
I just used a bandsaw to cut out the curves after I had them drawn.
CUTTING HANDLES
Next, it was time to cut out the handles. I wanted to integrate the handles into the taller of the sides, so there was no additional hardware. To do this, I just marked out an even distance from each side, and then used a center punch have a forstner bit follow. Over at the drill press, I drilled out as much of the material as I could, and then took it back to the bench to chisel out the rest.
After a little bit of hand filing, I was left with a really nice, oval shaped handle in each end.
I also put a 1/8” roundover on all of the edges that would have contact with hands. I did not round over the edges that would need to meet at 90 degree angles with the other sides.
SANDING
For the live edges, I used a flap disc on my angle grinder to remove all of the splintery parts. I kind of smoothed out the live edge. Then, I used a random orbit sander on all of the pieces, and to smooth out the curves on the end pieces before assembly.
ASSEMBLY
Now, it is time to put everything together. I used wood glue and some screws and made sure to pre-drill all of the spots where screws would go. I wanted to use some 1/4” dowel plugs, so I drilled holes that size, and cut out all of my dowel plugs. Well, the heads of the screws I had were larger than that, so they would not fit. I ended up running out and grabbing a 5/16” dowel, cutting pieces of it apart and hammering them into the holes.
If you do this, always be sure to mark a line where your screws will go. That really helps it look finished when they are all exactly on the line. (don’t worry about the line…you can take care of that in the final hand sanding.)
APPLYING FINISH
For the finish, I’m again using Mahoney’s all natural walnut oil. This does not have any driers or polyurethane in it, so it is food safe. I was not using it for its food safe qualities on this one, but just because I like the look it gives the oak and it dries quickly. To apply, just put on generously, wipe it into the surface, let it sit for about 20 min and wipe off the excess. It could really not be easier.
CONCLUSION
I love how this live edge spalted oak serving tray came out! Even with the challenges with the screws and other things, it was a fun build process.
Thanks so much for following along with this project! If you have any questions, leave them below and don’t forget to go watch the video! See you on the next project.


