How to Make A Scratch Awl
VIDEO
In this project, I took one blank I glued up and turned it into two different shapes of scratch awls:
BACKGROUND
I didn't really need a scratch awl. Well, I could always have one that has a better handle like this, but for these in particular, I had a couple of people in mind to whom I wanted to give these. I wanted to make two different scratch awls out of one piece of wood, and make them shaped differently, just for some practice at designing on the lathe. I also used two different methods to hold the piece compared to where the ferrule would go, so that was another experiment. If you follow along or watch the video, you'll see that one of the methods is not preferred. It was a good experiment to learn this, and as you follow along, let me know if you have any comments or questions.
TOOLS & MATERIAL
Nova Comet ii wood lathe - http://amzn.to/2EjgfoW
4-jaw chuck - http://amzn.to/2H60sHL
Pipe cutter - http://amzn.to/2BlKrgi
Random orbit sander - http://amzn.to/2Dz7u9f
Belt sander - http://amzn.to/2ElsyRP
Cordless Drill - http://amzn.to/2C0JDfa
Lacquer - http://amzn.to/2Da7wk2
STEPS
First, I glued up the blank. I had some honey locust pieces and I glued them into a blank that was approximately 4"x4".
Then, I marked for center by using a straight edge and drawing a line from corner to corner. (I did not do this while it was still square. I should have, because it is much easier when it is square.)
Next, I took it to the table saw to turn the blank from a square into more of an octagon. This is a good idea to get rid of the sharp corners. It makes the roughing out part at the lathe much faster and smoother.
I brought the blank into round and then used my detail tool to split it into two pieces. I went almost all of the way through and used a pull saw to finish the cut.
Then, I chucked one of the pieces back up in the lathe and started to turn it. The tools I'm using are the Easy Wood Tools carbide cutting tools. So far, they've been great! I got the full-size cutters, since I am pretty tall and have a pretty large wingspan. ;)
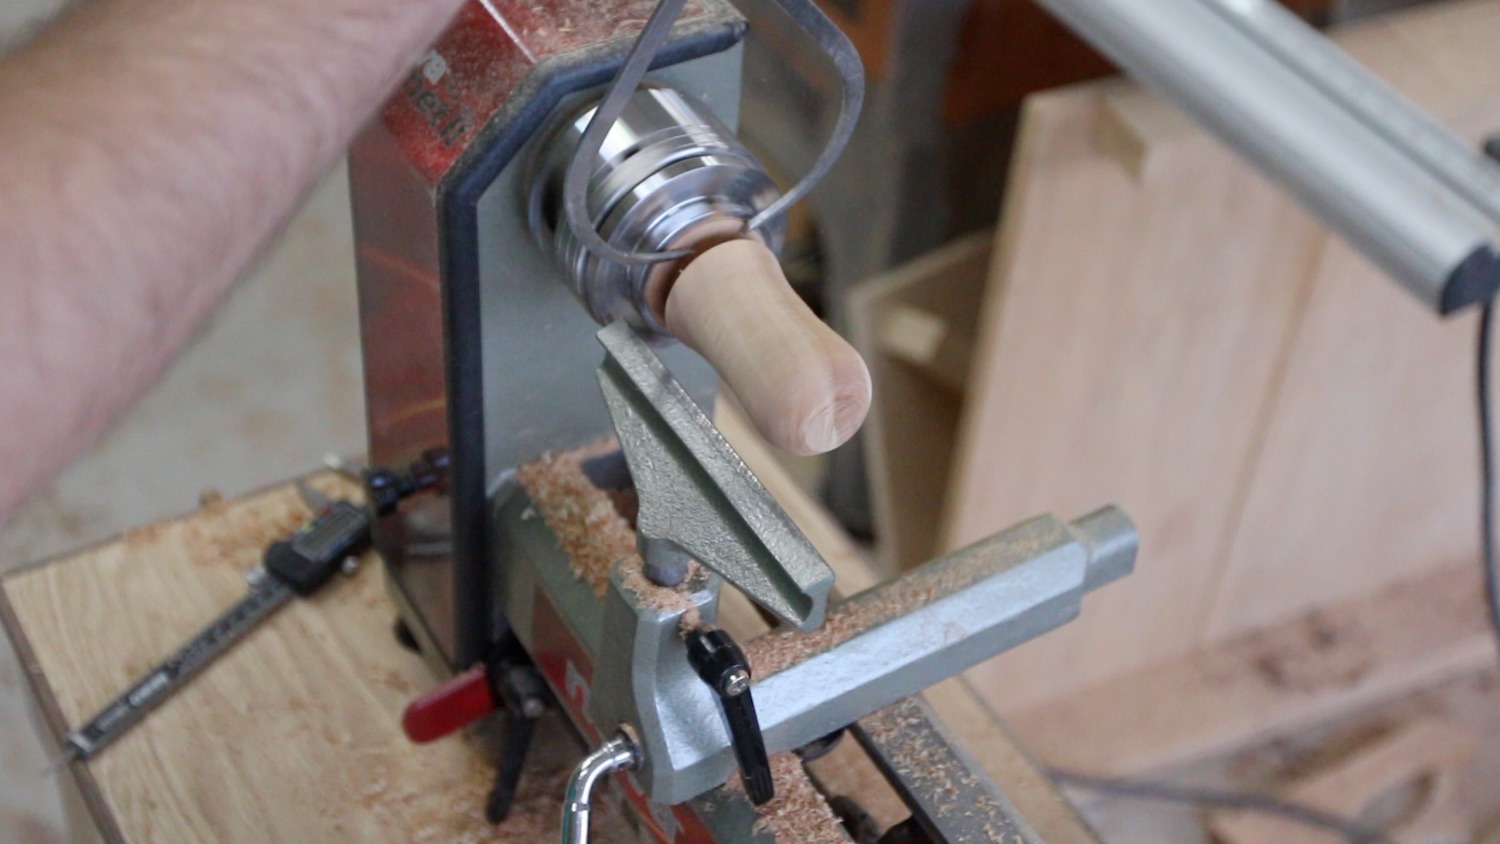
On the first one, I started shaping it and the part that would hold the ferrule (that metal piece you see on a lot of tools) I had toward the chuck. This is NOT the right way to do this, but I'll tell you why a little later on. I used a pencil to mark the places where I wanted the shape to change.
I used the detail tool to get the material down to where the ferrule would fit on. As I mentioned a minute ago, this is not the best way to go about this...having the ferrule be fit on after the piece is cut off of the support. The reason: well, from my experience, you have to do a lot of test fitting to get a really tight fit, and you can't put it back on the lathe in the orientation I have it. Once you cut it off of the support, that's it.
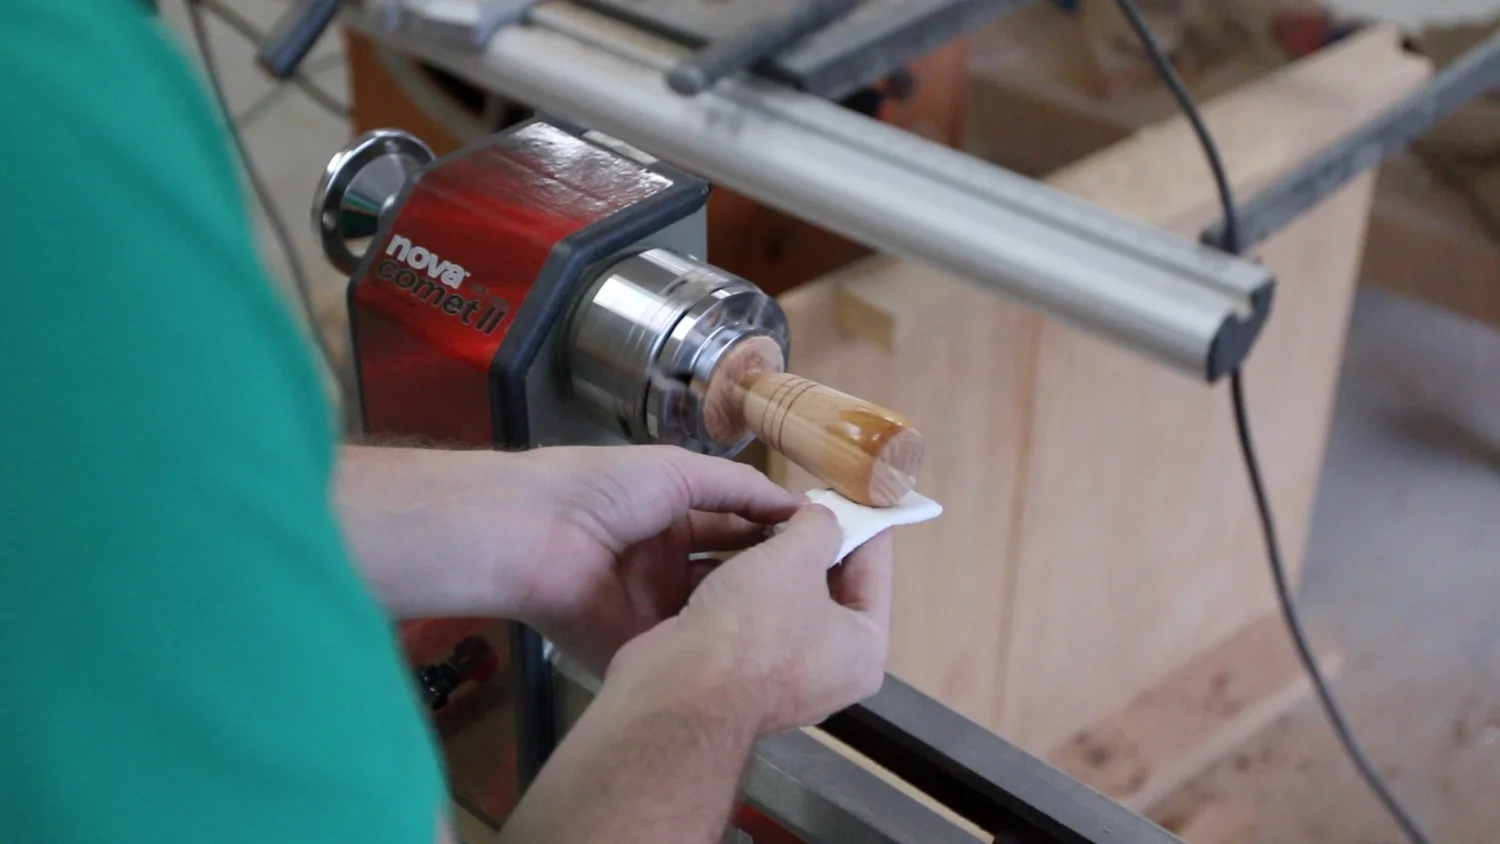
Next, I sanded it down and then added some lacquer for a finish. I put on a quick 3 coats or so. When I'm spraying lacquer onto a piece that is not on the lathe, I usually have to sand between coats. However, I have found when I wipe on a finish, even lacquer, while a piece is spinning on the lathe, there is no need for sanding between coats.
On to the next one.
For the second piece, I wanted to try a different shape, and I wanted to show a different method for adding the ferrule. As I mentioned above, this was the correct way to do this, because while it is still chucked up in the lathe, I can test fit the ferrule, and take a little more off if it doesn't fit just right.
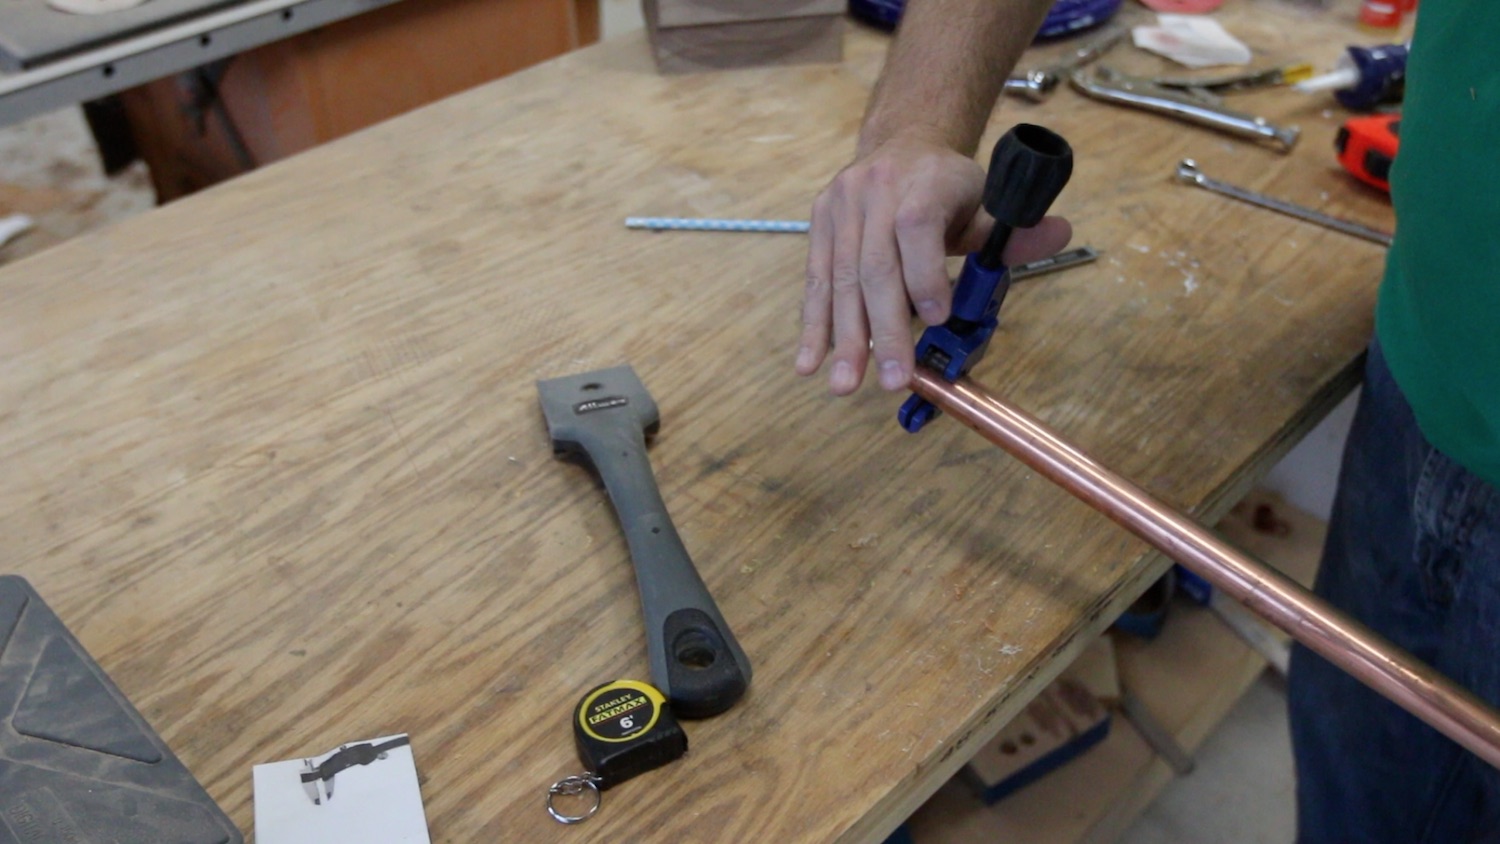
I measured the amount of copper I would need for the ferrule, and cut it out of a larger copper pipe. Copper pipe is pretty inexpensive and you can get many of this type thing out of just one 5-foot length of pipe. I usually just buy 3/4" copper pipe. I used some simple pipe cutters, and it takes less than a minute to do it this way. It is very easy.
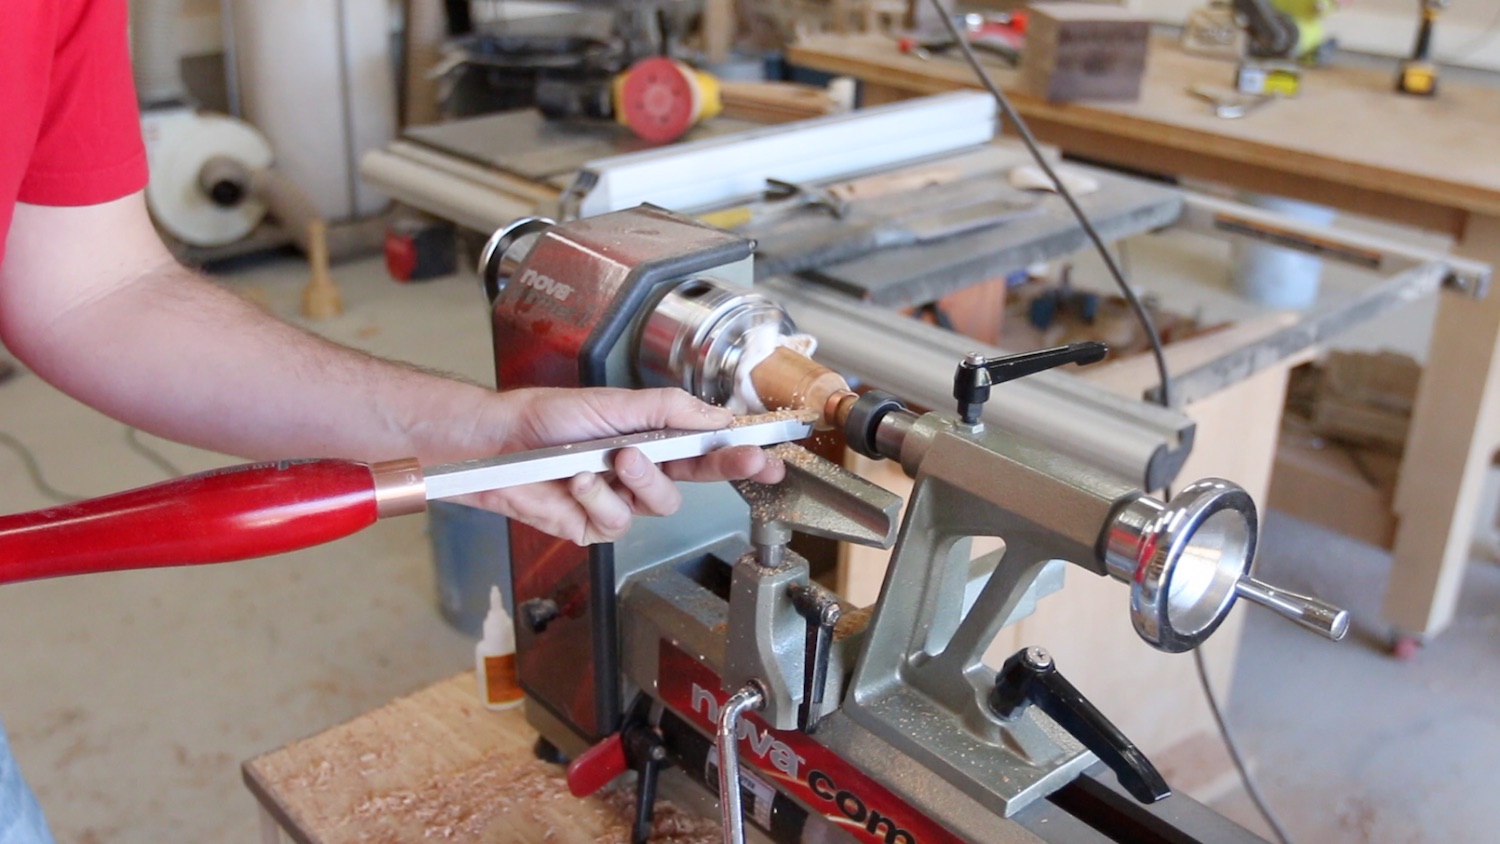
Then, I attached the ferrule I just cut out with some CA glue. I'm usually pretty generous with the amount I apply since I'll be sanding afterward. I went back and started shaping it, making sure to flush the wood with the copper. It can be really any shape that you would like, so if you make one of these, have fun with the design. For this particular one, I wanted the end to be kind of large so it would sit in your palm well as you used it.
I did a bit of shaping to it after adding the ferrule, making sure to flush the wood to the copper. After sanding it, I added a few coats of lacquer to it. Then, I cut it off of the support piece, and finished off the end on the orbital sander. I sprayed this little part with some lacquer so it would match the rest of the scratch awl.
So, remember when I was saying it was not the right way to put the ferrule toward the chuck because you were not able to check the fit? Mine didn't fit, so I had to take it to the belt sander to try to get that part a little smaller. This didn't go well, and the belt sander dug in a little bit, which was TOTALLY frustrating!
What I ended up doing was creating a make-shift jam chuck with some paper towels. This was tough, because whenever you chuck something up in the lathe, it is never quite in the same spot. Therefore, I had to do a bit more shaping on the piece, but after I made sure the ferrule fit. Ultimately, I was able to get it to look good, so that's all that matters. I'm actually pretty proud that I was able to troubleshoot this issue, and come out with a nice finished product.
After adding some finish to this newly shaped part, I cut off the piece that I originally messed up.
Now, it was time to get the metal pieces for these scratch awls. I used some 20 penny nails for this. I cut off the heads of the nails with a cutoff wheel on the angle grinder. Then, I chucked the nails into my drill, and used a belt grinder with an aggressive grit belt to sharpen them. I kept a cup of cool water near so I could make sure the metal was not getting too hot. This worked quite well. So well, in fact, that they were too sharp! I didn't want someone getting hurt on these, so I brought them back to a little less of a point on the belt sander.
I drilled out some holes for the nails by hand. If I had to do this over again, I would have used the drill chuck on the lathe. That would have been much more of an exact method. These were not perfect, but that's ok. I secured them in place with some 5 minute epoxy.
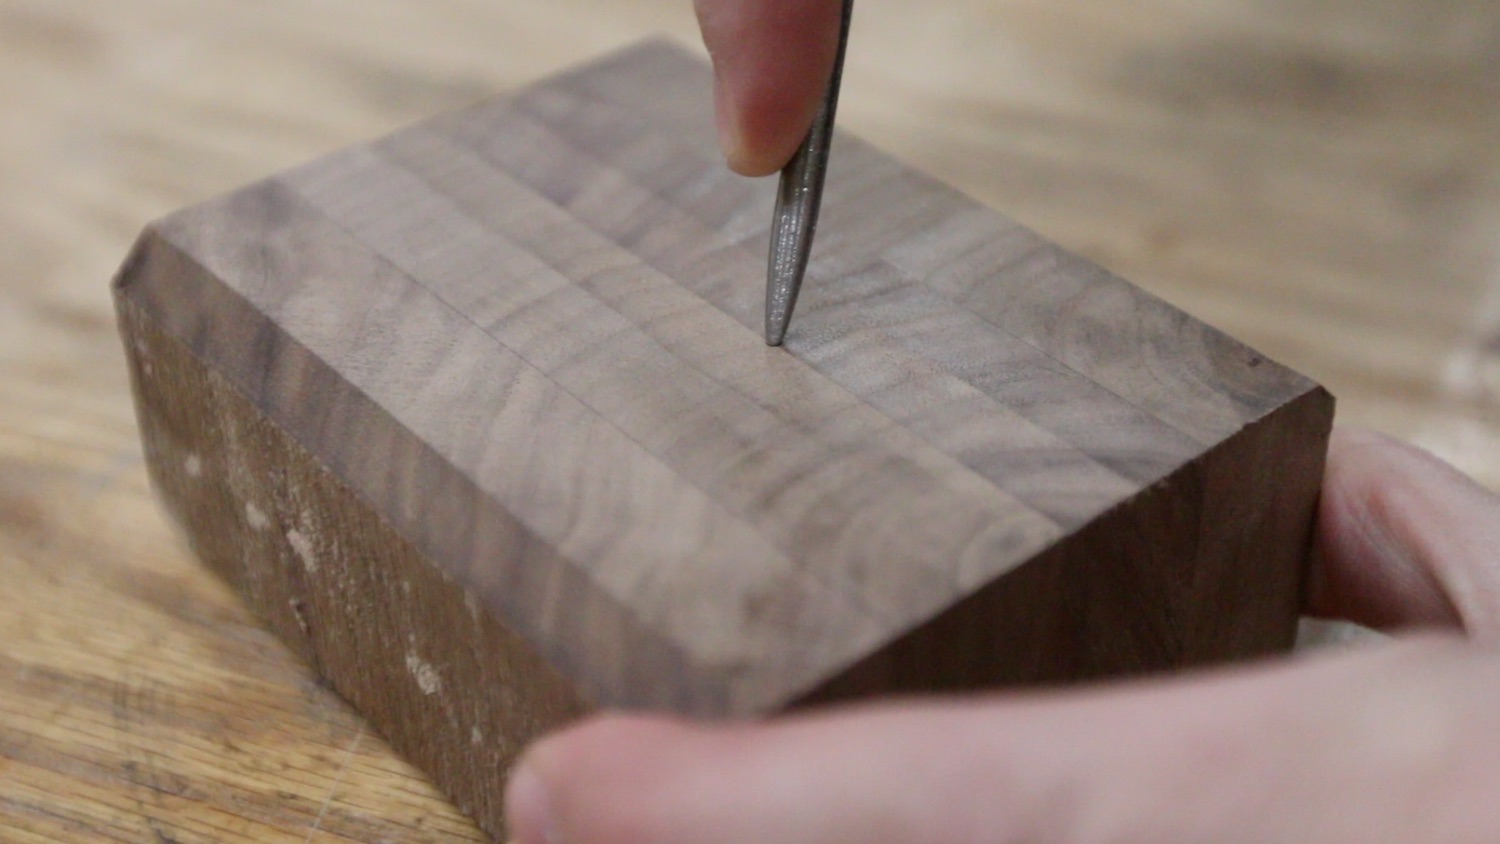
Then, I had to test it out...works great!
CONCLUSION
I really like the way these turned out! I learned a lot by trying to shape them in different ways and trying to use the lathe in different ways. I'm finding that is a lot of using a lathe...just knowing how to hold something and what steps to do first or last.
Thank you for following along with this project and watching the video! I appreciate your support. If you have any comments or questions, please leave them below. Also, if you want to interact with me, I'm probably more active on Instagram, so go there and say hi. (@Brudaddy)
I'll see you on the next project!


