How to Make a Simple Lathe Cart
VIDEO
In this project, I make a simple, DIY lathe cart out of 2x4's and some scrap plywood for my new lathe. Watch the video for all of the details, or follow along below:
BACKGROUND
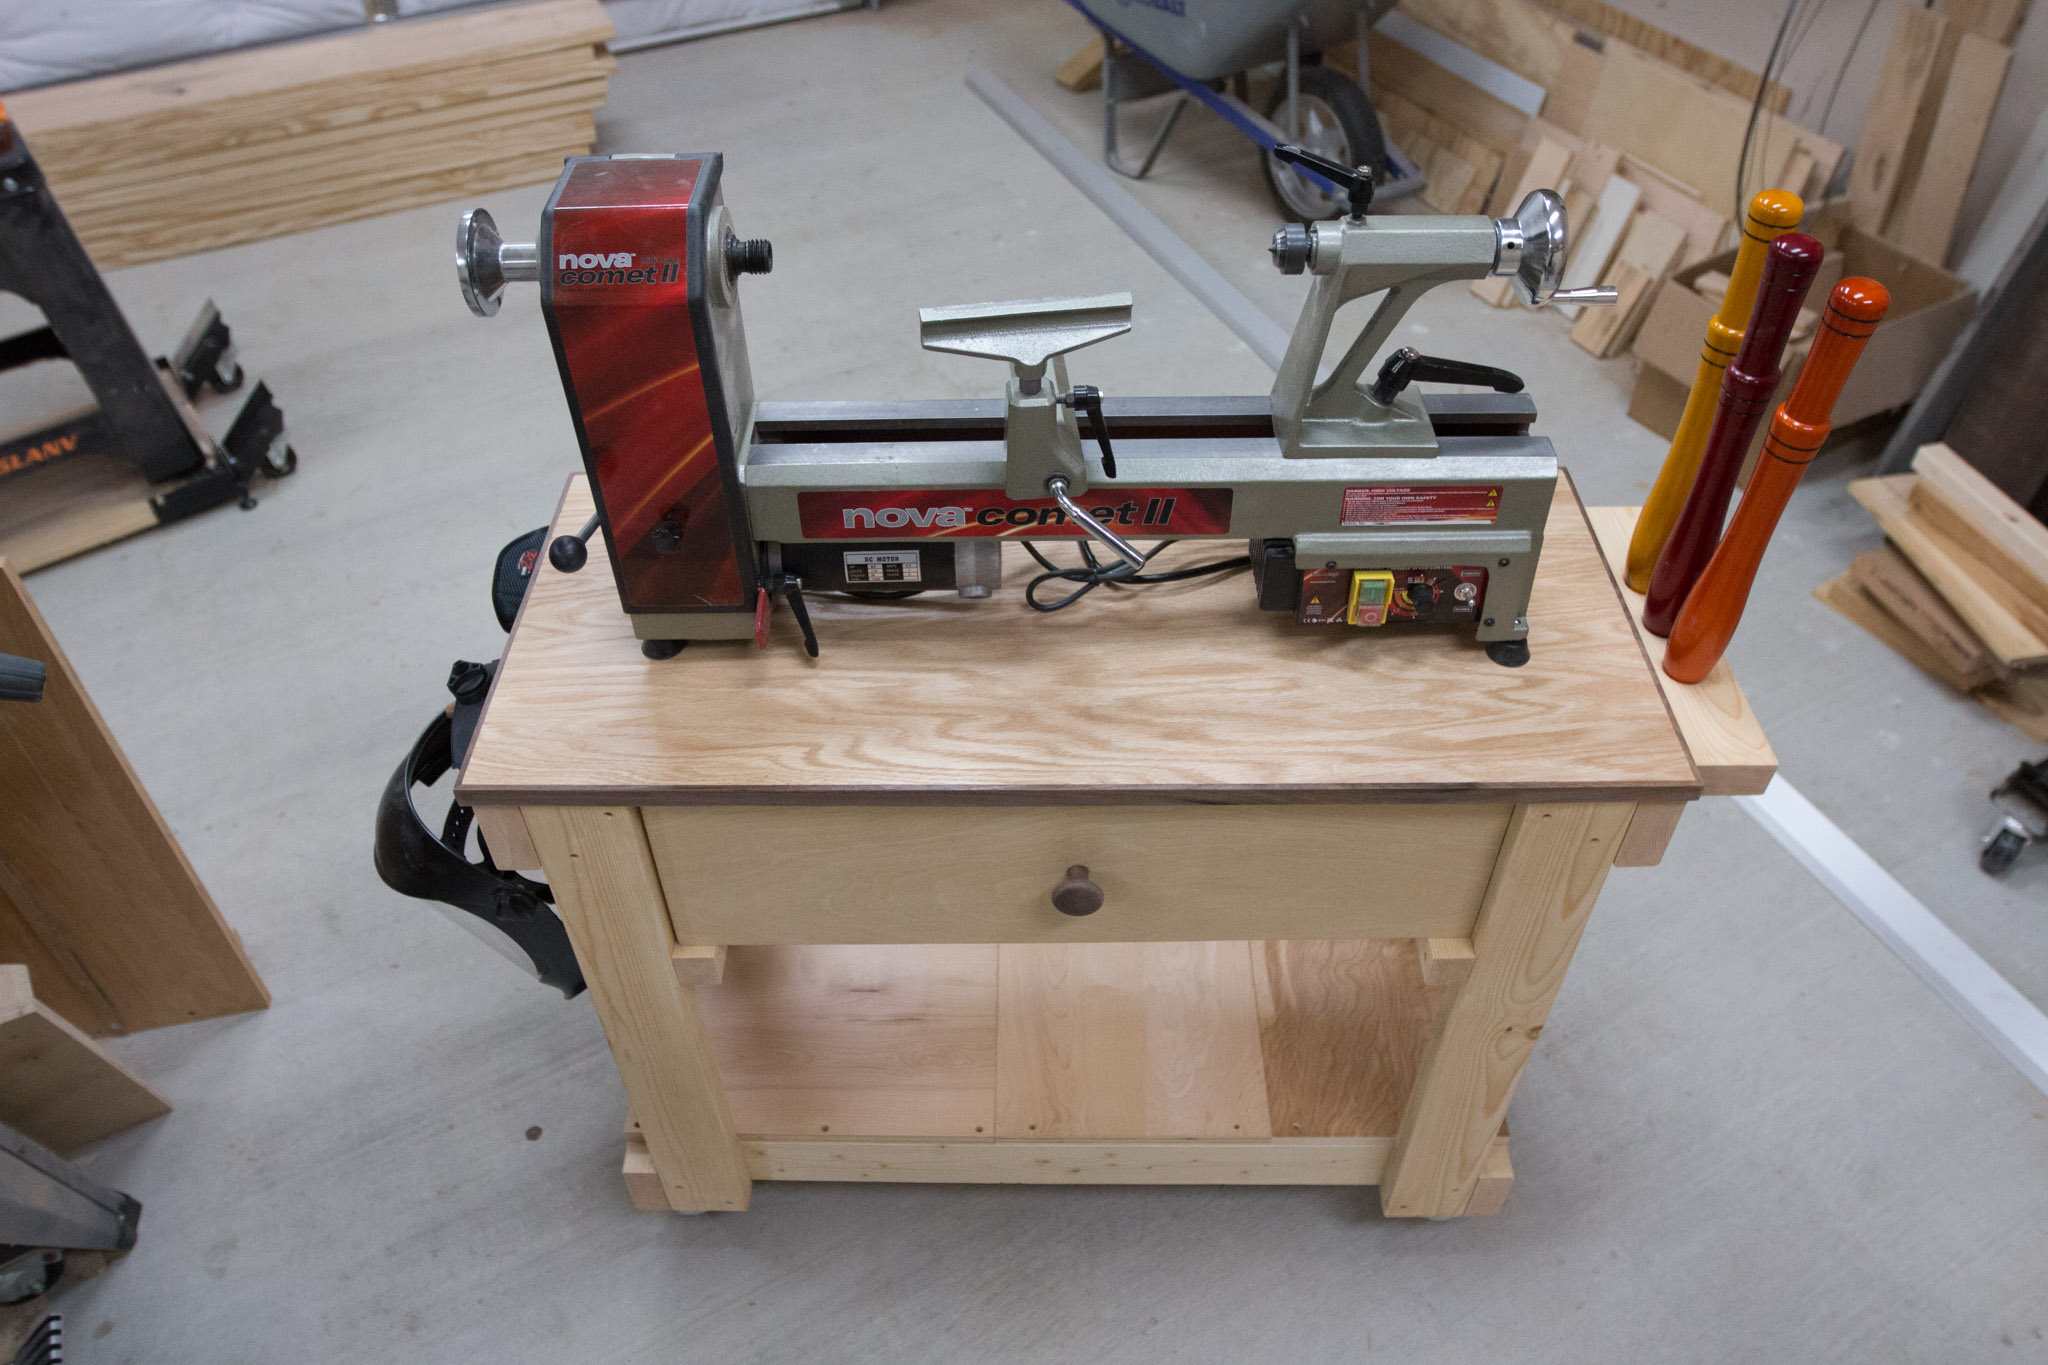
I recently picked up a lathe. It is a Nova Comet ii mini 12" lathe, and I have been enjoying going down the rabbit hole of turning things. It is a fun change from some other stuff in the shop. I have just been using it on top of my regular workbench/outfeed table, but that was a bit too tall for ideal height. From all that I read, ideal height is for the spindle to be at or a little above your elbow when you have it by your side, with your arm pointing forward. I chose to go a bit higher than right at my elbow, and I'm glad. It seems to be a good height. Let me know you how I made it.

TOOLS & MATERIALS
Table saw - http://amzn.to/2mVsahc
Miter saw - http://amzn.to/2EXgXnI
Lathe - http://amzn.to/2FZj0cc
Drill & driver - http://amzn.to/2DROqAA
Random orbit sander - http://amzn.to/2Dz7u9f
Nail gun - http://amzn.to/2DPxCtT
Compressor - http://amzn.to/2DPxCtT
Wood Glue - http://amzn.to/2DrjE4r
Casters - Buy at Home Depot
Water-based polyurethane - http://amzn.to/2G0Su23
STEPS

This lathe cart is going to be much like the miter cart I built a while back. (I didn't make a video of that) It is made from basic 2x4 construction with a few shelves. For this lathe cart, I'm not going to have a middle shelf like this one here, but rather a drawer right under the top and one open shelf at the bottom for storage of turning blanks and materials to use on the lathe.

I measured out the lathe to see exactly what kind of size I would need.

I found a piece of scrap plywood that would work for the top. This was leftover 3/4" oak hardwood plywood, so it looks a little nicer than the average piece of plywood. I'm not a big fan of the oak plywood though. I seem to have a lot of trouble with it splintering out wherever you cut it.

I measured the height of the casters I bought so that I could subtract that amount from my overall height. That way, the cart would be just the right height as mentioned above.

I broke down the 2x4's into all of the parts needed.

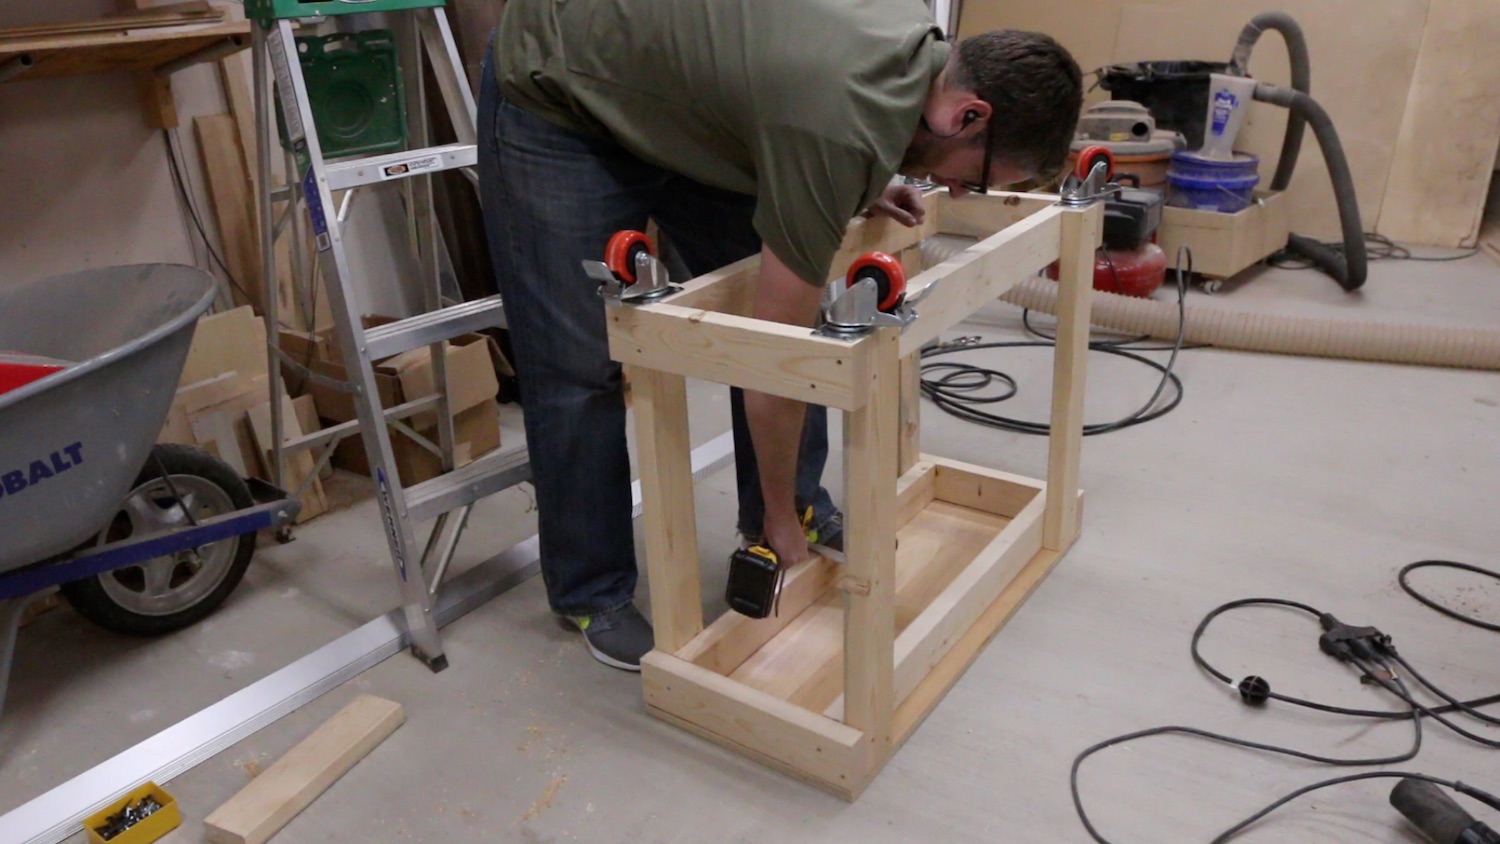
Then, I started attaching the pieces together for the 2 sub-assemblies.


Once the two sub-assemblies were done, I could attach them to one another.


I marked, pre-drilled and secured the casters.
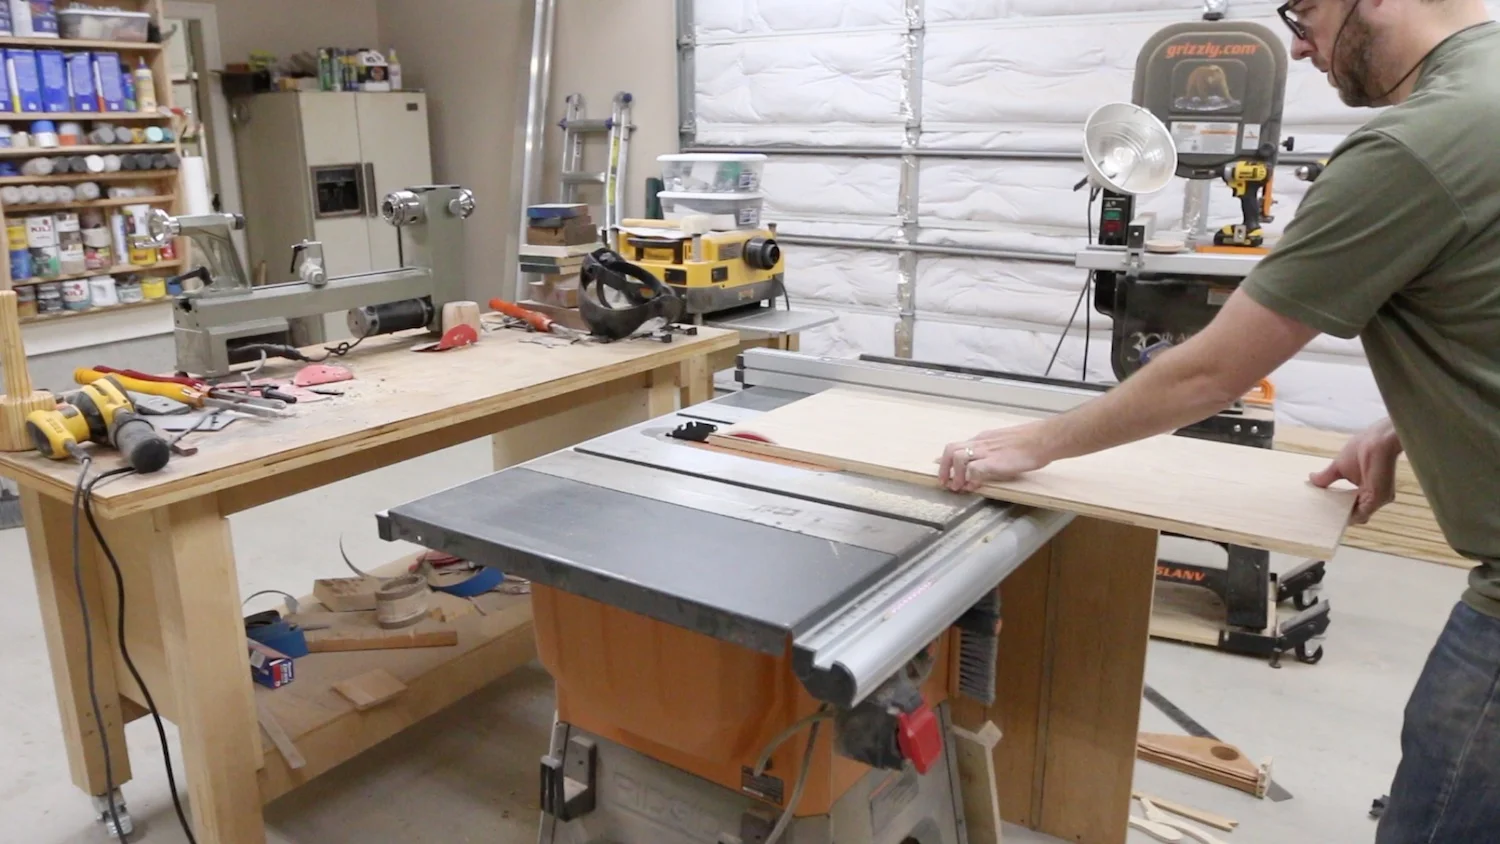
Then, I ripped the top to its final dimension.

I made some edge banding for the top from a piece of scrap walnut I had. I cut the thin strips at the bandsaw.

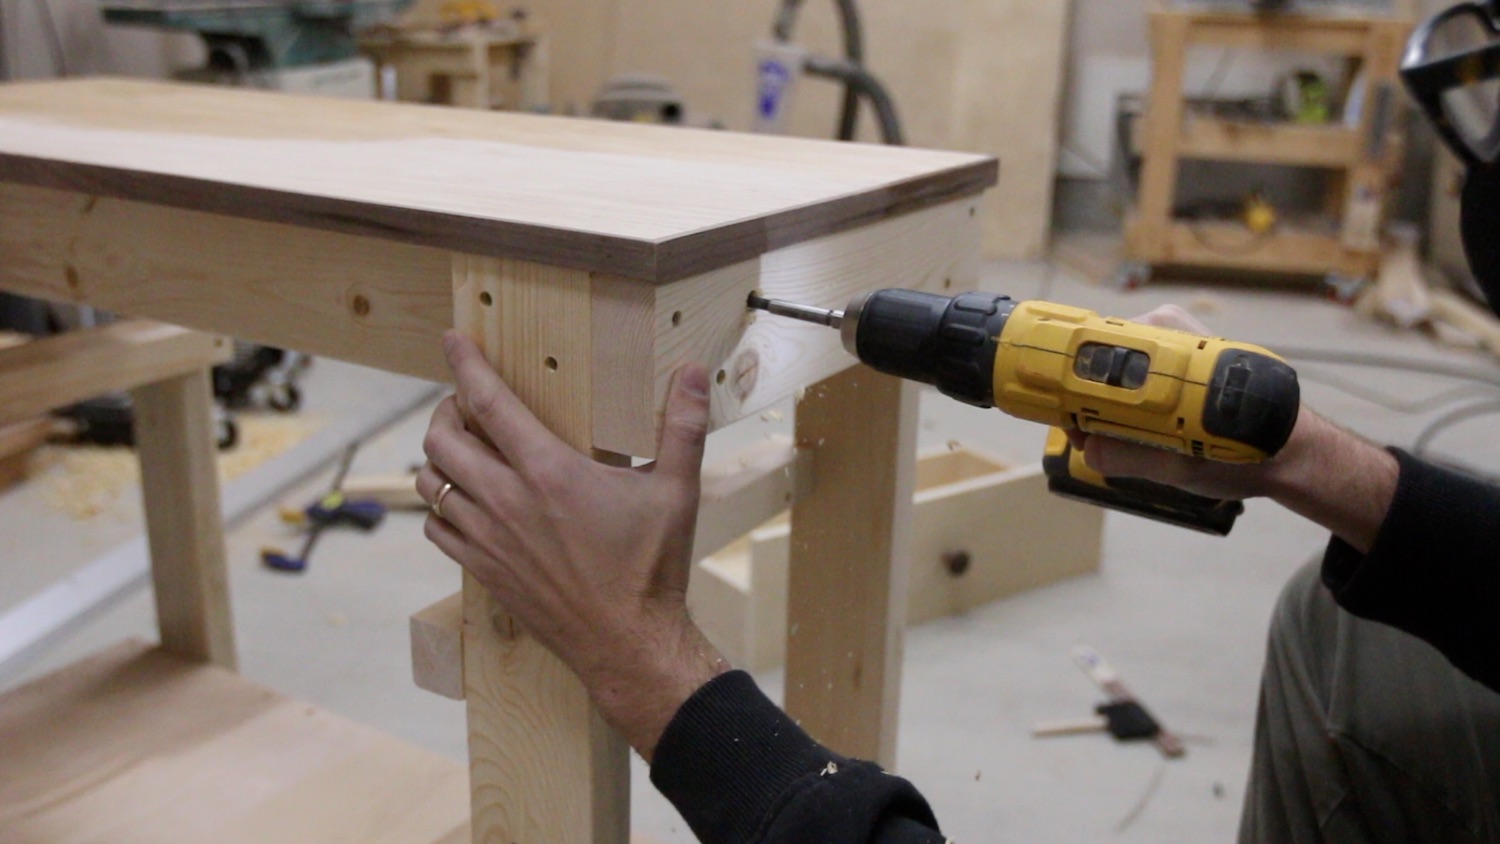
I also added some pocket holes just underneath the top. This is how I determined that I would secure the top, so that there would be no holes in the top.
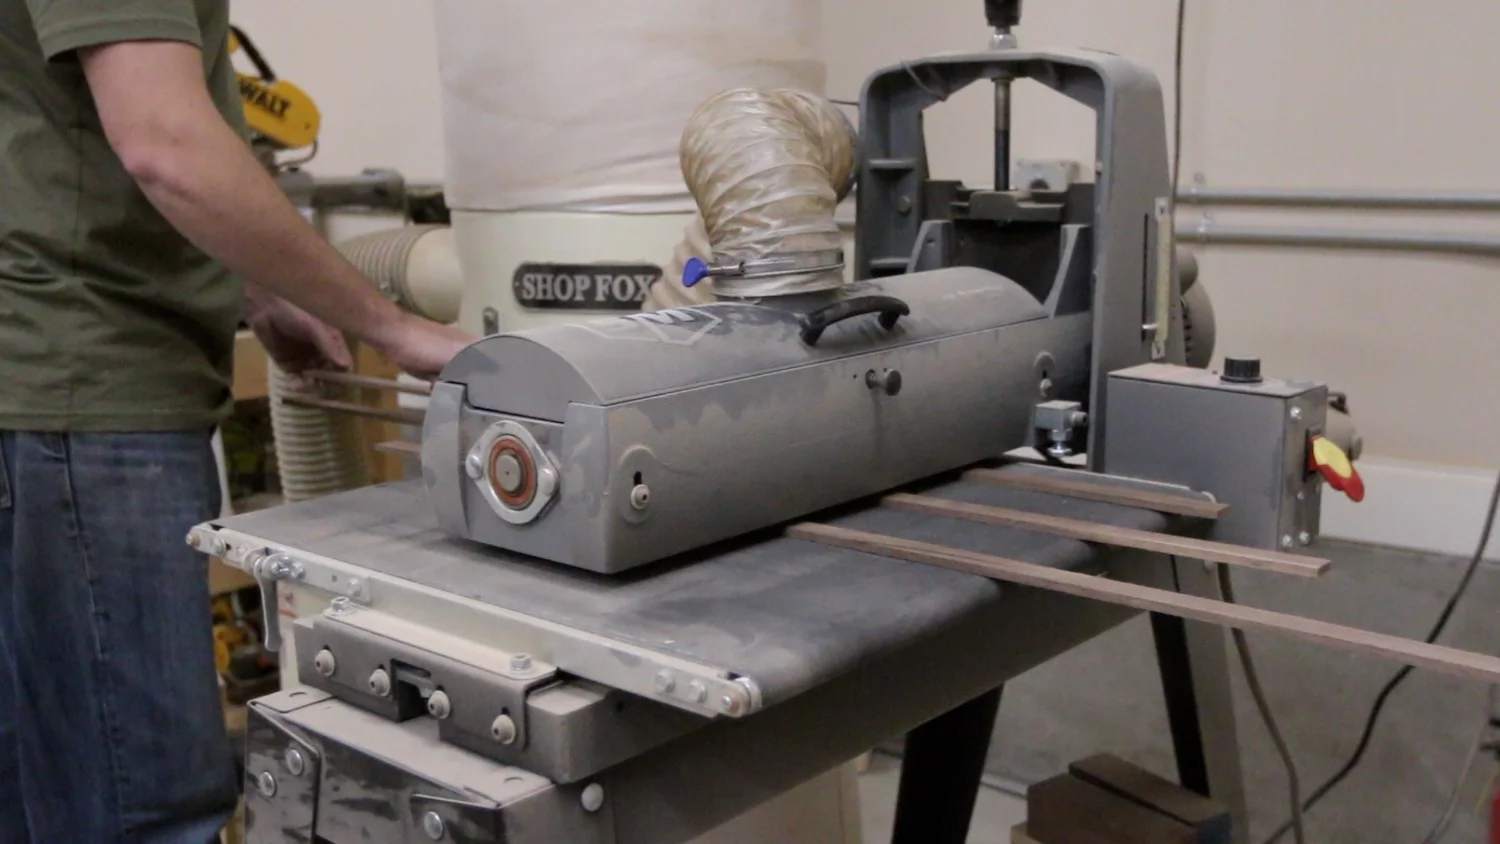
Before adding the walnut edge banding, I refined the thickness at the drum sander.

Then, it was off to my 45 degree crosscut sled. I made this based off of Steve Ramsey's video, and I have used it a lot!

I marked the miters as I went so I could get a really nice fit. Then, I just took them back to my miter sled to cut them.

I secured the edge banding with some glue and brad nails.

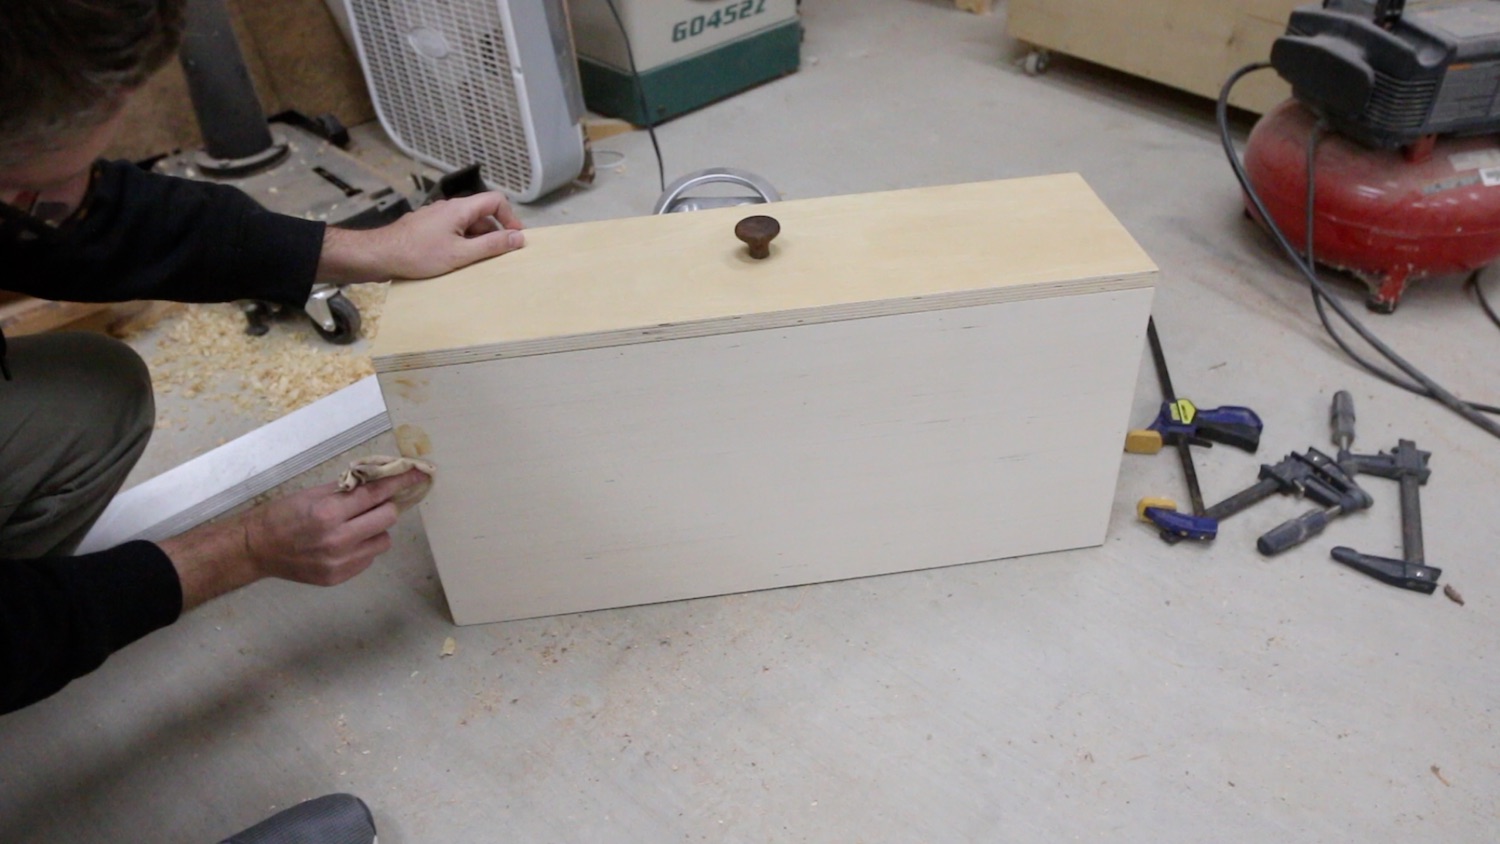
There was a dinged up spot on the plywood, so I used some wood glue and a little sawdust that matched the trim to make some wood filler. To do this, just put a little glue on the area, and then mix in the sawdust until is is pretty much dry. It takes just a minute of rubbing it in, but it works really well.


Then, I sanded everything down.


I turned a quick drawer pull off camera. I added some paste wax to it just to protect it a bit.

I cut some pieces to go underneath to make up the shelf. These were just scrap that I had lying around. It didn't have a continuous grain pattern all the way through since it was not one piece or cut from the same piece, but that's ok. I didn't pay anything for these pieces since they were leftover from other projects.


I secured the shelf pieces with a few screws.

I wanted a shallow drawer that could be used to hold all of my different chucks and lathe tools, all in one place. I put together a quick drawer out of some more scrap 3/4" plywood. I used some glue and a few brad nails to secure it all together.
I've never made wooden runners for a drawer, so I wanted to try that on this project. It is really simple. I just used some clamps to mock up where I wanted the drawer to sit. Then, I secured some boards that would act as the runners. There is no reason for the runners to be as thick as these are, but I just ripped a piece of a 2x4 in half that was a cutoff from the rest of the cart.

I ended up adding some little pieces to the outside of the wooden drawer slides so when the drawer was being pushed in, it would not be able to rack from side to side. Before I did this, the drawer had the tendency to kind of fall out the side of the section.

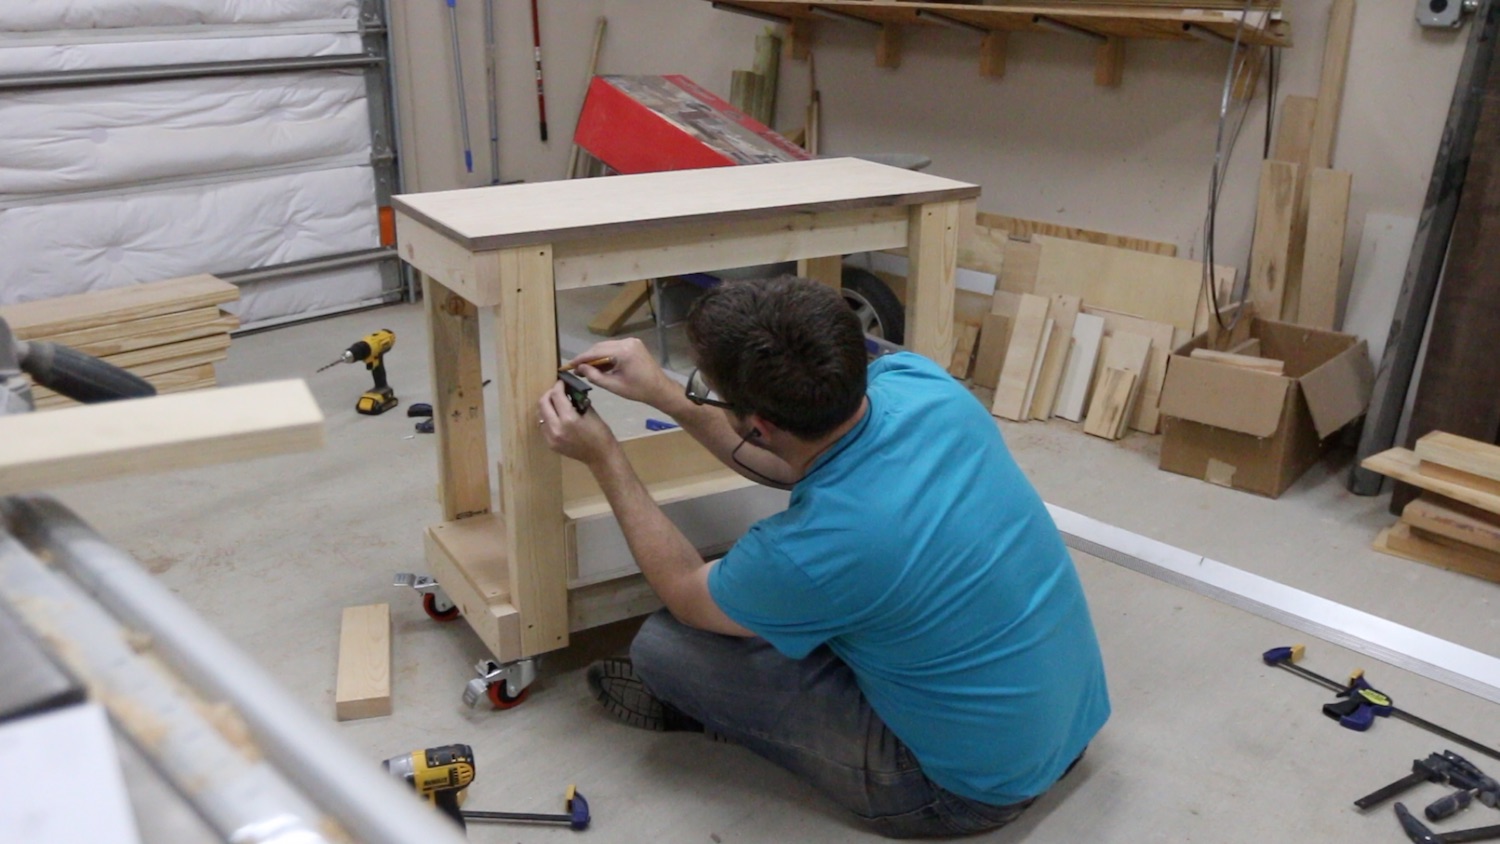
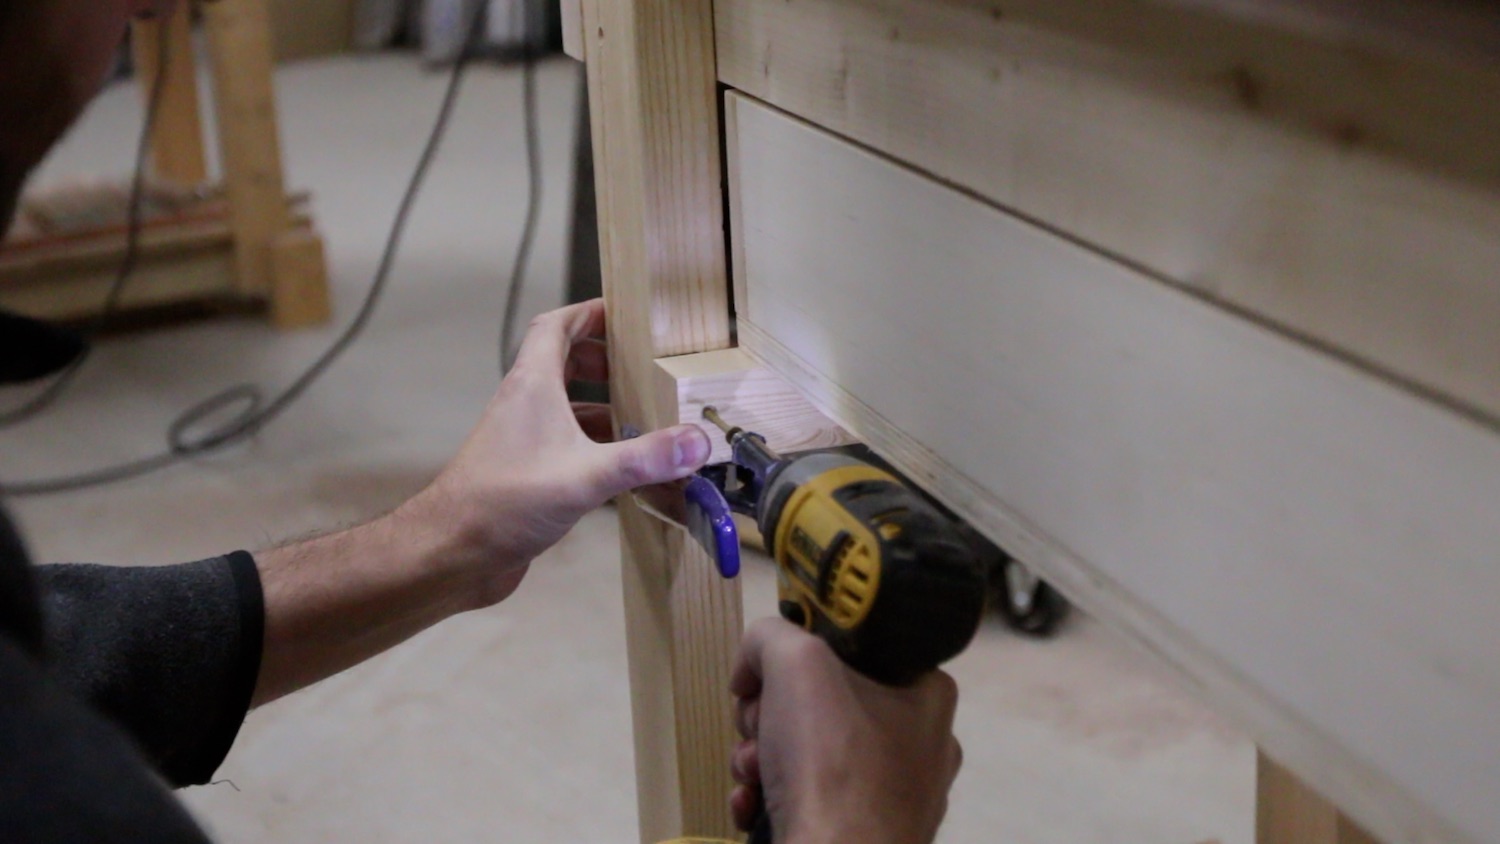
Next, I secured the false drawer front. I held it in place temporarily with a couple of clamps while I drilled from the inside and drove a few screws in. That way, the outside of the drawer front is nice and clean with no holes.

I added the drawer pull that I turned to the front, and the drawer was ready to try out.
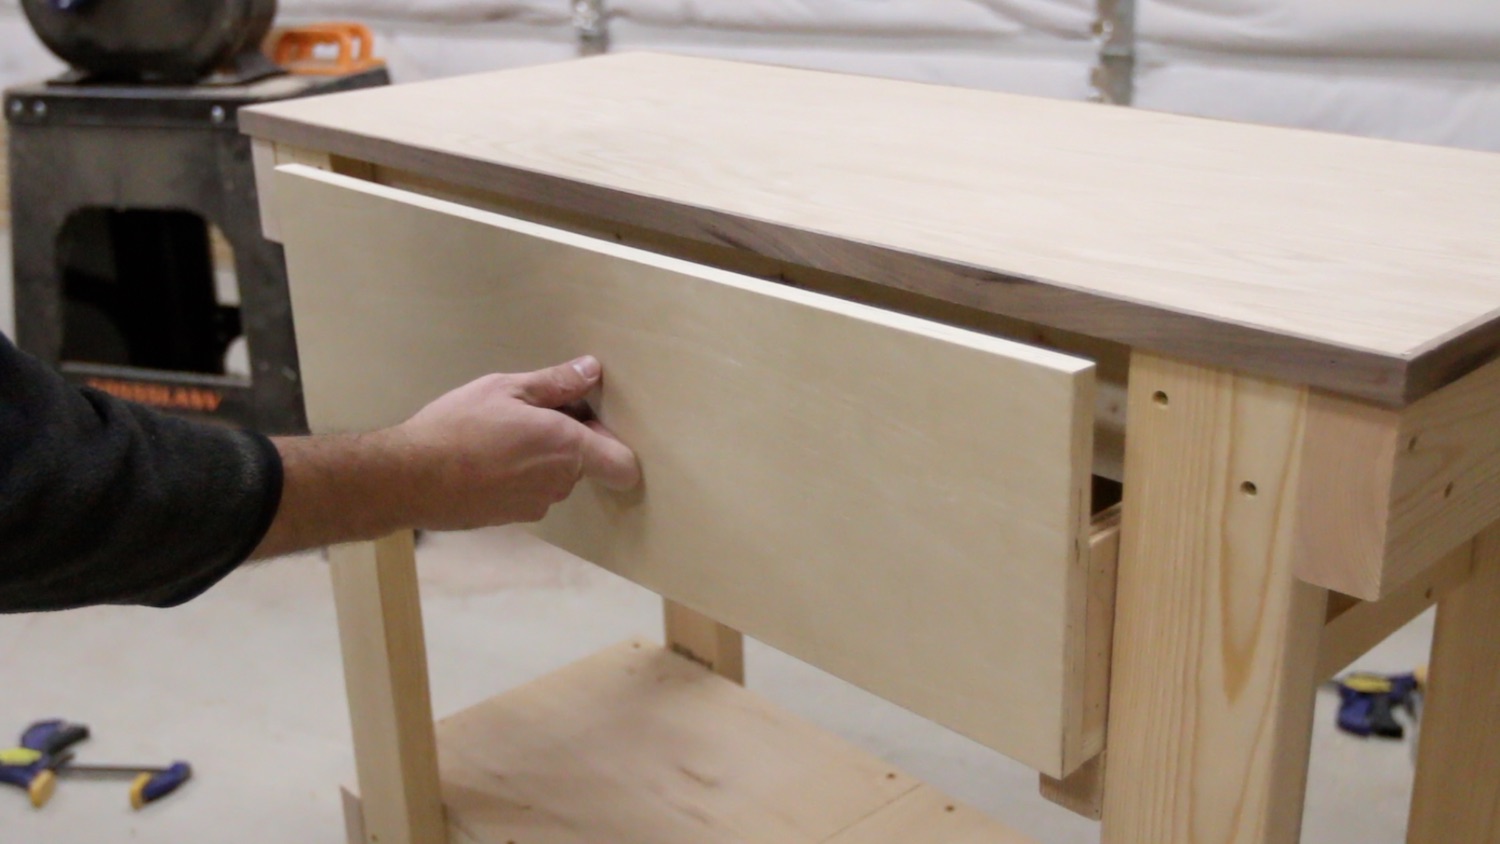
If you notice how the false drawer front is much taller than the actual drawer, that was on purpose. When closed, I wanted the front to have a sleek look, and I'm glad I did this. It looks really great!

I needed to make a toolrest for my turning tools. I decided to keep with the simple theme and just use a 2x4. I grabbed one of the cutoffs from making the base of the cart and drilled three holes out of the center. I made sure to measure my actual turning tools to see how far apart they needed to be to sit comfortably. I also drilled out a couple of holes in the long side of the 2x4 so I could secure it to the side of the cart.


I added a quick roundover to the holes, and the toolrest was ready to add to the cart.

On the other side of the cart, I decided to make a place for my face shield and a respirator to hang. That way, there is no excuse not to use them every time I turn. I drilled a couple of quick holes, added some dowels and it was time for finish.


I put on a couple of coats of a water-based polyurethane, sanding in between with 320 grit sandpaper.
Then, I put some paste wax on the parts of the drawer that would slide against one another. That made everything slide very nicely.


CONCLUSION
Thank you for following along with this project! I really like how it turned out! I am especially glad to have everything in one place, so when I'm ready to turn, I can go to the lathe cart and get started. Having it on casters will afford me the ability to wheel it out in the driveway when it is a pretty day outside and turn in the fresh air.