How to Make a Walnut Bowl
VIDEO
In this video, I show how to make a simple walnut bowl. Take a look and follow along with the details below:
BACKGROUND
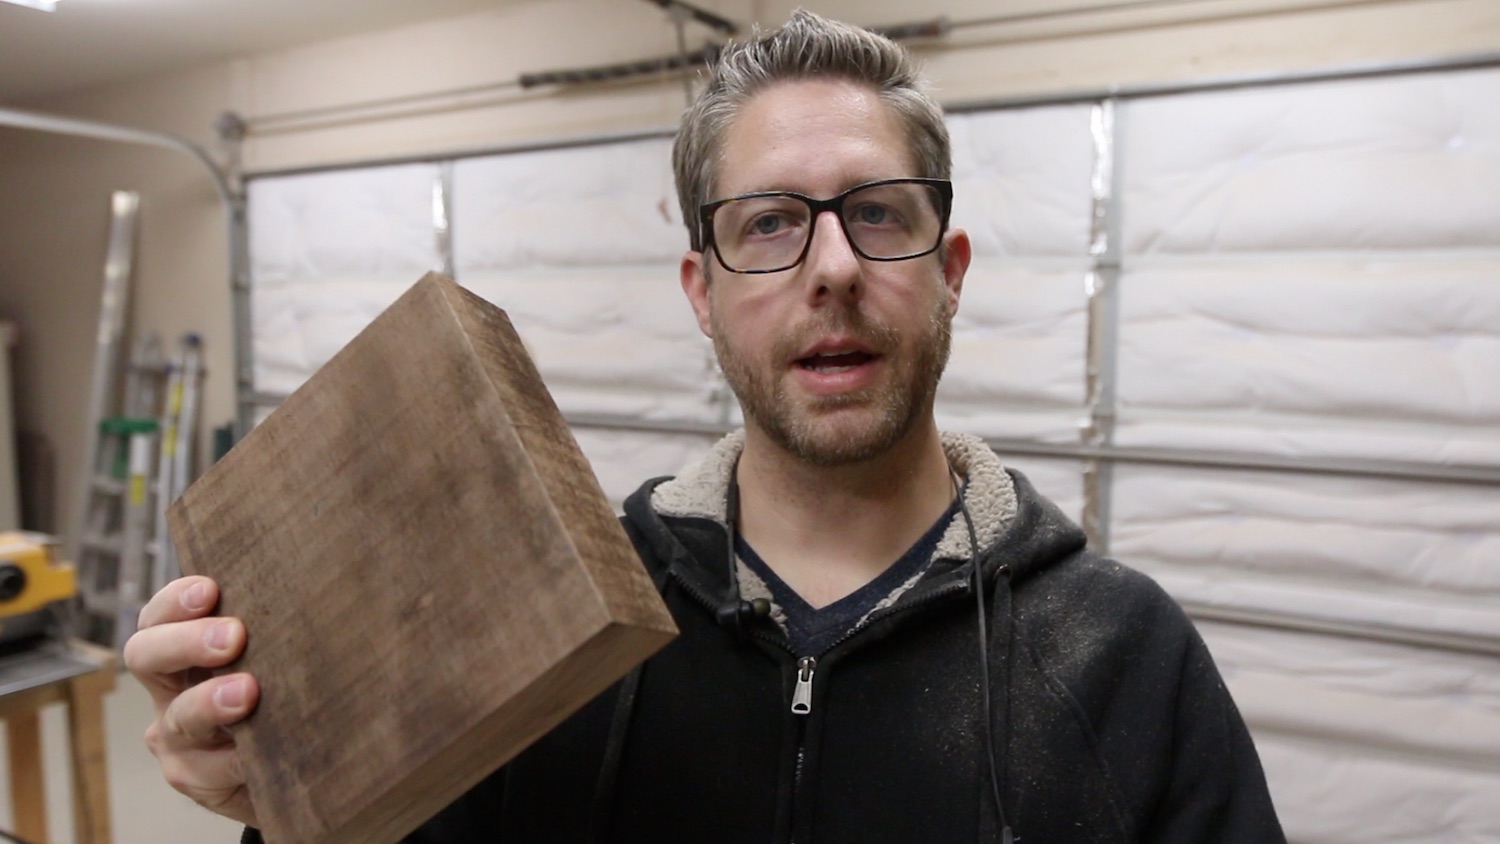
I recently picked up a wood lathe. I've always wanted one, and finally pulled the plug. I've been trying my hand at a few turning projects in the last few weeks, and I've been liking the bowl-creating process. I had some walnut on hand, so I found a piece that I thought would work, and took it to the lathe to try out.
TOOLS & MATERIALS
Drill & driver - http://amzn.to/2C0JDfa
Lathe - http://amzn.to/2oJkH6J
Sandpaper - http://amzn.to/2H6W4rl
Easy Wood Tools carbide cutters - http://amzn.to/2FdLVMK
Mineral oil - buy locally
STEPS
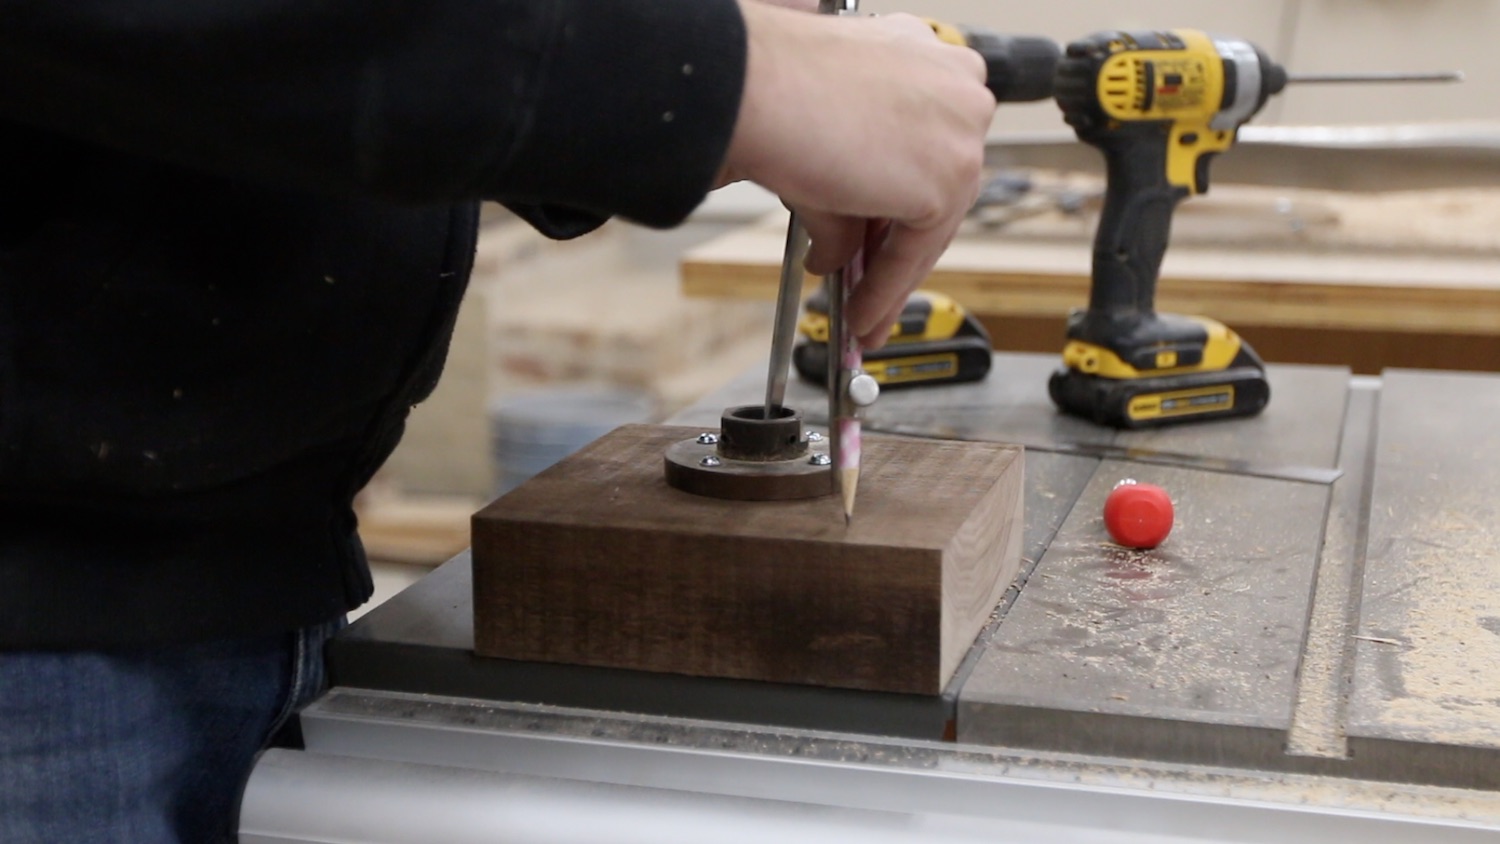
I started off by cutting out my blank. I started out with about a 7" x 7" blank. After I found center and secured the faceplate, I cut off excess weight in the corners to make it more like a circle when I started. I like to use a large compass to find this circle. This makes it much easier when you actually start turning it on the lathe. You don't have any of the sharp corners that are more prone to catching on your tools.
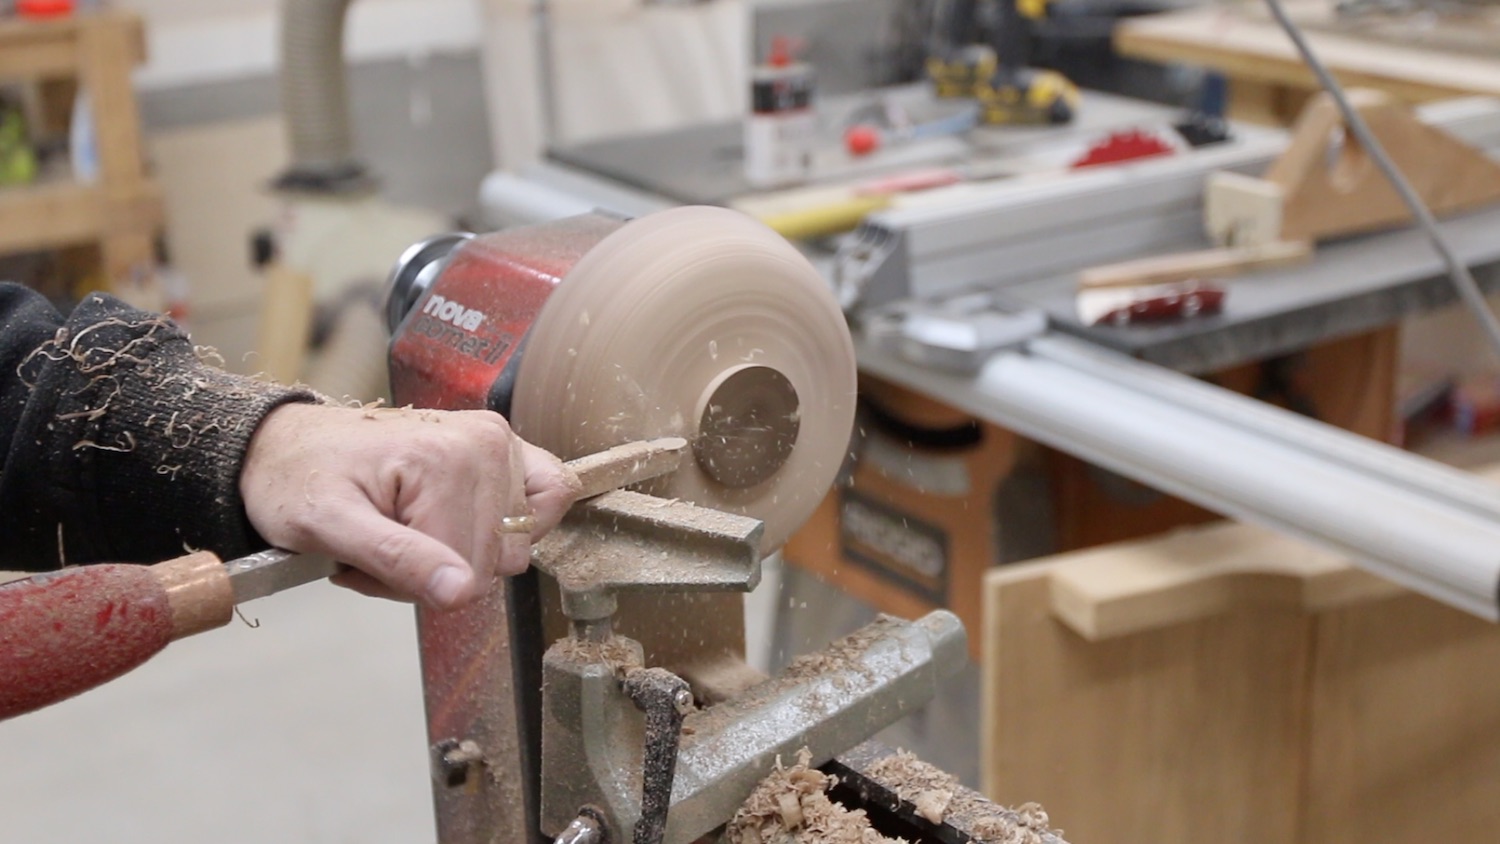
Once I got it into round by roughing it out, I added a tenon on the underside of the bowl. This would later be used to turn the piece around and be held by the chuck, so I could finish the inside of the bowl.
I switched to my round carbide tool to finish shaping the bottom of the bowl.
One thing to remember is that your cutting tool needs to be right at the center of your workpiece. Adjust the toolrest height so you can dial this in exactly.
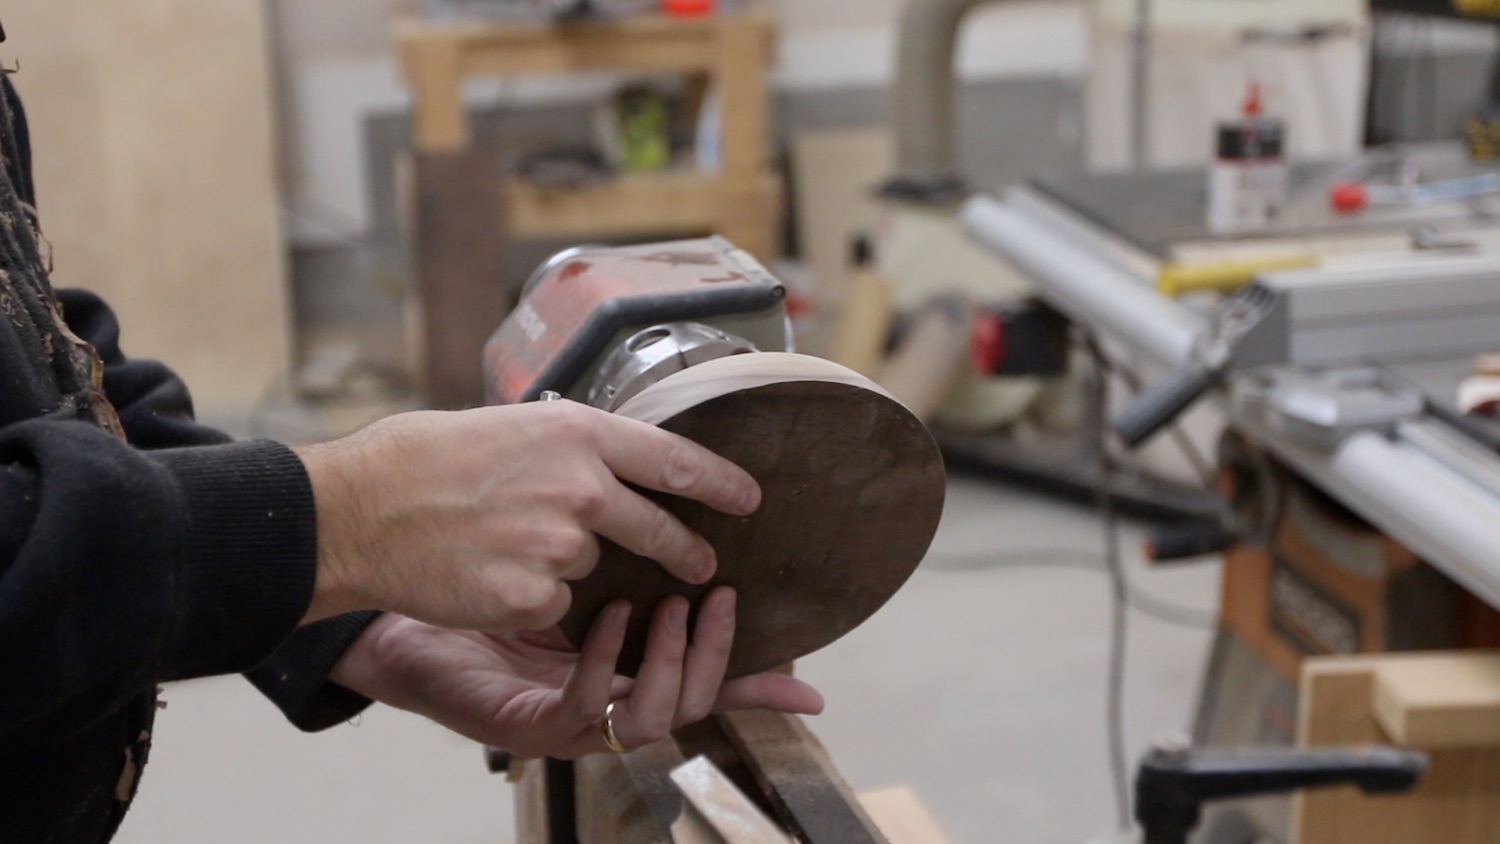
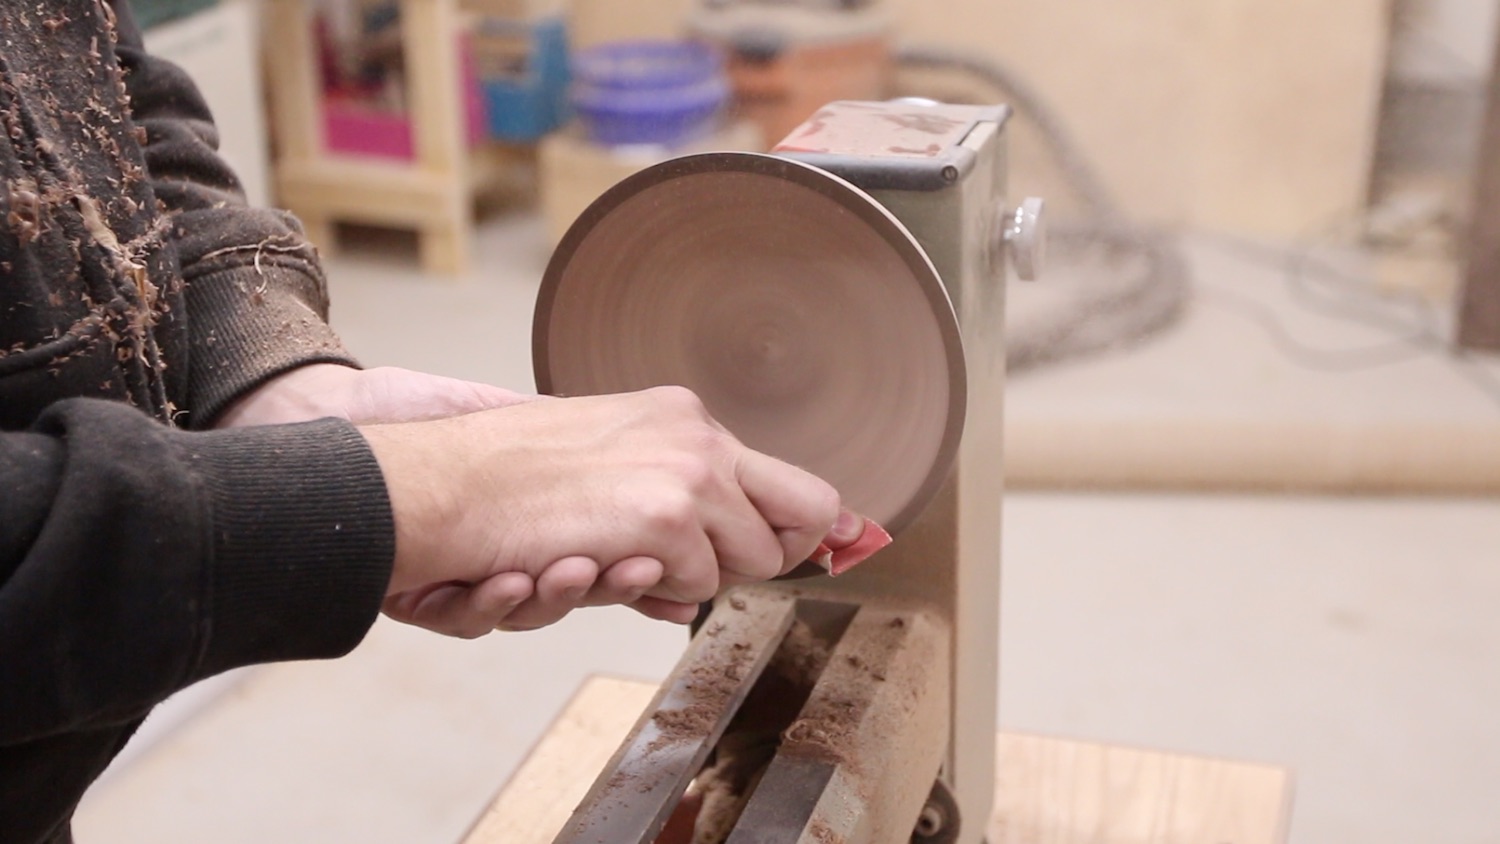
Be sure to sand the outside of the bowl as much as you can while the faceplate is still attached. It is much easier.
Flip the piece around, and use the lathe chuck to grab the tenon that was turned earlier.
Now, we can start working on the inside of the bowl. Even though there is a lot of material to remove, remember to just take it slow. Don't try to remove too much at once, or you will get some tear out and it will be even harder to fix. I'm using the round tool again here to remove all of the material from the inside of the bowl.
After a little sanding on the inside of the bowl, it is ready to remove from the lathe.
Off camera, I went back and turned more off of the bowl. It was just a little bulky in my opinion, and I wanted it to be thinner. So, I chucked it up in the lathe again and turned off some more of the heft. I almost got it too thin though, because you could tell by the sound when tapping on the bottom of the bowl that I almost punched through it.
I finished the bowl with some mineral oil. I used the lathe to help me buff it into the surface of the bowl. I have been quite pleased with the finish the mineral oil leaves once buffed in like this.
CONCLUSION
Overall, this was a very cool process. The cool thing is that if you don't like the way something turned out, you can always try turning it into a different shape. One thing to note though is that whenever you chuck a piece back up on the lathe, it is not likely to ever be in the same orientation again, so you will likely have to round it out again slightly. That has been the biggest thing for me to get used to.
Thanks for following along with this project! Let me know below if you have any comments or questions!

