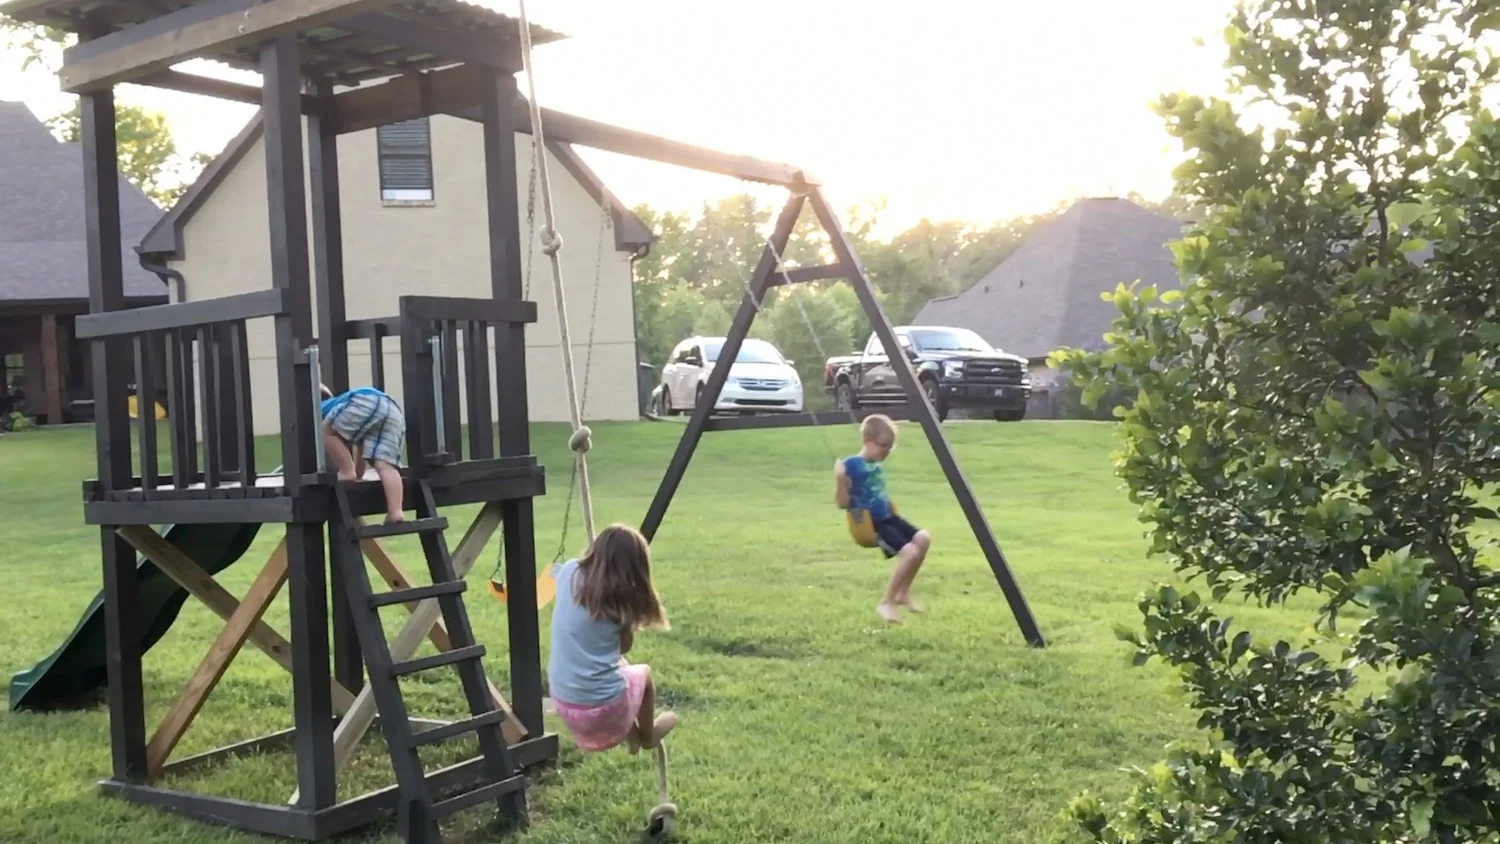
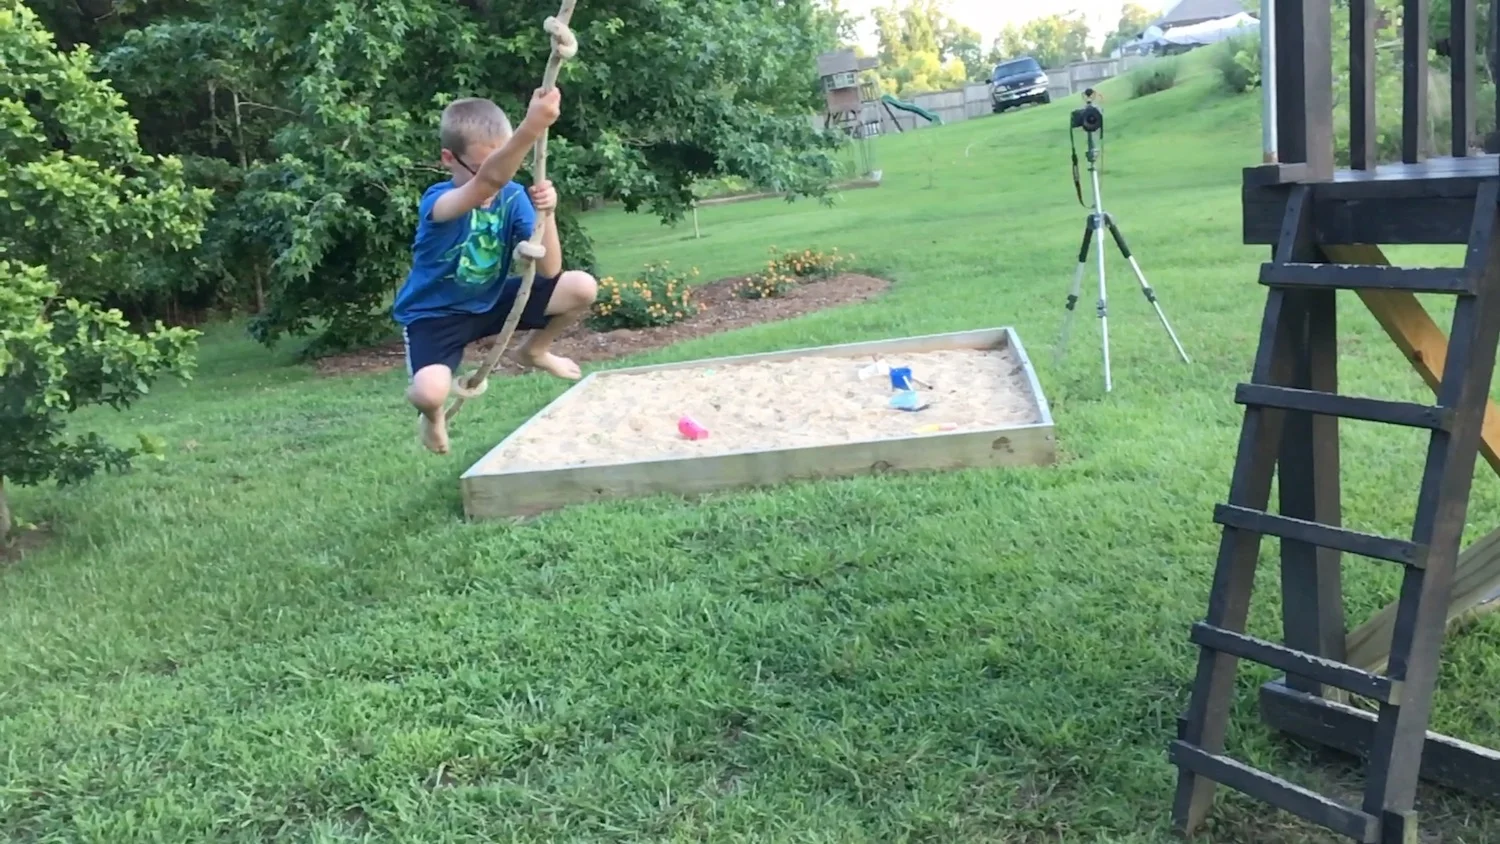
Rope Swing for a Kids' Playhouse
My kids love climbing...trees...hills...pretty much anything they can. Do you know what they needed?
A rope swing and climbing area on their playhouse in the backyard.
VIDEO
In this video, I'll show you how I added a rope swing/rope climb to the kids' playhouse that I built a few years ago. My older two kids are really into climbing and swinging, so this was the perfect thing for them. Watch the video or follow along below with the details:
BACKGROUND
I few years ago, I built a pretty large kids' playhouse in the backyard. I made it extra tall so that the there was a lot of swing and the kids could go high. They're out there a lot, and I wanted to add something on that would keep them interested in yet another activity out there.
So, why add it now?
My dad has a bunch of this huge, marine rope that he ended up with...hundreds and hundreds of feet of it...so he is always looking for something to use it on. This was the perfect project to use that rope, and it just seemed like the right time. Oh, and he had a 4x4 that was in his barn that we could use to secure it!
They have a playhouse at their house (Grammy & Pop-pop) and it already has a rope swing. The kids love it and use it all of the time, so we knew it was a good bet to add one at our house.
TOOLS & MATERIALS
What do you need to build it?
(These are affiliate links. Clicking on them and buying anything on amazon helps support me, at no extra cost to you.)
Marine rope - https://amzn.to/2lPp2mN
4x4 (treated) - Mine was free but you can get one at any local store
Miter saw - https://amzn.to/2KFEoIG
Drill & driver - https://amzn.to/2z4ivxW
Belt Sander - https://amzn.to/2KGoJsI
Screws
Bolts
STEPS
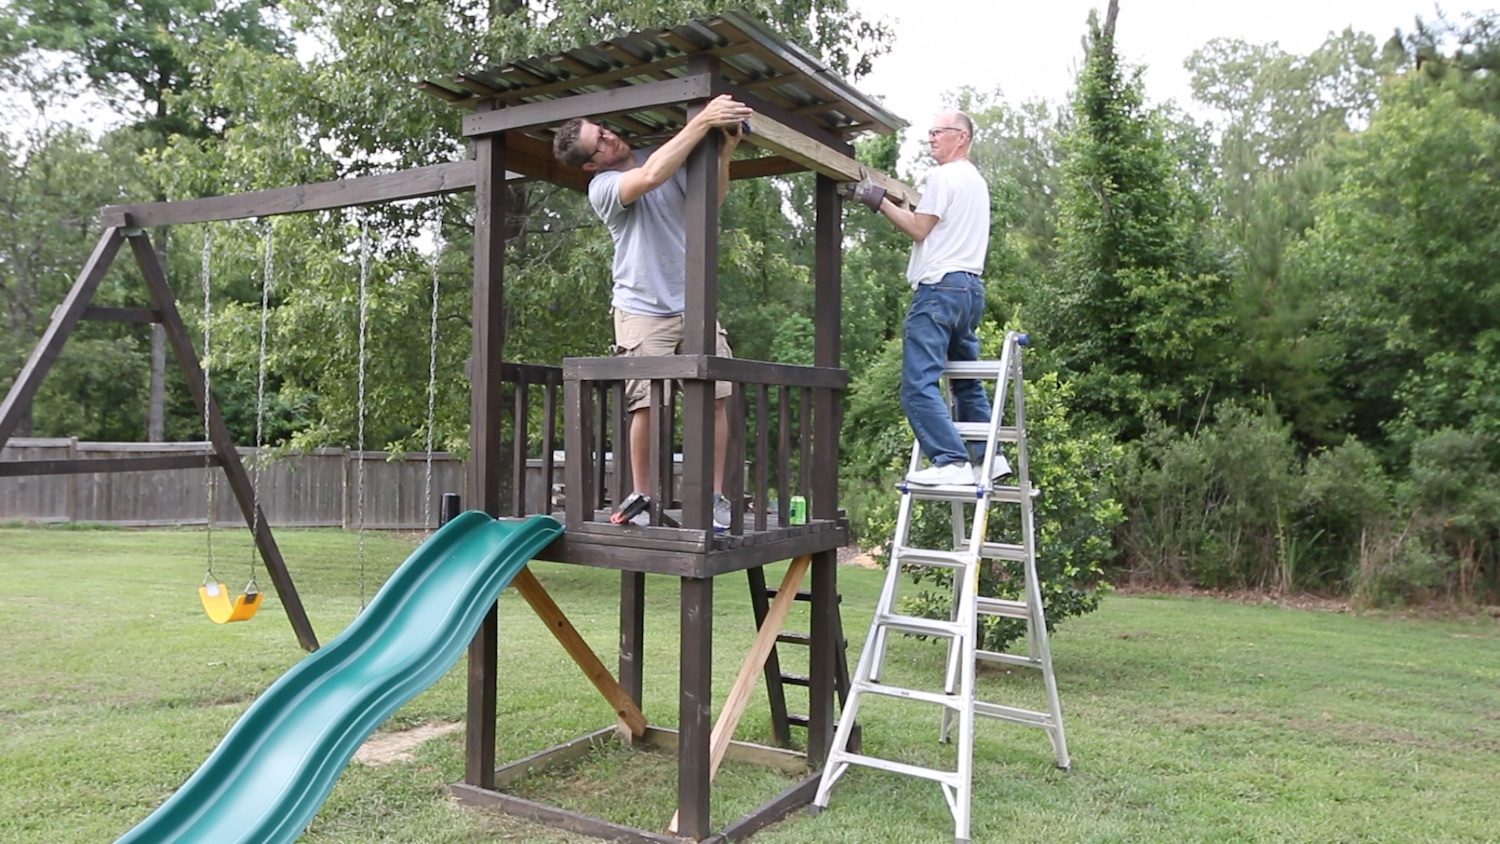
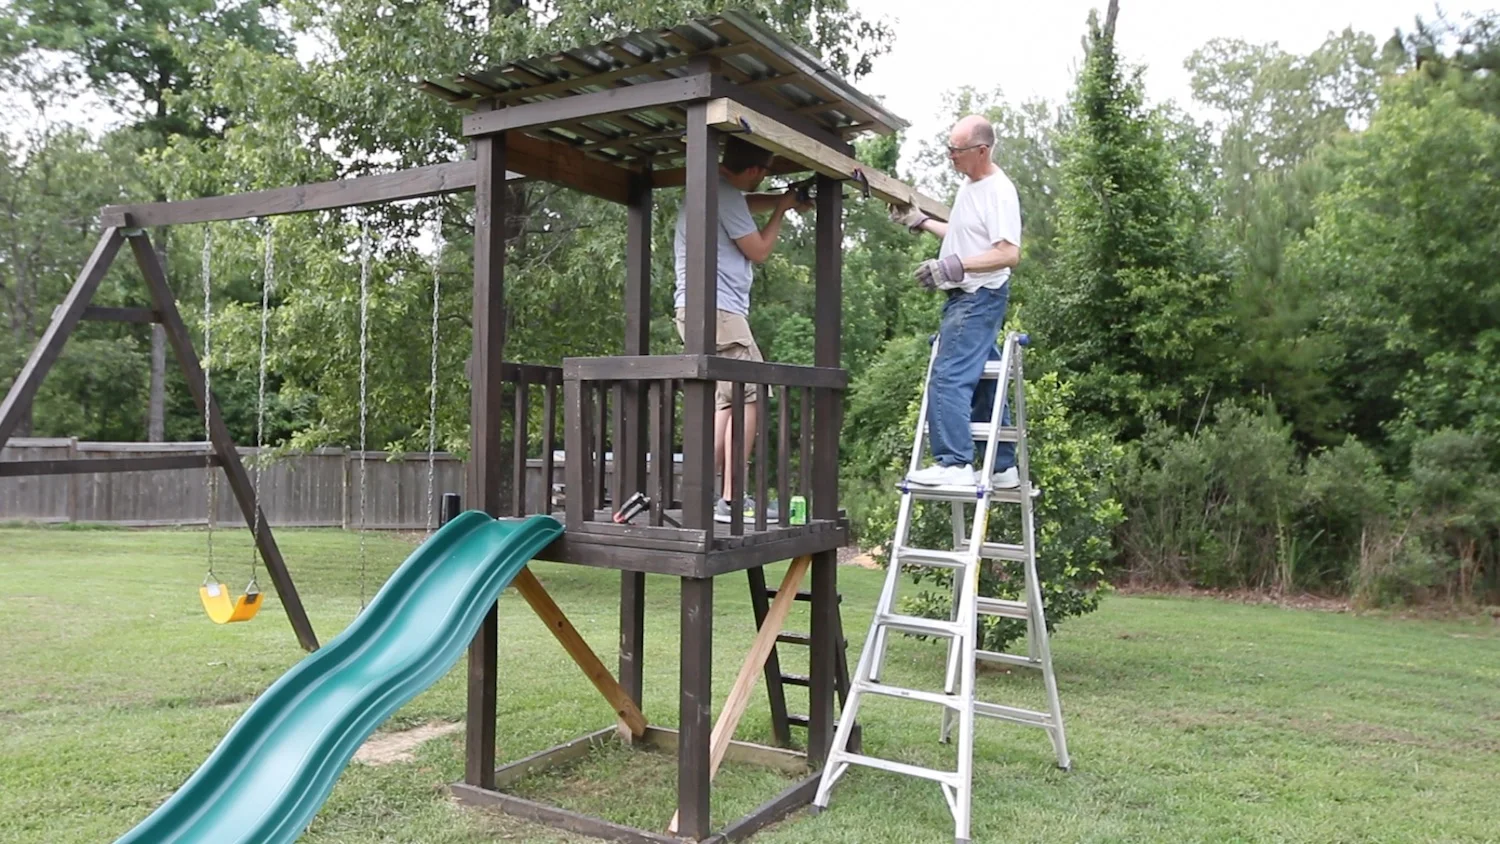
I started off by assessing where the 4x4 needed to be installed so that the rope swing would work optimally. My dad was on site to help me with the install. We found the spot where we thought the 4x4 should go, and started off by marking out how long we needed the 4x4 to be.
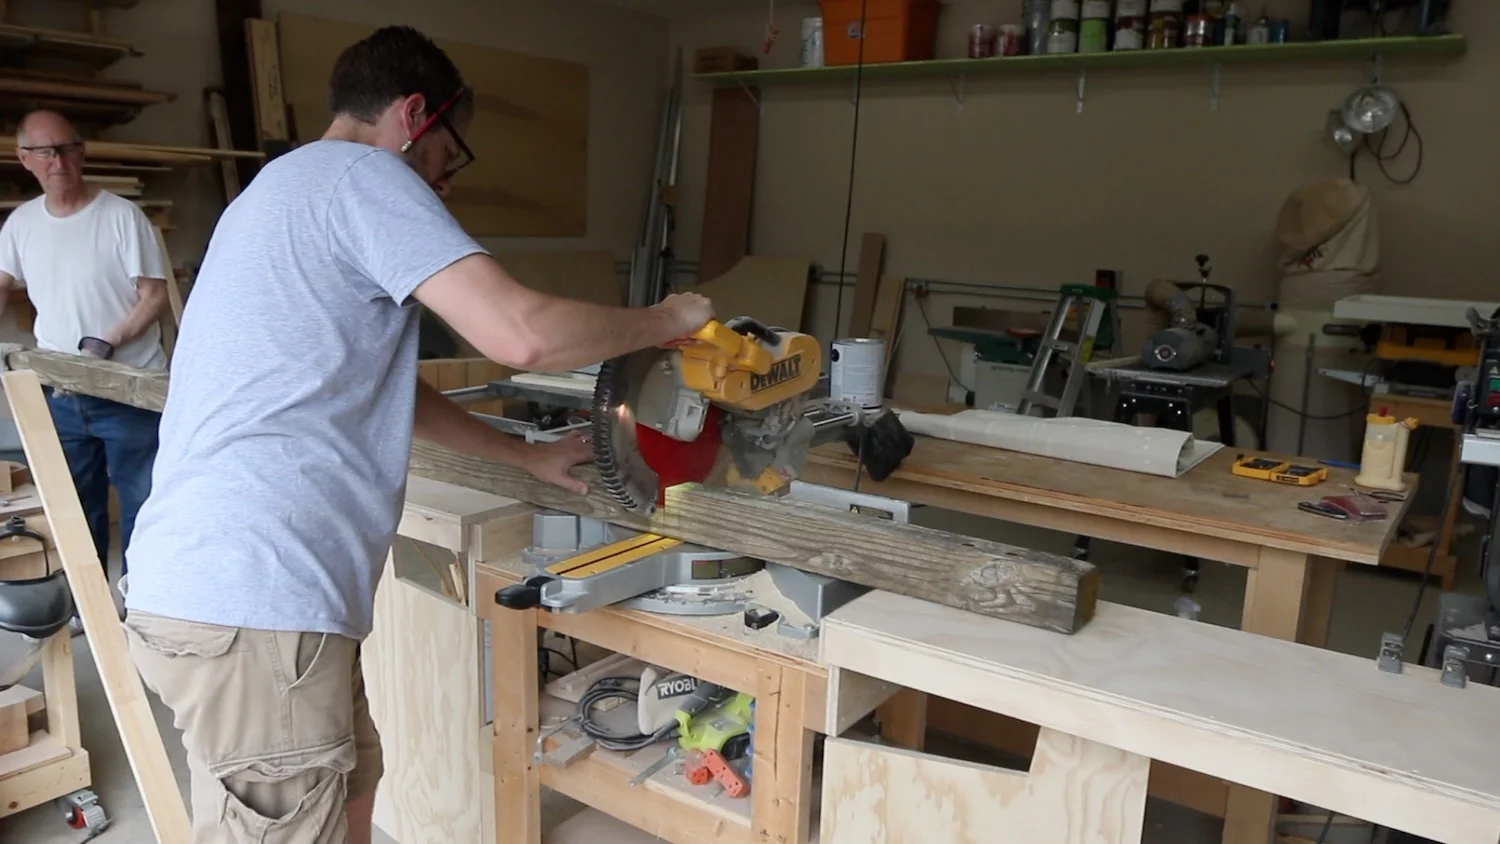
Then, I used a speed square to mark those lines and took it to the garage to cut it on my miter saw. I trimmed off just a little from one side, and then cut it to final length.
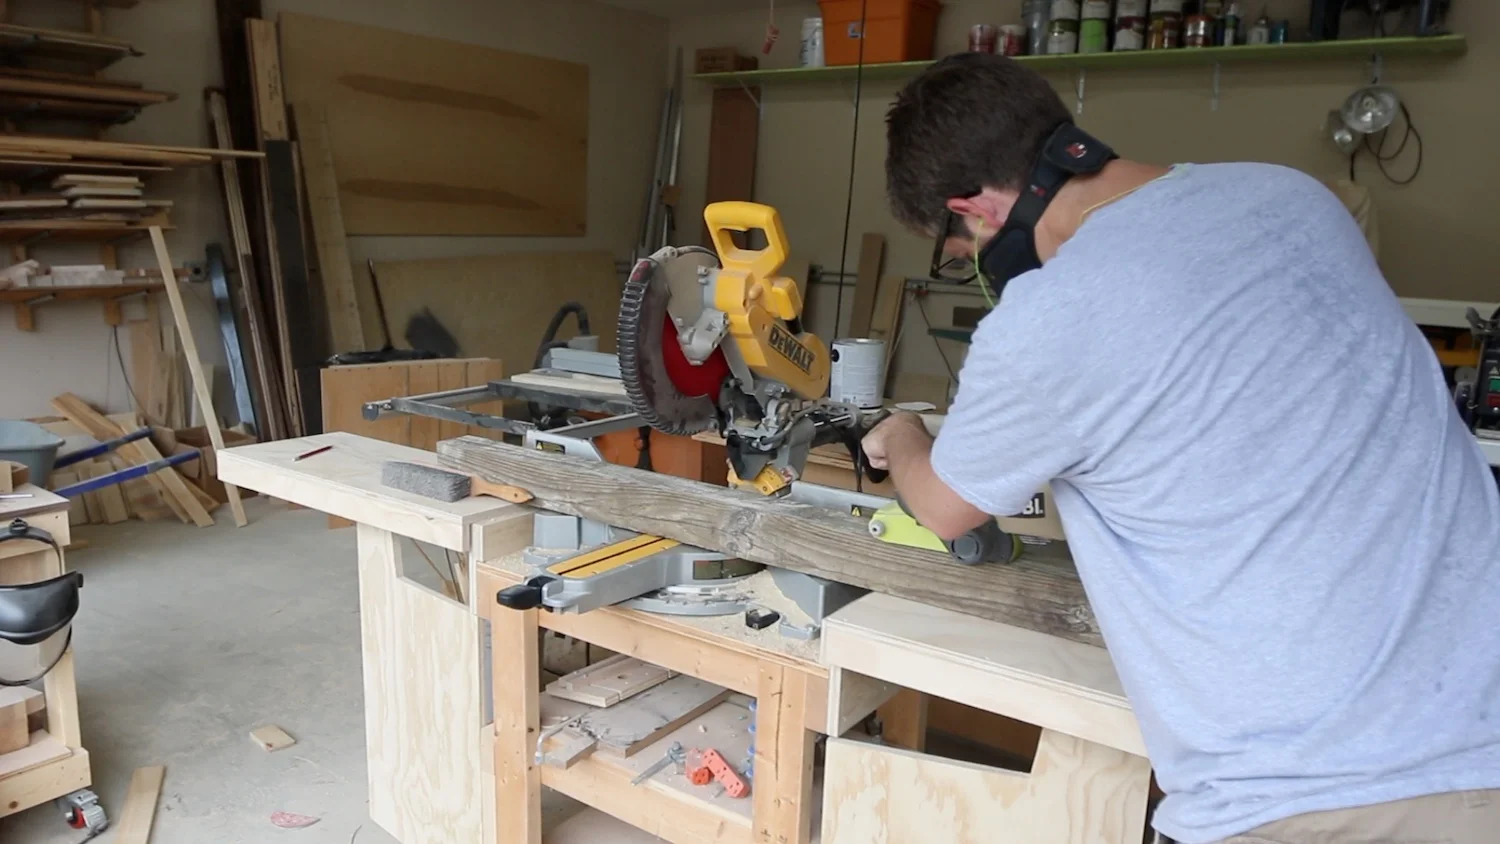
Then, I used the belt sander to remove some of the dirt and grime off of the board, and get it down to a pretty smooth surface. This board had been sitting in my dad's barn for years.
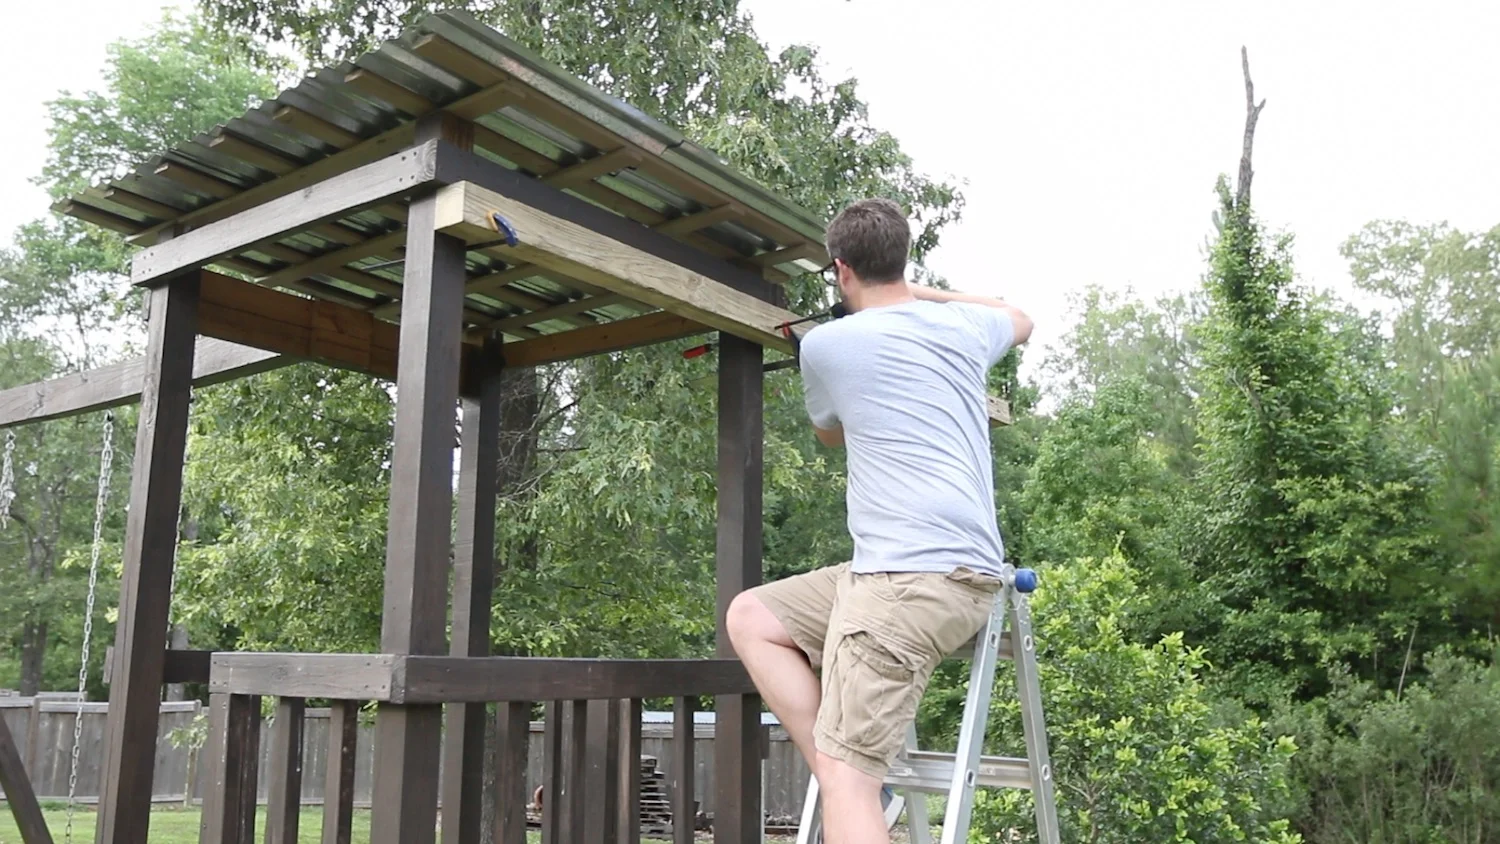
Next, I secured the 4x4 to the playhouse with some clamps. I doesn't really matter what clamps you use here...these are just to hold it until you can get the holes drilled and the bolts in.
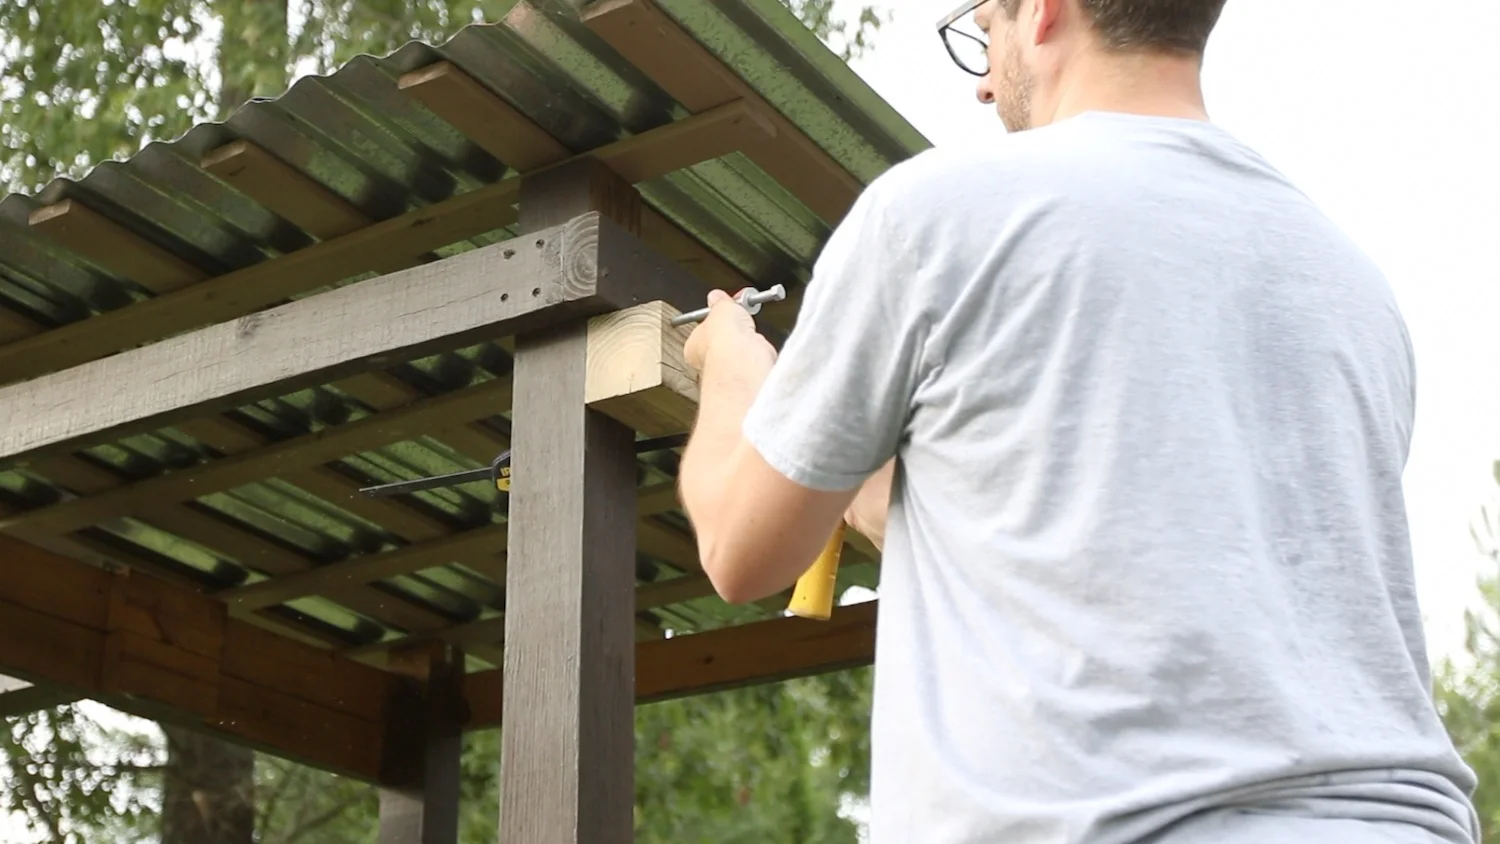
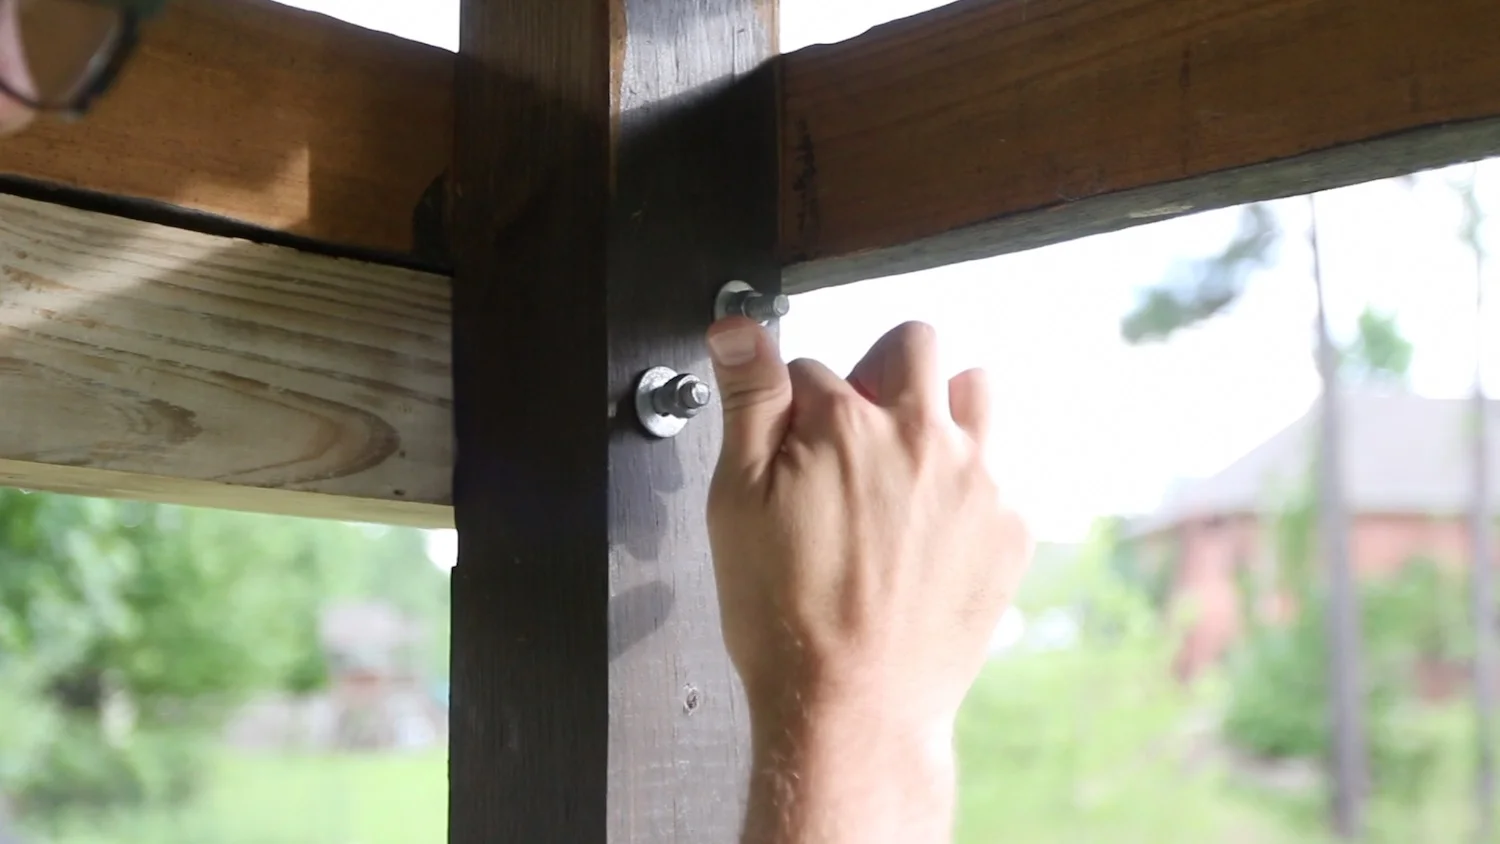
Then, I drilled out a couple of holes to accept the bolts in each post. Some of the holes were a little tight, so I had to hammer the bolts in. To secure the bolts, I used a socket attachment on my drill and a closed end wrench to cinch up the nuts on the other side.
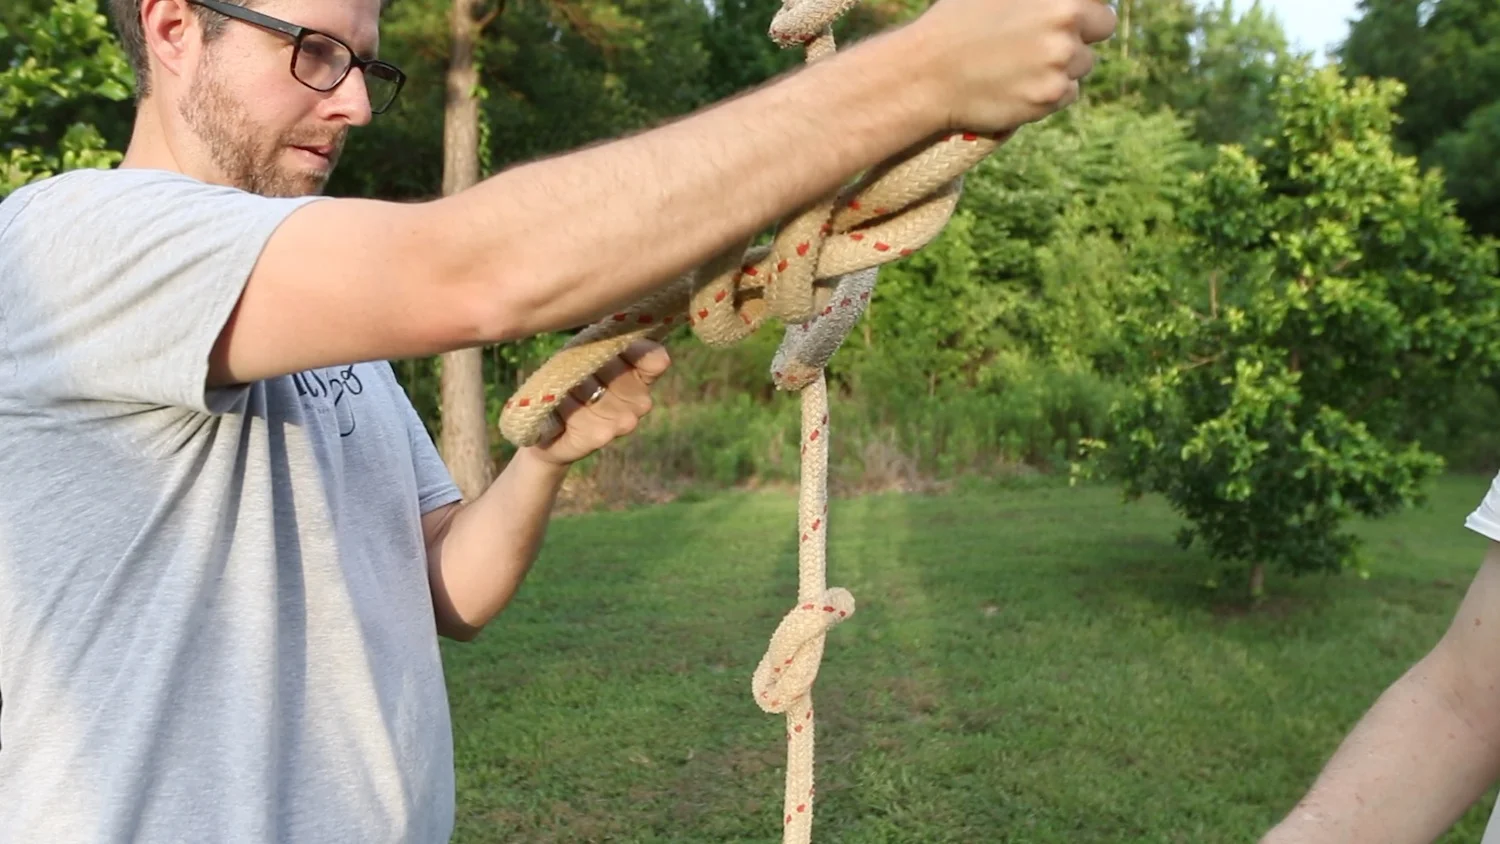
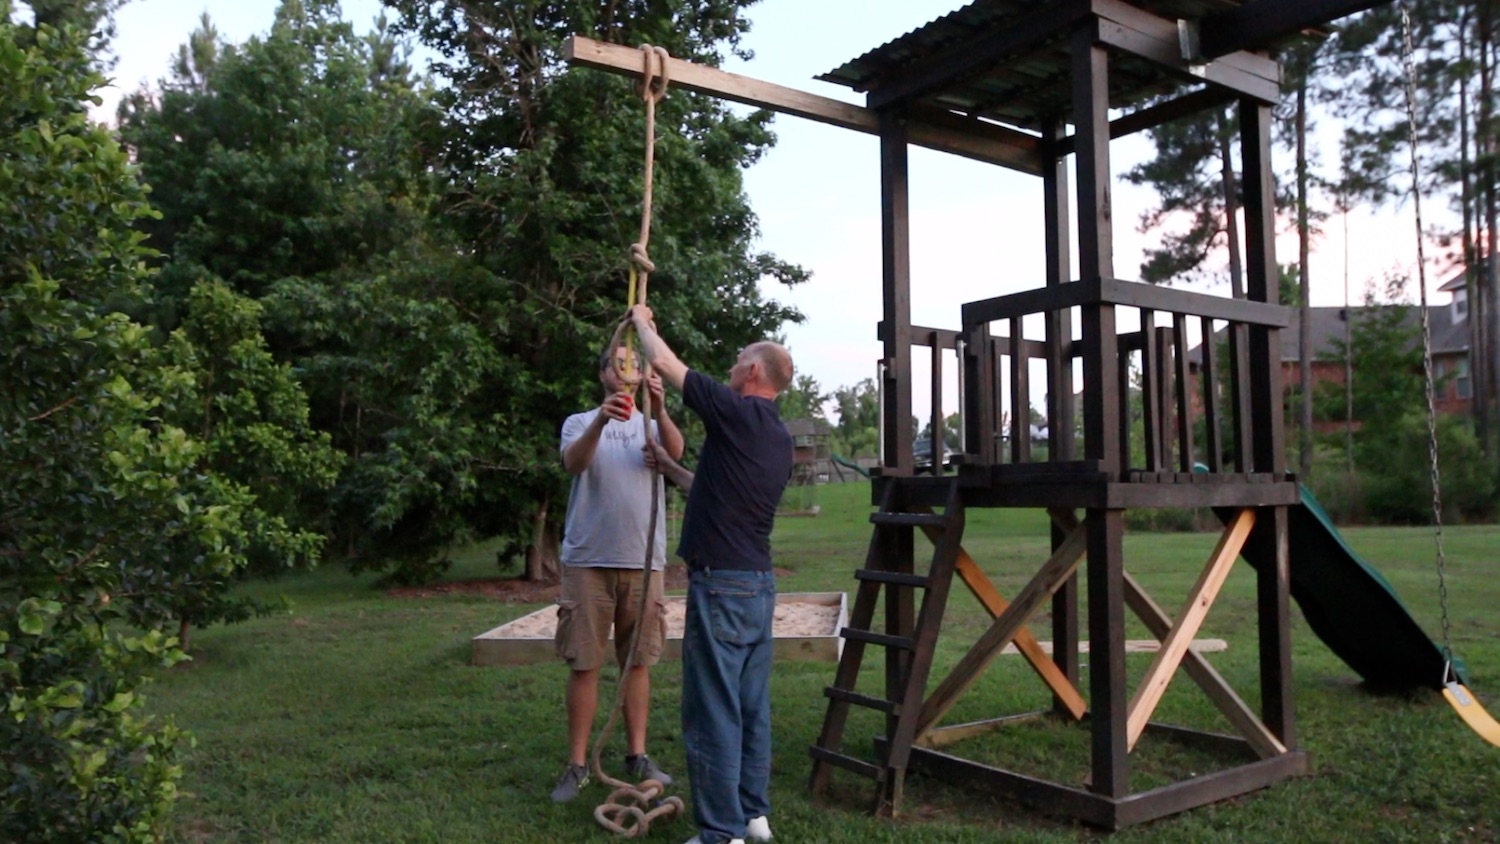
Moving on to the rope...I tied what I think is a double half hitch knot in the rope. That left a loop in the end of it, so I could feed the other end of the rope through it. Then, I just threw the looped end over the support beam that we had just installed.
As I was tying the knot, my dad was telling me how his mom used this kind of a knot for all kinds of things. That made me happy to hear, since I thought very highly of Grandma Ulrich. He said she would use this in the kitchen, garden and a number of other places. It's always interesting to hear stories that stick with us through the years.
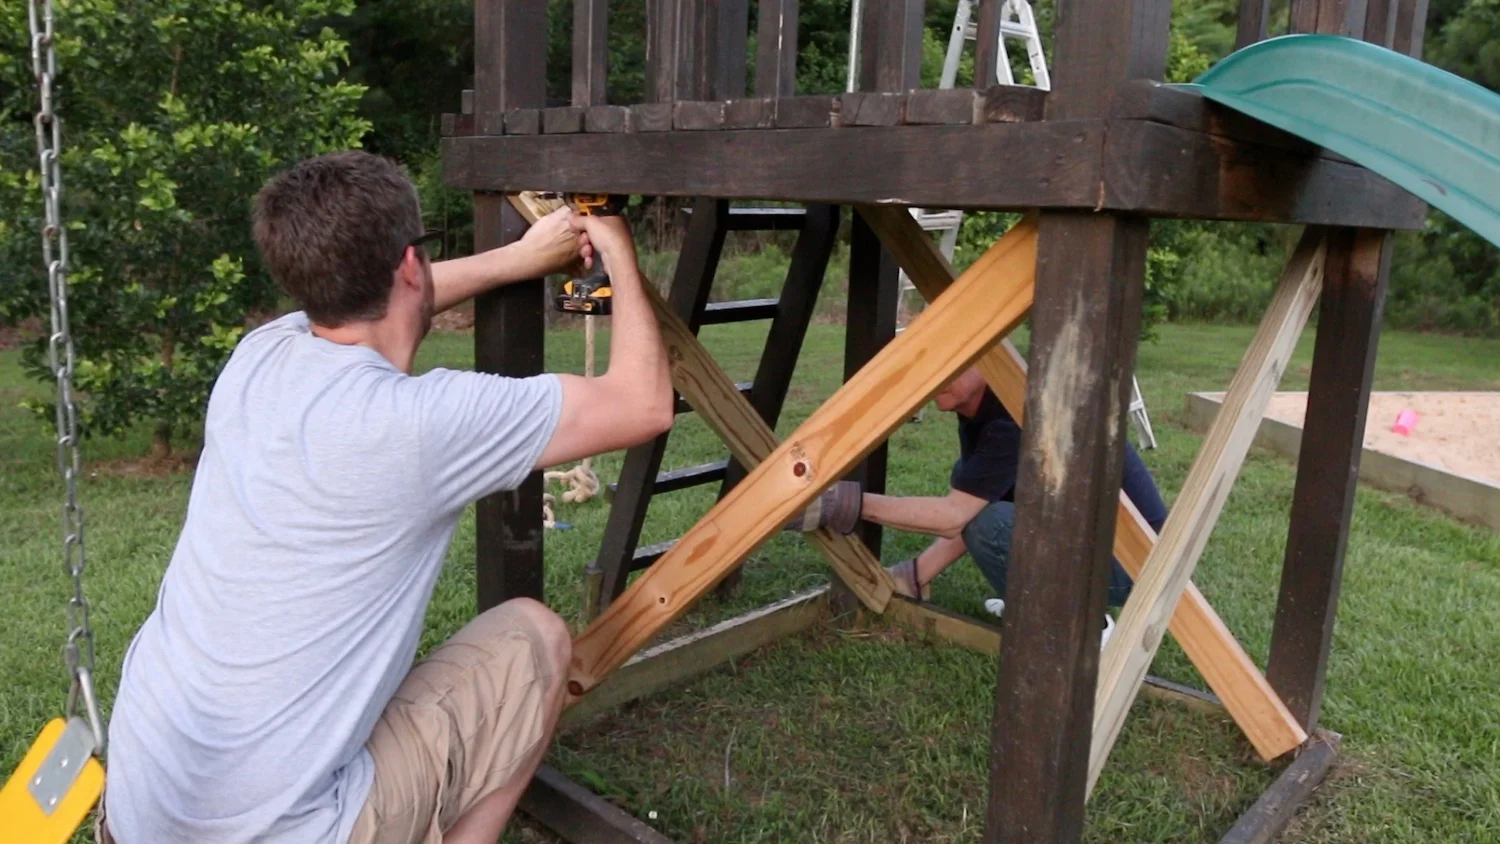
We added some diagonal supports under the playhouse since this new rope swing would introduce pull in a different direction than the regular swings. They worked quite well, and the whole thing is very steady.
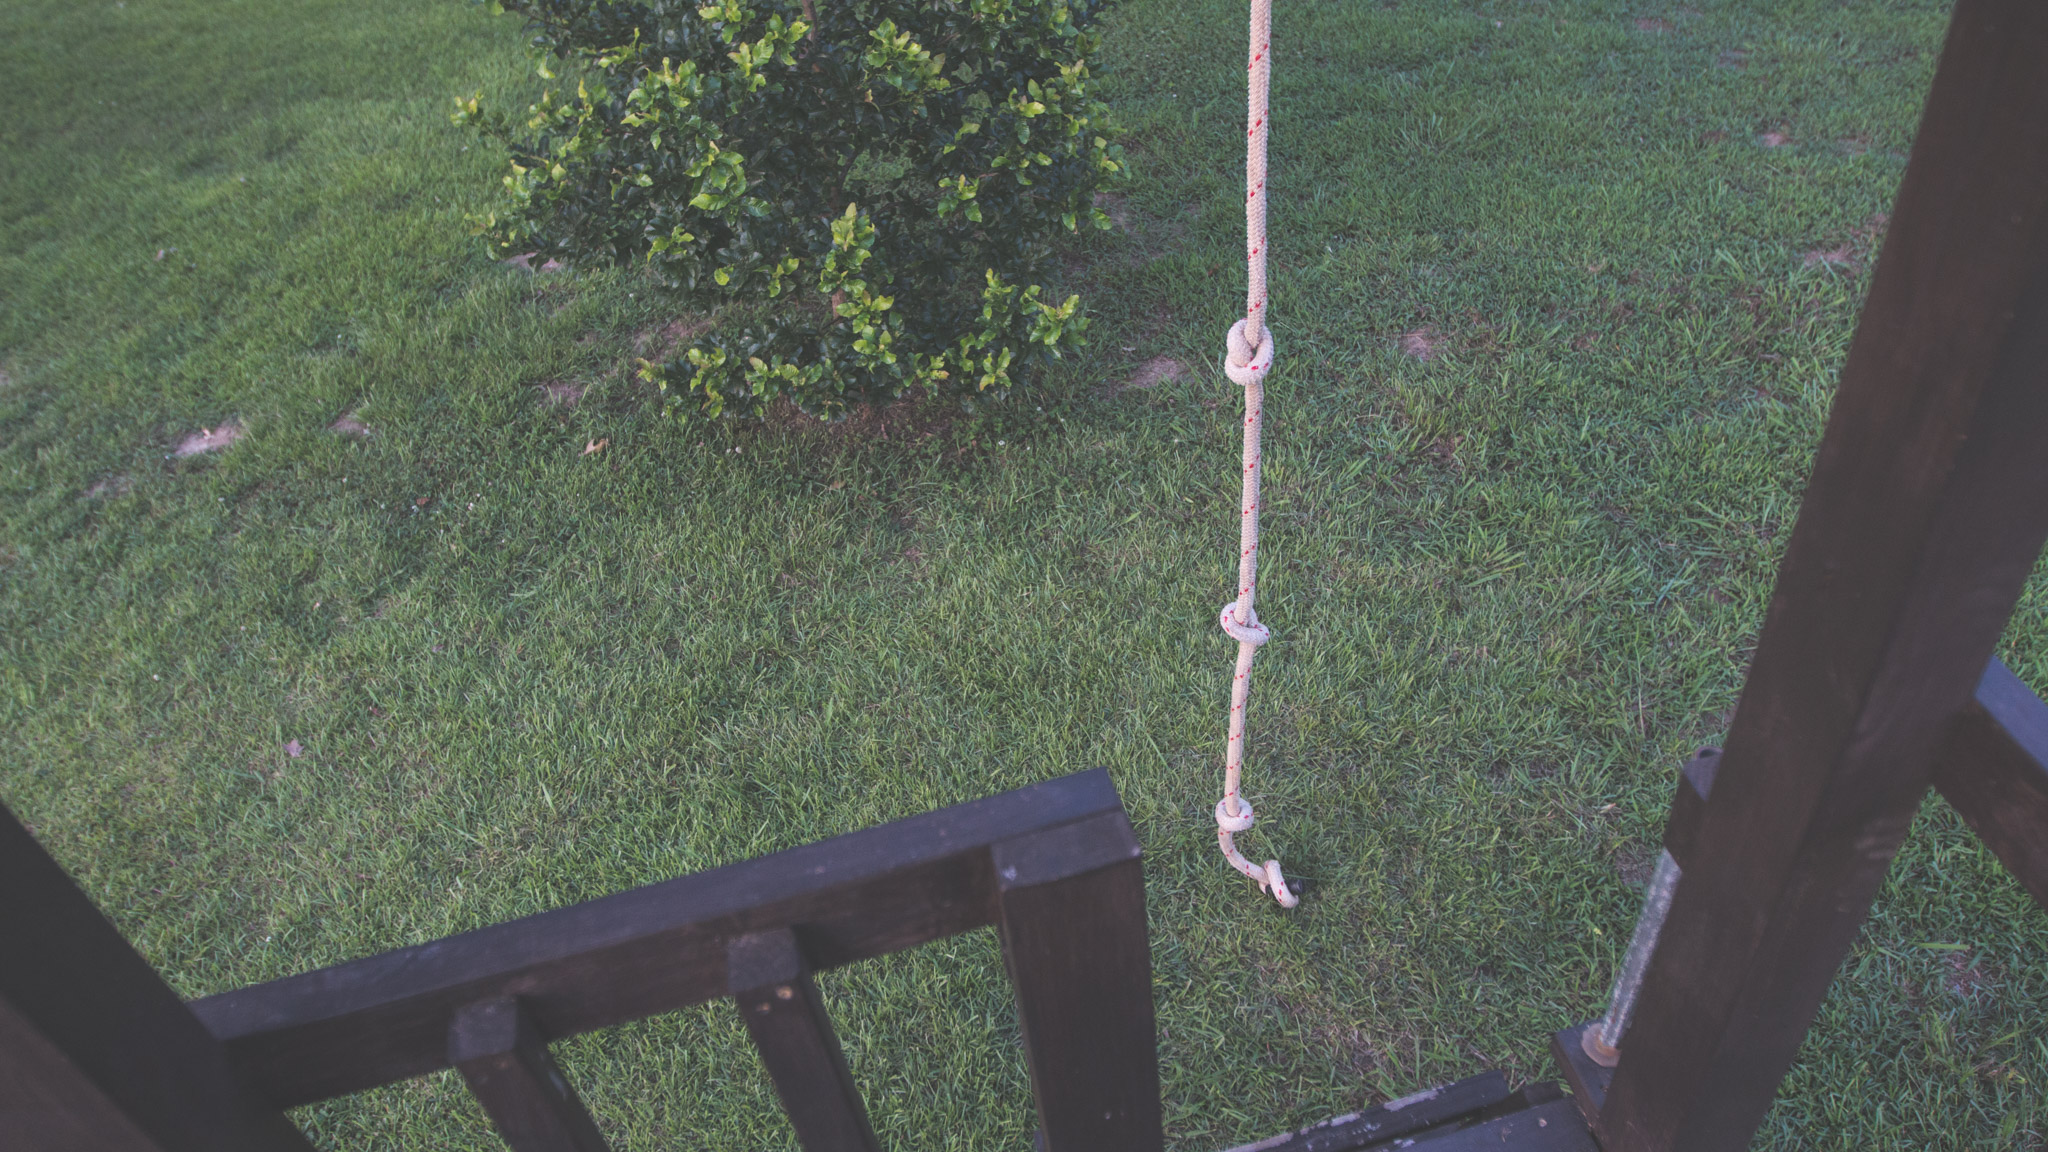
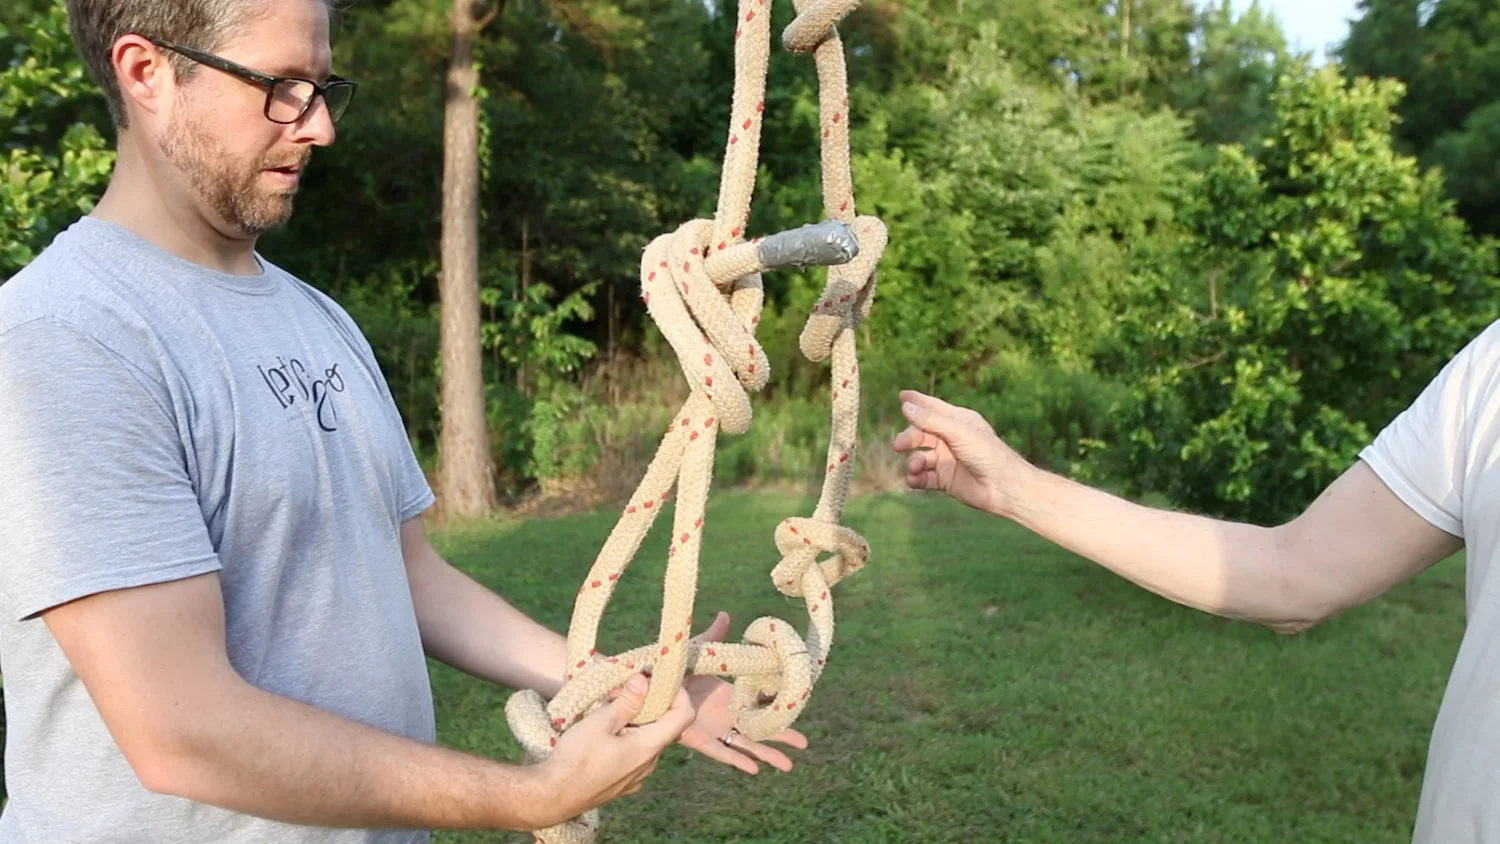
Once the rope was secured to the support, we started tying some knots that could be used to hold onto or swing. We originally thought a knot every 12" would be good, but that seemed too close, so we ended up tying one about every 18".
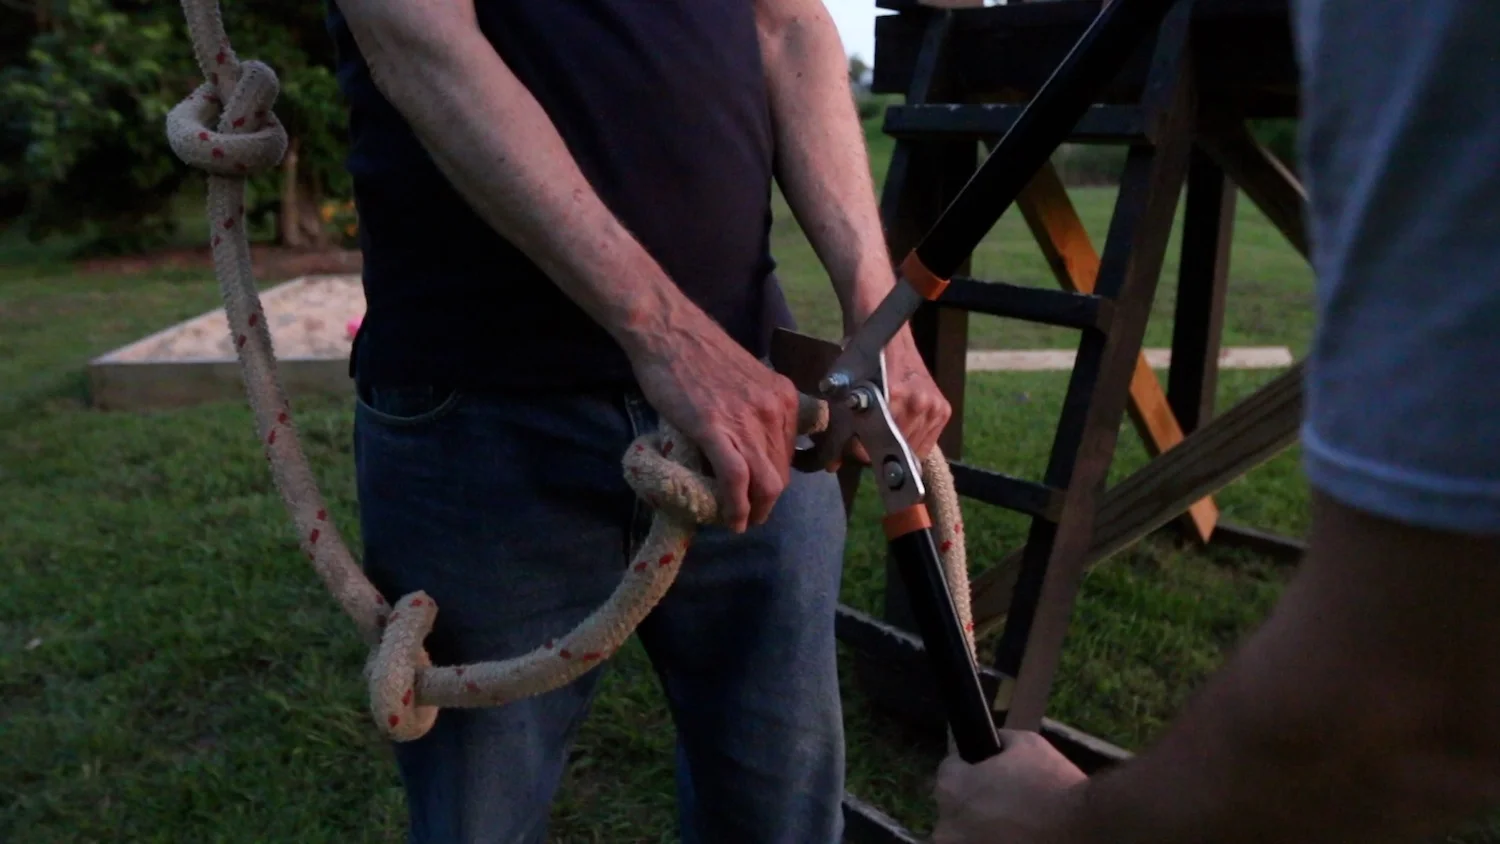
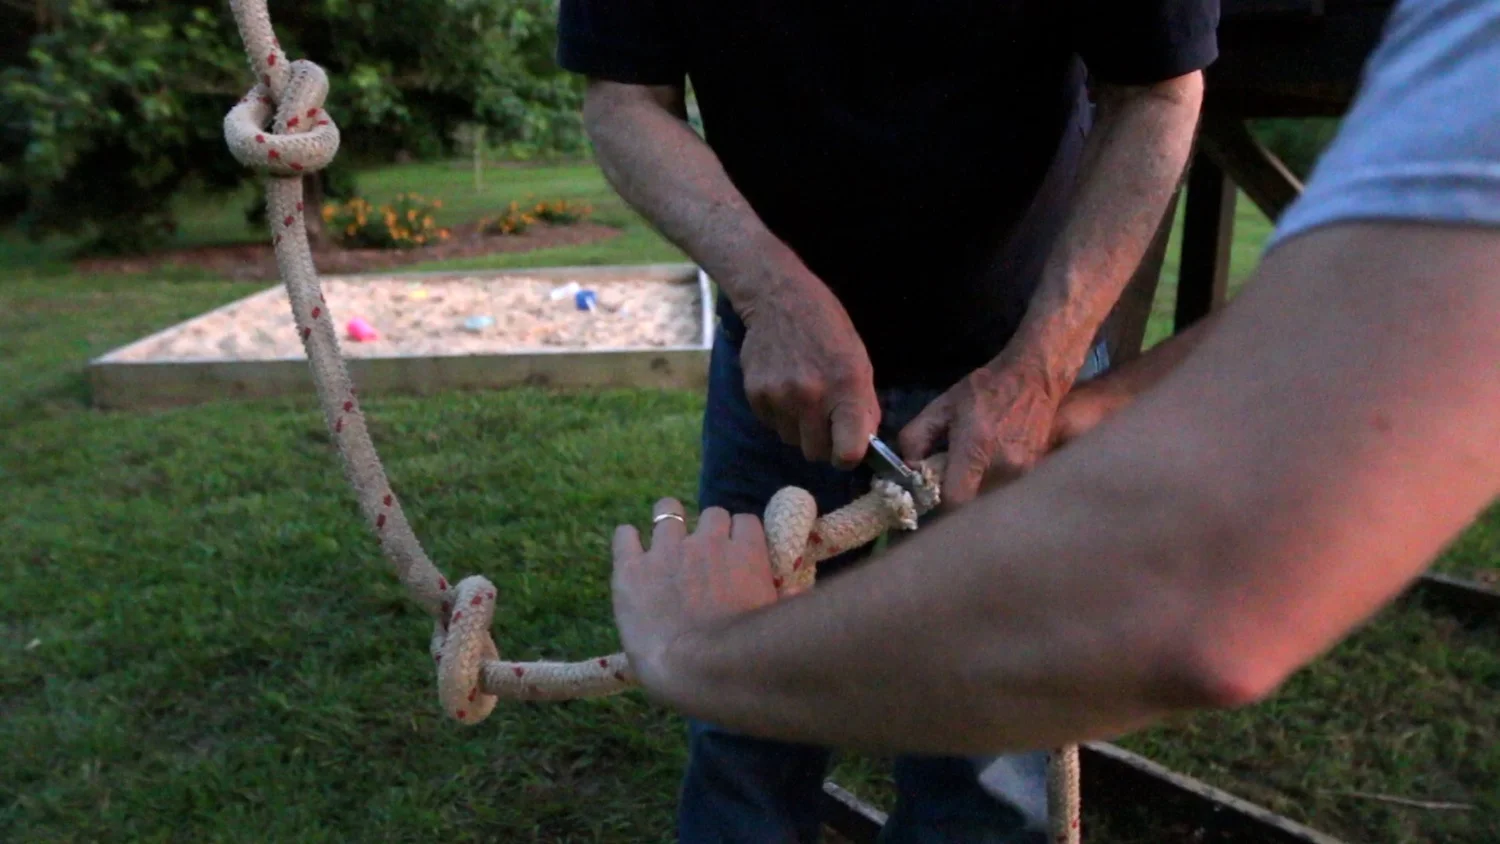
We brought a little too much rope from the stash my dad had (better than not enough), so we had to cut a little bit off of the end so it would not drag the ground. We actually just used some lopping shears for this, and it worked surprisingly well. The last bit that the shears would not cut through, we just used a knife.
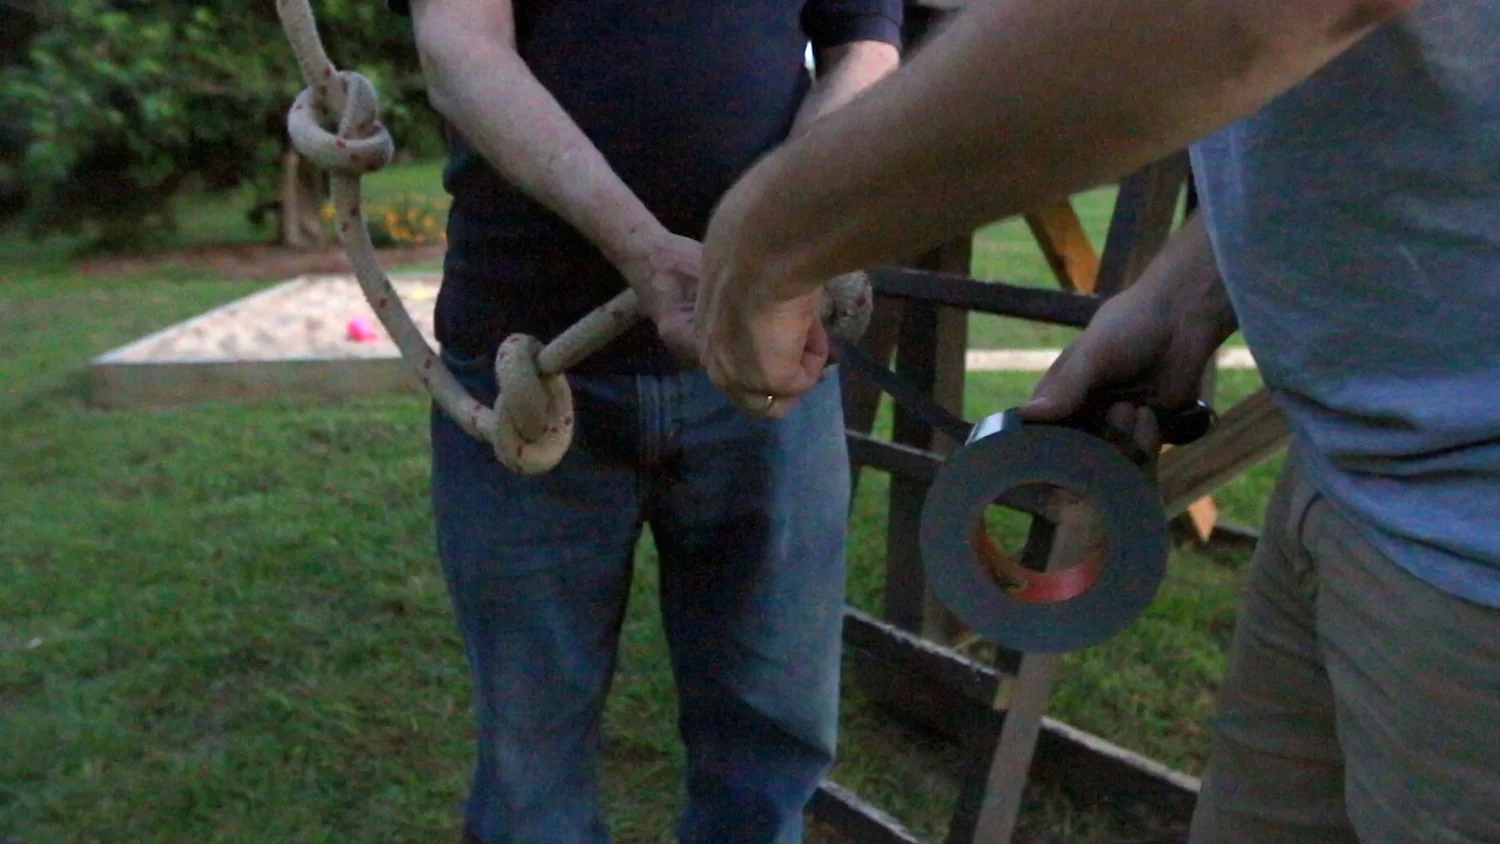
Then, I had to add some Gorilla tape on the end so it would not fray. I wrapped around the rope in a couple of different places before taking a piece of tape and putting it over the end, kind of like adding a baind-aid on the end of your finger. Then, I put another piece or two around to hold those edges down. A lot of times, you can burn the end of something like this to stop it from fraying, but this was pure cotton rope, so it would not melt...it just burned.
CONCLUSION
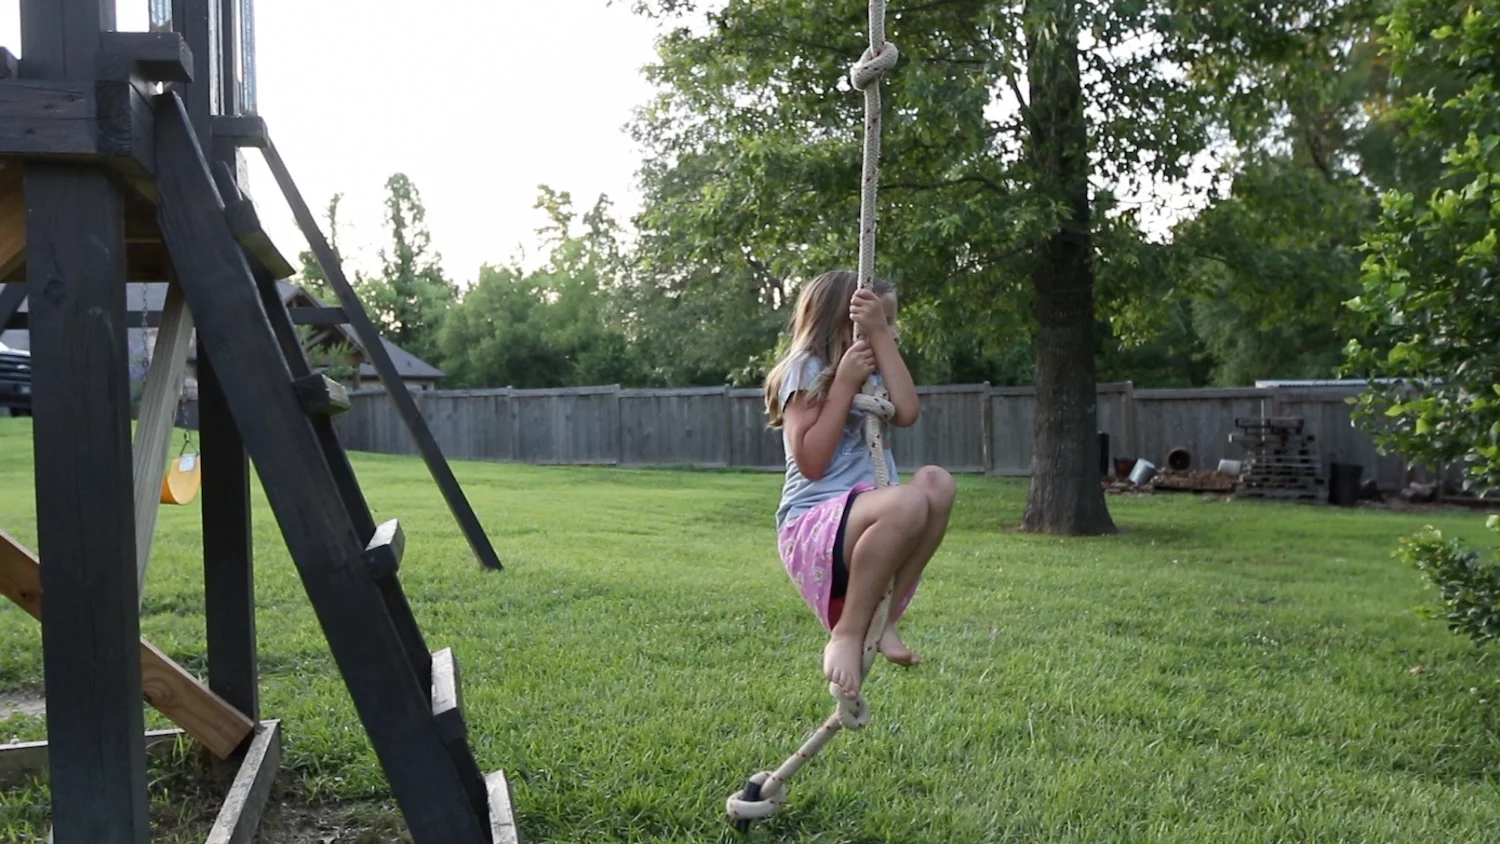
This was a simple project, and we were able to do it in one afternoon. I love being able to add on to the playhouse with different accessories that make the kids' time out there even more enjoyable. Now, if I could just stop them from growing up!
Baby brother even wanted to get in on the action.
Thanks for following along with this project! If you haven't already, go watch the video about it, so you can see it in action. Also, leave me a comment to let me know what you think. Do you have a playhouse that you could do something similar?

