Simple DIY Towel Hanger
VIDEO:
In this project, I’m making a simple DIY towel hanger for my daughter’s bathroom. We have been using a towel hanger that goes over the door, and we would always hang their towels up for them. Well, the time has come for her to start being responsible for hanging up her own towel, so we needed something more in reach. Watch the video and follow along with the steps below:
BACKGROUND:
For years now, we (my wife and I) have managed the hanging of the towels for the older two kids. They have a Jack & Jill bathroom and share a shower. Well, no longer. As parents, we are constantly teaching more and more personal responsibility, and this project is just the latest addition of personal responsibility for our daughter, Anne Marie.
Our oldest son, Alan, has been responsible for hanging his own towel up for a while now, so this will help her learn some responsibility and it will help us not have to go behind them so much. We live in Mississippi and the climate is so humid here, if you don’t hang a towel up properly, it will sour pretty quickly. We don’t reuse towels indefinitely, but we are definitely not in the use-a-towel-once-and-wash camp.
TOOLS & MATERIALS: (affiliate links)
HomeRight Super Finish Max sprayer: http://bit.ly/HomeRightsprayer
HomeRight Spray Shelter Medium: https://amzn.to/2OkEG8g
3M Painter’s Tape: https://amzn.to/2QpE2aZ
Drill & Driver: http://amzn.to/2C0JDfa
Palm router: https://amzn.to/2qBTztP
Random orbit sander - https://amzn.to/2C0gR0k
Circular Saw: https://amzn.to/35nNfVO
Center Punch: https://amzn.to/2N0HjvA
STEPS:
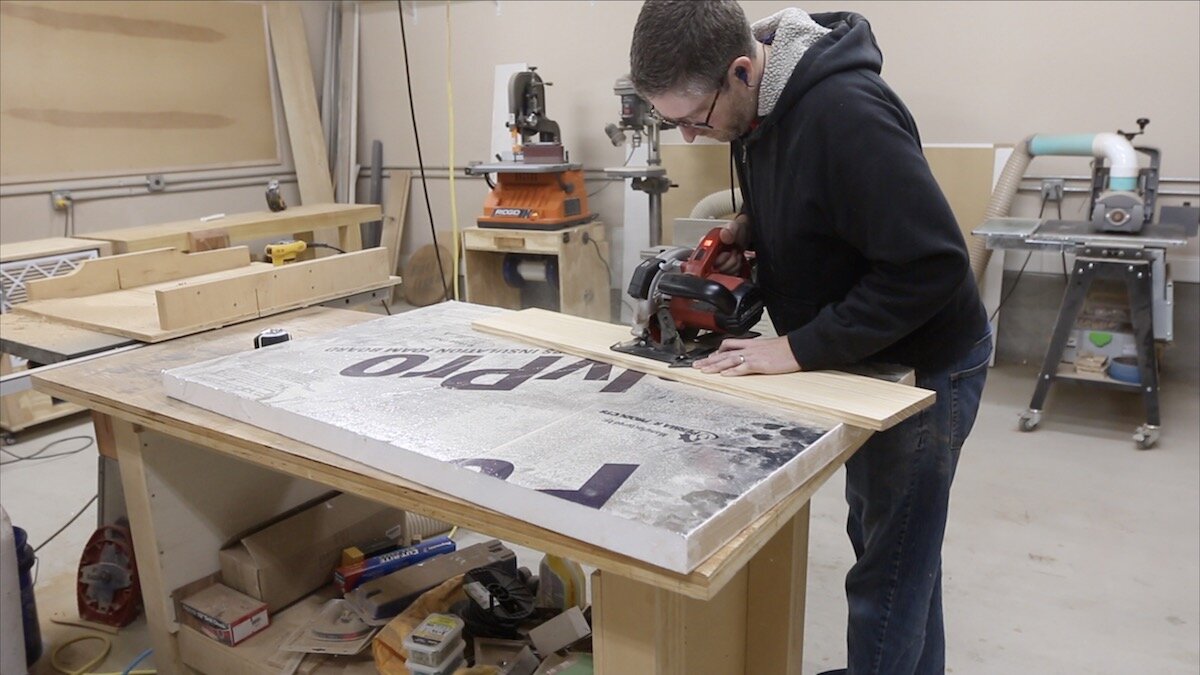
I am just using a few basic tools for this project, so I started out with my circular saw to cut the board I had to length. This is just a piece of pine that I had leftover from another project. What you see me laying down on my workbench and cutting on is a piece of rigid foam. This allows the cut with the circular saw to be fully supported and much more manageable when cutting full sheets of plywood. I’m just using it on this small piece because it is still a good option when cutting smaller pieces.
LAYOUT & SANDING:
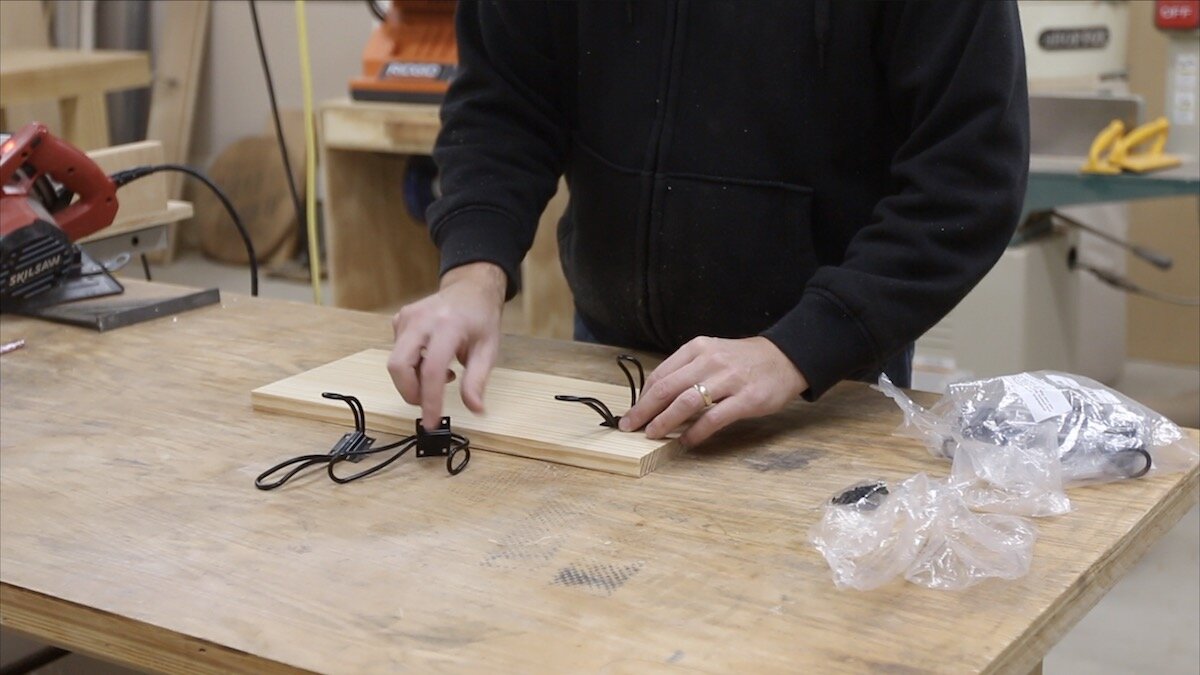
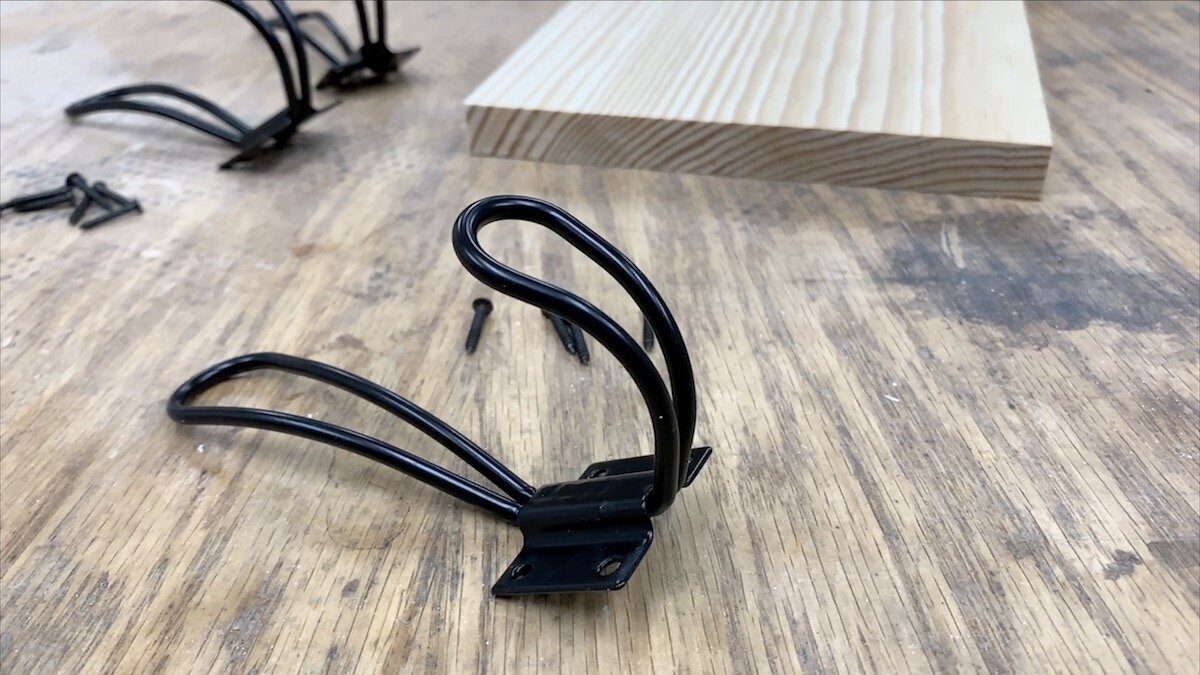
I sanded it a bit before moving on. It was just easiest to do at this point before I went any further. Then, I just laid out where I wanted each of the hooks to go, so I could get a visual for how this would look.
STAIN & PAINT:
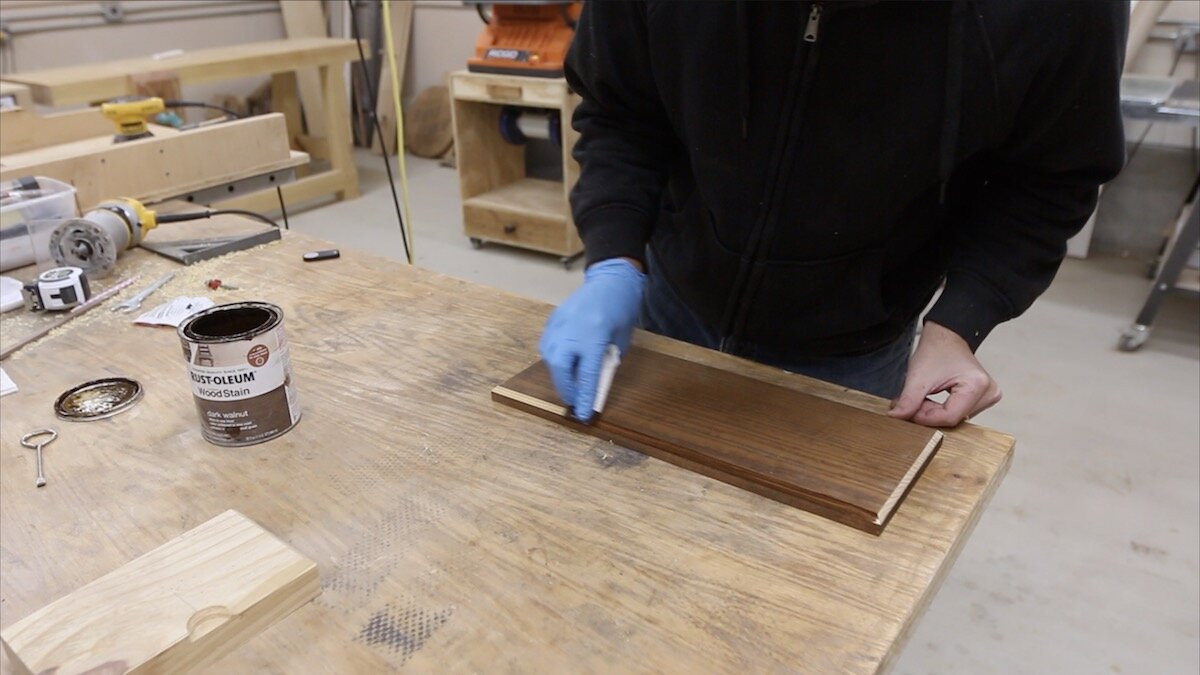
I wanted to distress this piece, so I started with a dark stain that I had. I wanted this to show once I sanded through the top layer of the paint.
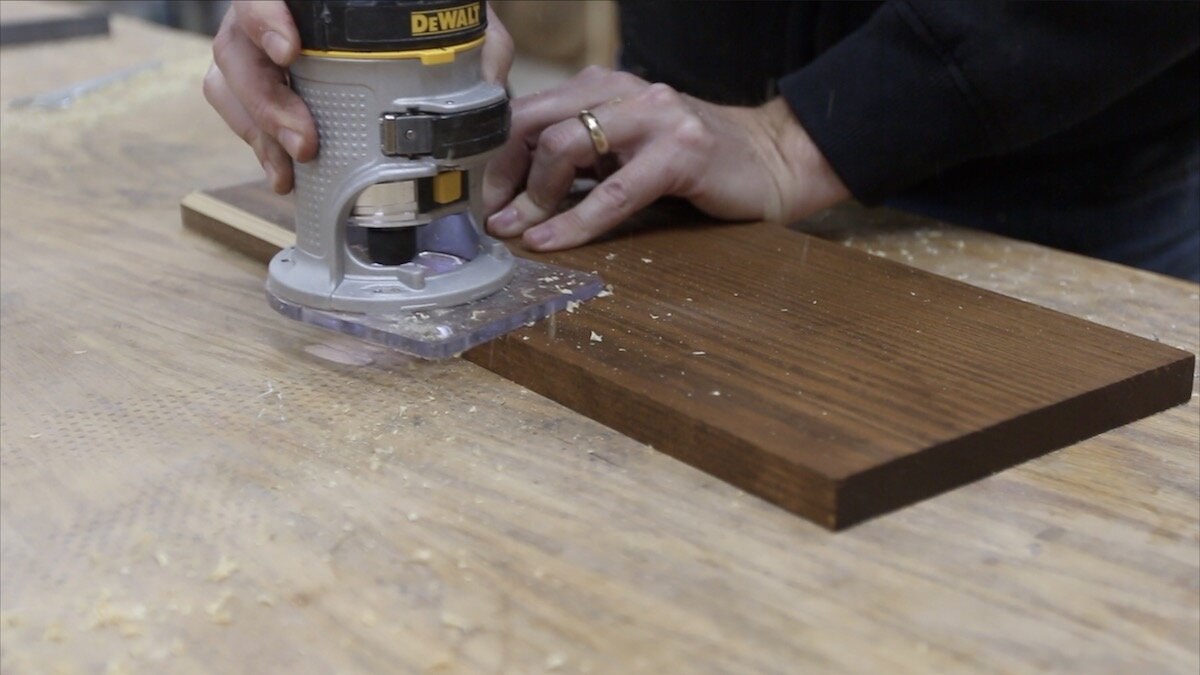
I did this in a little bit of a backwards order though. I decided after I stained the whole thing that I wanted to put a light chamfer on the edge. Then, I had to go back over the edges I had just cut with a bit more of stain.
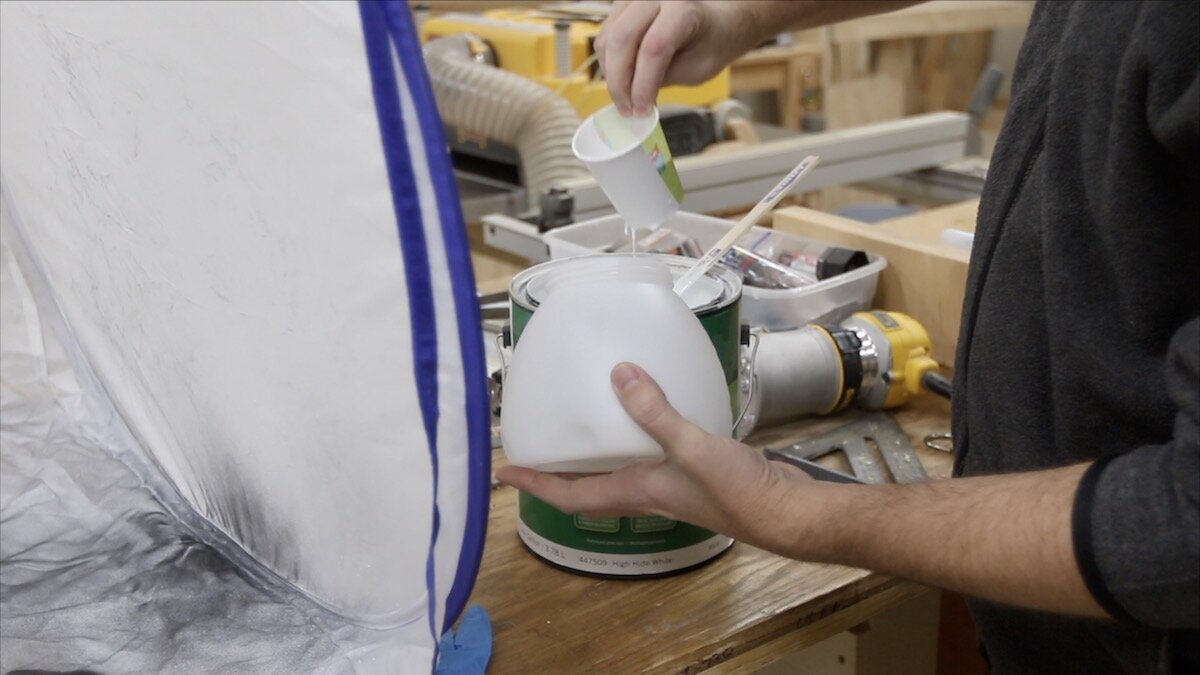
All I had was oil based stain, so I wanted to use a light coat of stain blocking primer on top of it. That took care of it and made sure it would not bleed through to the top coat of paint.
I started setting up my spray tent because the next part of this project was to spray a couple of colors of paint using my HomeRight Super Finish Max sprayer, the sponsor of this video.
I've used my HomeRight sprayer for multiple projects now, and if I had to pick one thing that I like most about it, I'd have to say it's that it can spray full-strength paint. No need to dilute it first. This is a huge time saver and I've been able to get great results doing this. Some other things I like about it are that it has multiple nozzles that allow you to spray different materials, the setup time is minimal and clean-up is easy.
HomeRight is based in the US and I've got a link to the HomeRight Super Finish Max sprayer in the description below if you want to check it out. Thanks to HomeRight for sponsoring this video and me!
TIME TO ADD A POP OF COLOR!
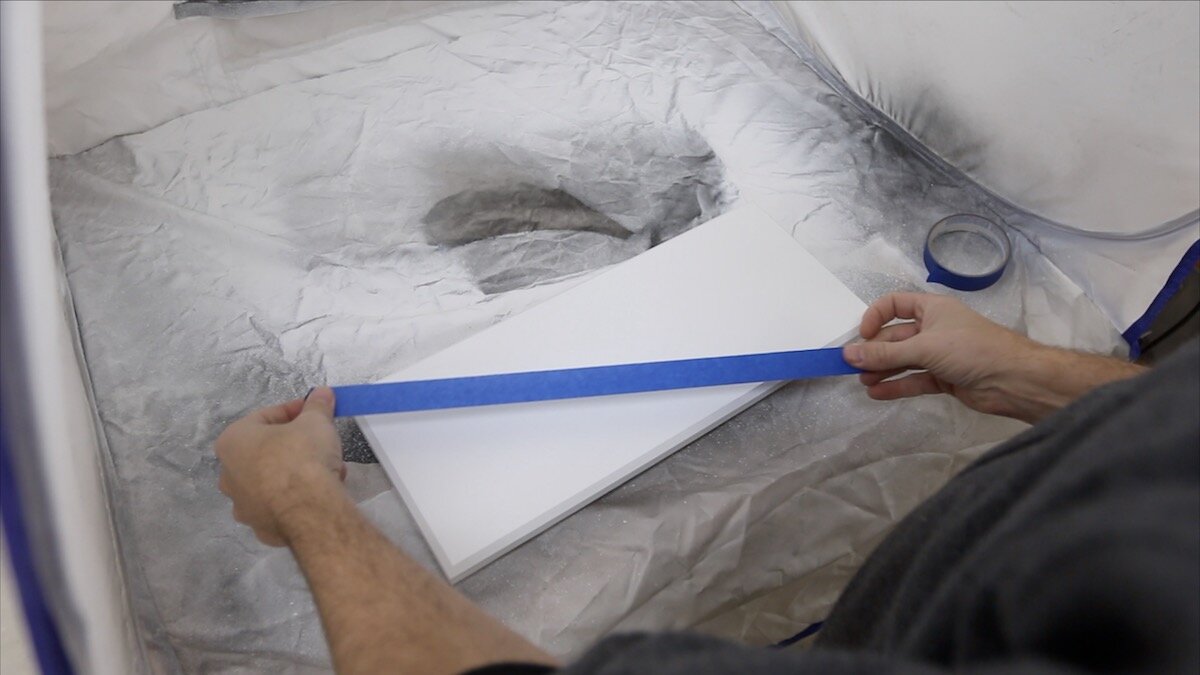
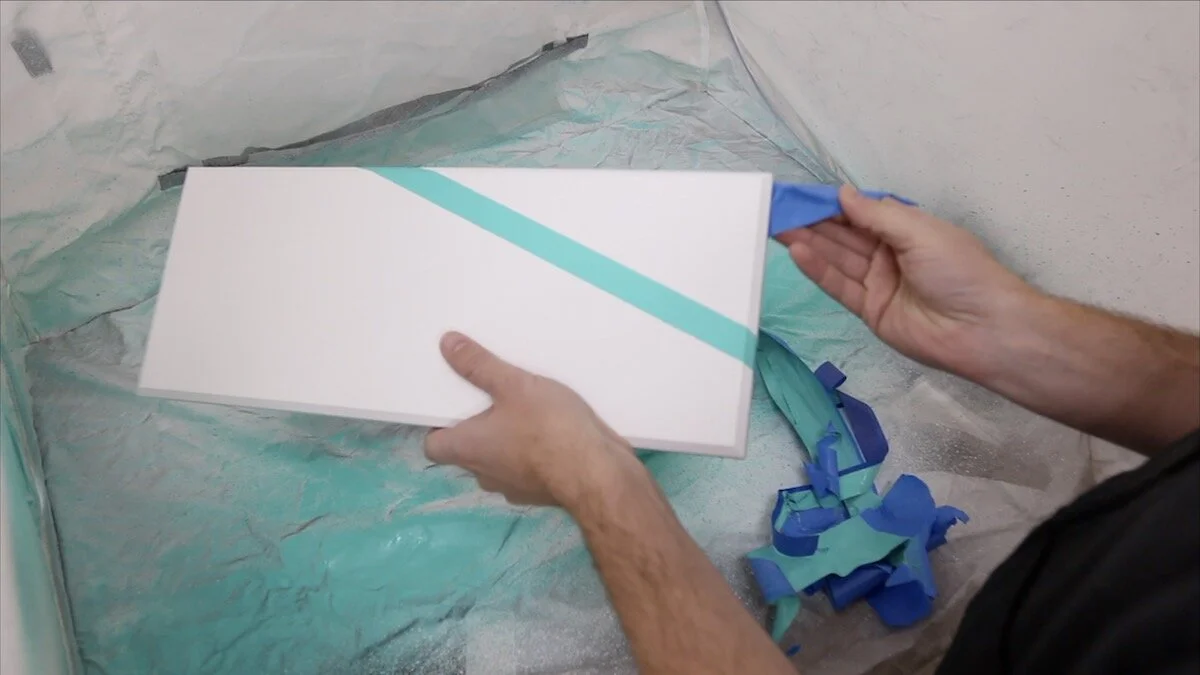
I grabbed some tape and just eyeballed where I wanted a stripe to be. This is the accent color you saw that my daughter picked out earlier.
I loaded that color into the sprayer and put on two light coats.
I like the angle, and I think it turned out pretty cool!
DISTRESSING:
Next, I'm trying my hand at distressing. I've not done much of it, but I just started with some 120 grit sandpaper and scuffed a few places here and there. I did some using this sanding sponge thing and some with the sandpaper just in my hand. It turned out looking pretty cool. If you have any tips for how to make distressing look really good (I know some of you do…I’ve seen some amazing stuff out there), leave me a comment and let me know. I’d love to learn!
ADDING HARDWARE:
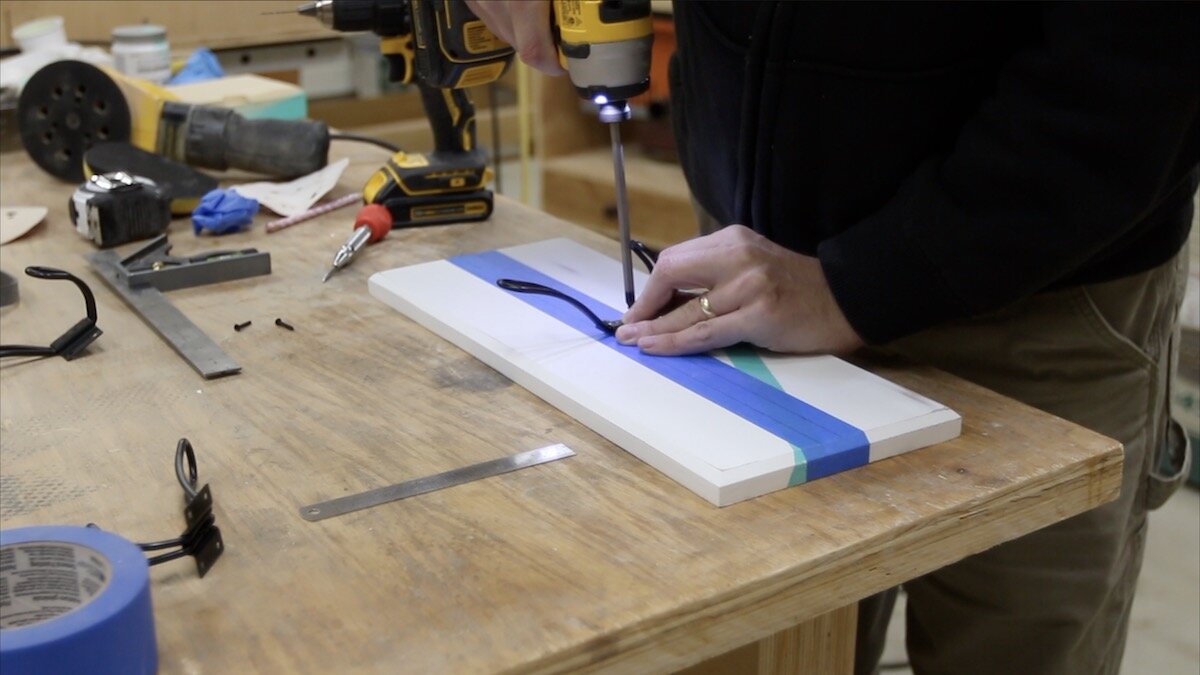
The hardware was next, so I laid down a piece of tape, marked center, and proceeded to mark where each of the towel hangers needed to go. I started with the center one, and once I got that one in the right place, I marked where the other two should go. This ensured that everything would look balanced with the spacing.
For the hanging part, I went pretty simple...I just grabbed some of these keyhole hangers. The screws I was using that came with my drywall anchors didn't quite fit though, so I just drilled out a slight bit underneath where the keyhole hangers went, and the head of the screw was able to go right in there. Really easy!
Time for installation:
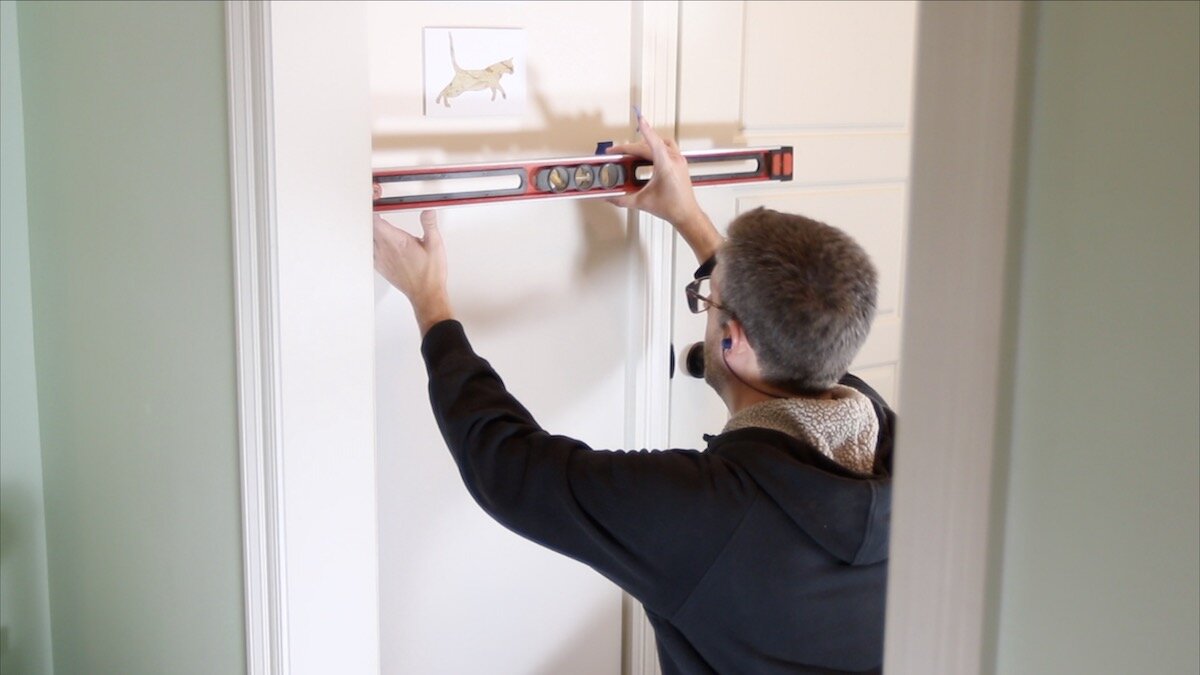
I like to use some painter's tape when making marks on the wall. You can really do a lot with a few pieces here and there, and you don't have to mark on the wall at all. Then, it makes quick work of the clean-up. You just peel off the tape and you’re done. I marked where the top of the piece needed to go and put a piece of tape at that topmost part. Then, I grabbed a level and figured out where to put the other one, being careful to put the tape where it would not be behind the piece.
Then, I marked where the hangers were located and screwed in some drywall anchors. These drywall anchors were really overkill for the weight of this towel hanger, but I figured it wouldn’t hurt. They’re really easy to use. The plastic part is self tapping so there is no need to pre-drill a hole in the drywall first. They just go right in. Then, when you put the screw in and it reaches a certain level, you hear a pop, and the back side of the anchor pops open, securing it quite well. After that, I screwed in a couple of screws, and hung it up!
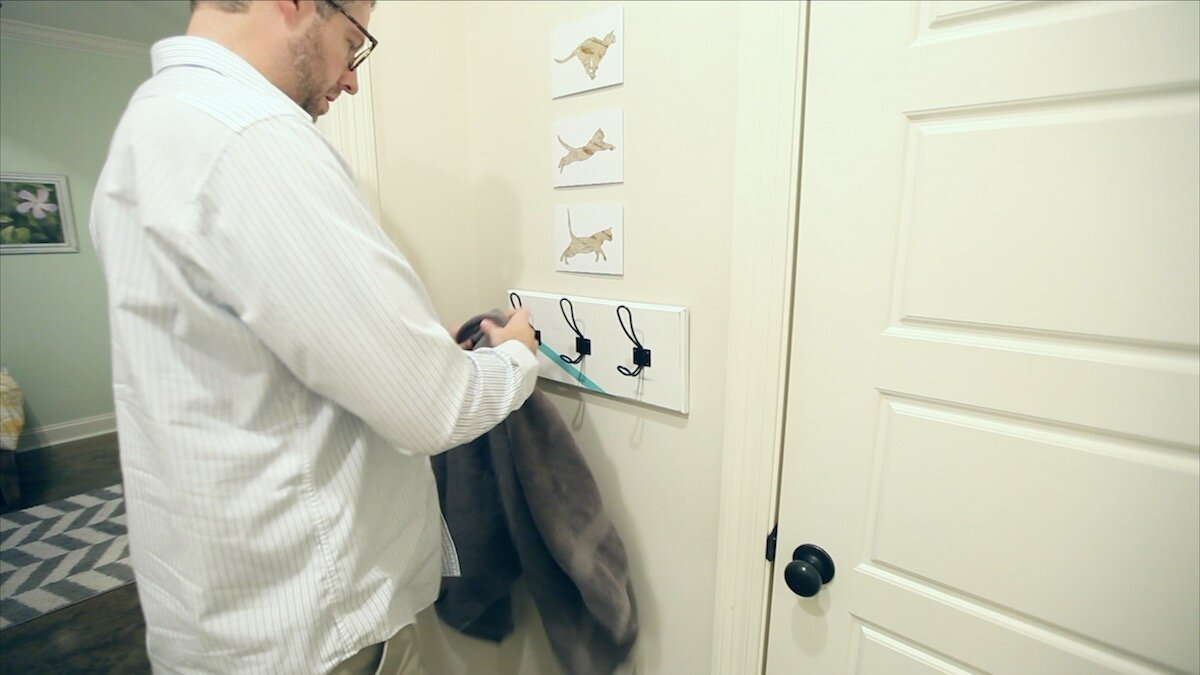
All I needed to do now was add some towels and this one was done!
Thanks so much for following along with this project! It was a simple one and I was able to knock it out quick. Be sure to take a look at the finished photos below and if you haven’t already, give the video a watch.
I’ll see you on the next project!


