Sliding Barn Door with a Modern Twist
VIDEO:
In this project, I show how I made this sliding barn door with a modern twist. It is a really simple design, but has a different look than a lot of barn doors I've seen out there. It has a modern twist, but won't break the bank. This entire project was about $200 including the barn door hardware, which is really cheap for a sliding barn door. Try this easy DIY project for yourself! Watch the video and follow along below:
BACKGROUND:
For a while now, Rebecca and I have wanted to have another sliding barn door in our living room. Years ago, I made one for the other side. When the two bigger kids go to bed, we pull that one closed to keep some of the noise of us still being up out of their rooms. We plan to do the same with this one, but for the littlest one’s room instead.
TOOLS & MATERIALS: (affiliate links)
Homeright sprayer - https://amzn.to/2y5yUPI
Barn door hardware - https://amzn.to/2RDdx0v
Handle - https://amzn.to/2E8x5ab
Inset handle - https://amzn.to/2A1hq8M
Table saw - https://amzn.to/2C11FzS
Random orbit sander - https://amzn.to/2C0gR0k
Angle grinder - https://amzn.to/2QDsDlp
Nail gun - https://amzn.to/2C191n7
18ga finish nails - https://amzn.to/2pN38CV
Water based poly - https://amzn.to/2pN4vl3
HOW DO I EVEN START?
That’s a great question. I would say, the beginning is to find a design that you like and plan out everything you will need for that. The design part took me a long time, because I had seen a lot of different sliding barn doors over the years in multiple styles, but I wanted ours to be a little different somehow.
I almost went with walnut or some hardwood, just for something different. However, I wanted this door to be accessible to everyone and for everyone to feel as though they can make it, so I used pine. I used stain and paint to create a really cool looking design that didn’t break the bank.
HOW MUCH DID THIS SLIDING BARN DOOR COST TO BUILD?
This sliding barn door cost about $200, including all of the wood, plywood, paint, stain and hardware. That cost is including the handles that I added…those were the only parts that were not included in the hardware pack from Industrial By Design. Overall, I found the hardware to be very high quality, and all painted black, even the lag screws. The other sliding barn door I mentioned earlier is one that I had to do all of that on my own. I was piecing that one together as I went, and I ended up painting all of it black.
STEPS
It might seem like there are many steps to this project, but there really aren’t. Many of the steps you just have to repeat over and over to accomplish the mosaic look that I did.
BUYING YOUR LUMBER
First, I picked out some lumber. I called around to a few different places to check prices. I have a local lumber yard here that only deals in pine, cedar and cypress. They ended up being HALF the price of my local home improvement stores, so I went with them. Plus, they quoted me a “C” grade of lumber, which was incredibly straight and clear. I don’t think any of the 4 pieces I bought had a single knot in them…and they were 16’ long!
CREATING THE STRIPS
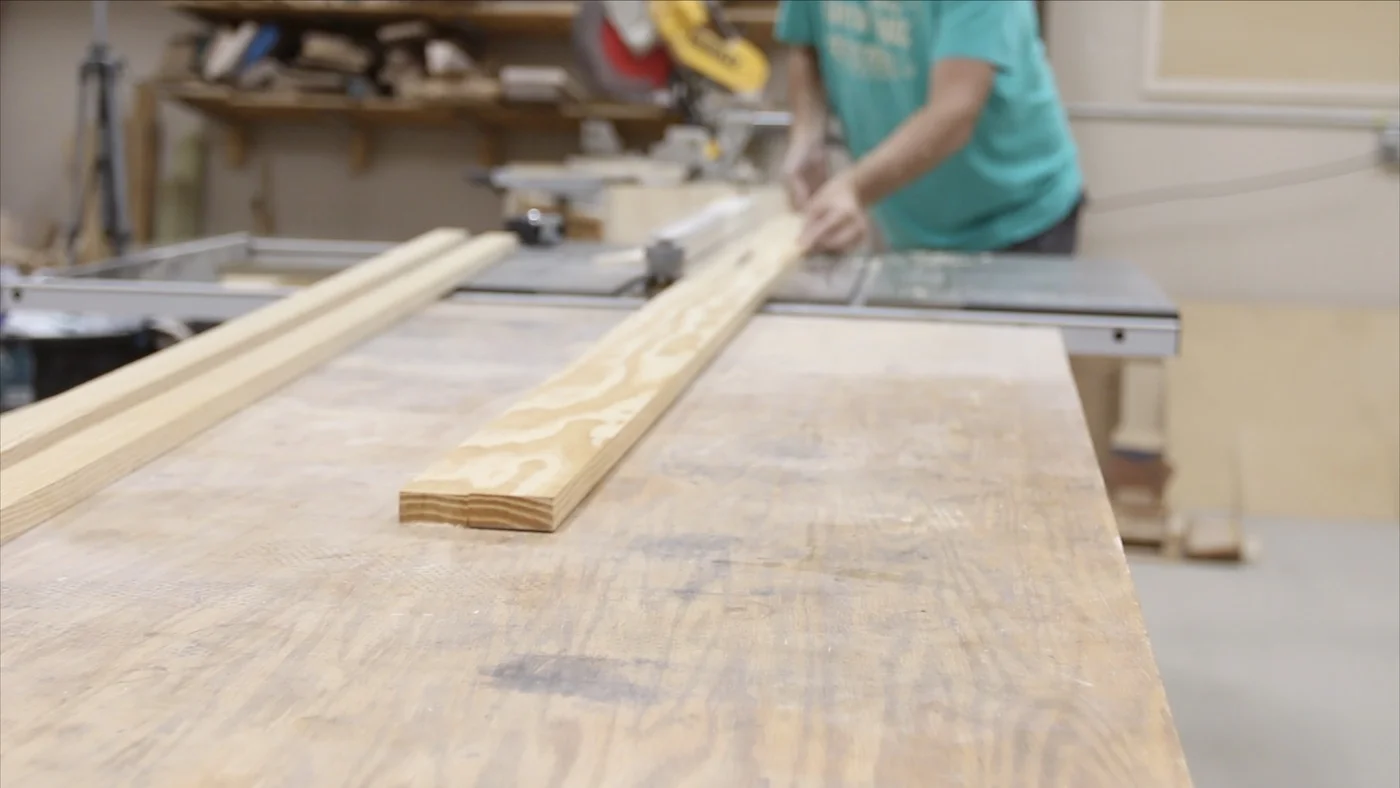
Next, I ripped all of my pine boards into 1 5/8” strips. You don’t necessarily have to use this size. It was just one that I picked in order to have minimal waste.
My dad was over, so I had him help me rip one little strip off of the sheet of plywood. The door needed to be a little less than 48” wide.
STAINING & PAINTING
Then, I pulled a few of the strips aside and painted them with a flat, white acrylic paint using my Homeright Super Finish Max Sprayer. (Be sure to make a huge mess like I did here when pouring paint. ha) This went pretty fast, and while I knew there was a chance the white could get marred when I was cutting and moving the pieces around, I knew it would be easier to have them painted ahead of time.
For the stain, I used two different shades of brown, one lighter and one darker. For the ones I wanted darker, I actually used both stains on for a different look. You can’t tell this too much, but it does seem to give the piece a little more depth.
On the back, I just used one of the stains to color the plywood that was used as the substrate to secure all of the strips.
LAYING OUT THE DESIGN
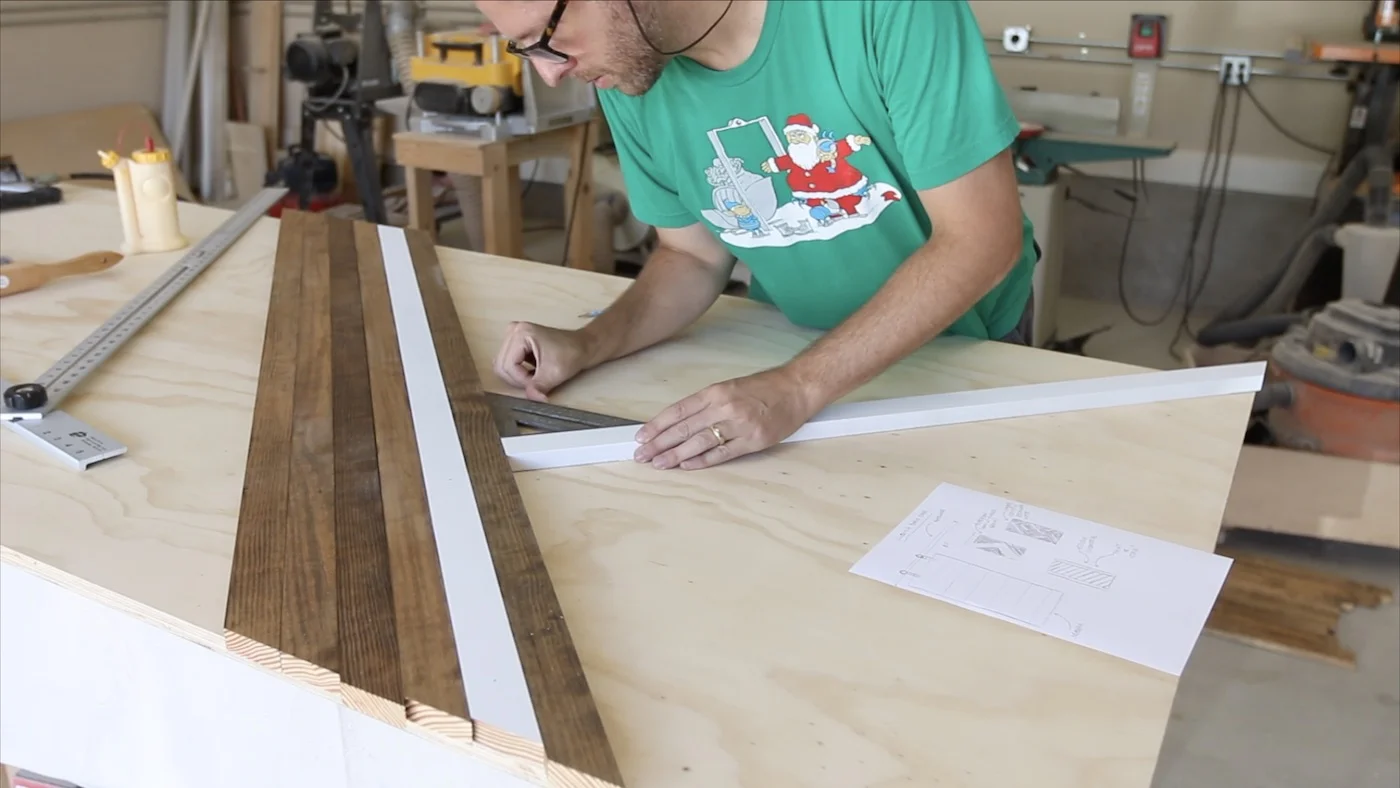
Next, I started laying out the design I wanted. I used a large, adjustable T square for this, and it really helped me get some 45 degree lines across this nearly full sheet of plywood. I really just needed to get the lines on there for the first few strips. As long as I was really careful with these first few, the rest of them should be fine, so long as I’m referencing off of the first ones.
I just kept marking the pieces, taking them over to my miter saw, cutting them to the correct size…and then repeating all of that. It was a little tedious, but it was the best way, rather than trying to figure out the length and cutting a bunch at once.
GLUE & NAILS OR JUST GLUE?
I really wanted to use only glue for this project, mostly so the little nail holes would not show from the front. However, even with really straight material, and doing a pretty good job with ripping the strips on the table saw, the boards were still not perfectly straight. Such is life! So, I chose to use some 18ga brad nails (very small) and just tack them in place while also using some glue. That way, I could make sure they would be in the place they should be.
ADDING THE STRIPS TO THE PLYWOOD
So, the long process of adding the strips to the plywood begins. It really did go pretty fast. I just had to be sure to kind of alternate the pattern of my boards (remember, I used two types of stain and the white ones?). I would like to think I didn’t overthink this part, but let’s face it…I always do.
For each strip, I added some glue, and then tacked them down with a few nails.
To create different sections, I would turn the board 90 degrees to the others that I had just laid, and start lining the boards up in a perpendicular way.
per-pen-dic-u-lar
adjective
at an angle of 90 degrees to a given line, plane or surface
If I was careful to get this exactly 90 degrees, all of the rest of the boards would be lined up since they were just referencing off of those first ones.
I even added this little section of small boards that were all the same size. I just wanted to break up the sizes a bit.
Then, it was more of the same, until the whole piece was filled with strips.
TRIM THE EDGES
Since I wanted a really nice, clean edge, I had been leaving all of the pieces long as I went. Now, it was time to trim them all flush. I did this by using my circular saw with a straight guide. I had never actually created this kind of zero clearance guide for my circular saw before, so it was time to knock that out. I’m glad I did…it made it very easy to get a nice cut.
It made it even nicer to make a nice cut when I changed out the blade for a new one. It is amazing how long I hold on to blades, and for what reason? They’re not really serving me or anyone else well by them being dull.
ADDING A BORDER
Next, I added a border. I just cut some strips the same width as the overall thickness of the door would be (I actually did this back in the part where I cut all of the strips, and then stained them. I thought ahead enough for once, yay!)
Since I ended up having to use nails, I wanted to patch the nails on at least the white parts. They seemed to blend in a bit more for the ones in the stained pieces. A small paint brush and a few dabs of paint took care of it.
FINISHING
I took the door outside to be sprayed with a water based polyurethane. This was a particularly rainy week, and I was chancing it even having this outside. Well, right after applying the first coat of finish, it started to rain. I had to grab the thing and head back inside the shop.
I put a total of two coats of polyurethane on the door, sanding in between coats.
Here’s a quick tip: use a piece from a brown paper bag, like you used to have in school for your lunch, instead of 320 grit sandpaper. This will knock down the nibs left after applying the finish, and it really leaves a smooth surface.
INSTALLING BARN DOOR HARDWARE
All of the barn door hardware needed to install this came with the kit from Industrial By Design. I’m pleased with the quality of the barn door hardware, and the black paint on the parts. Plus, it has kind of a matte finish on the barn door hardware, which is my style. I don’t usually like it when things like that are glossy. The handles are not a part of this kit…I had to order those separately. (they’re also matte)
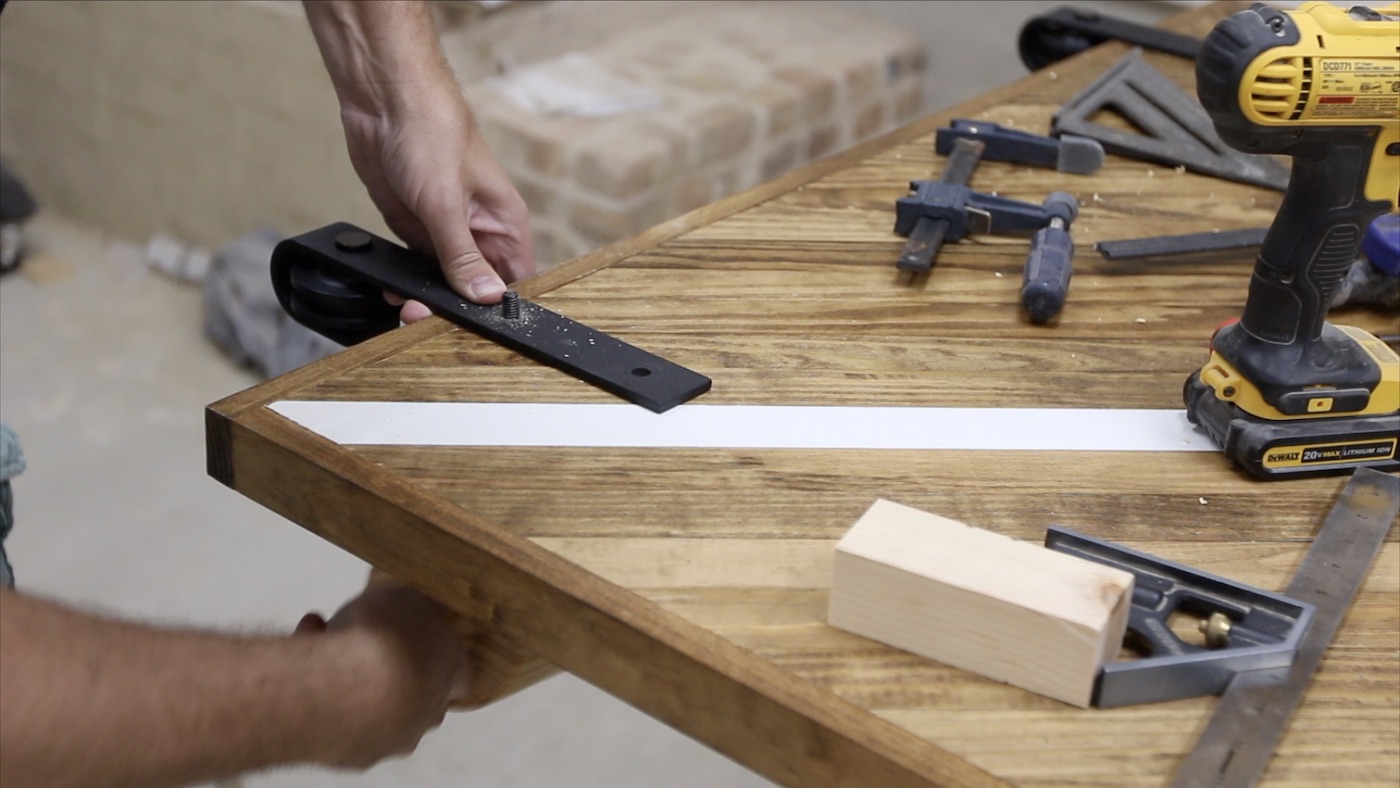
The instructions are pretty clear for installation of the barn door hardware. They recommend a certain spacing from the top of the door to the carriage wheel. Then, I just used a square to ensure that this vertical piece was perfectly straight. I just kind of guessed at the distance apart that I wanted the two carriage wheel assemblies. I’ve seen some doors with them further apart, but on this door, I thought it looked good to bring them a little closer together.
Then, I marked with a center punch and drilled out the two holes in each that would accept the carriage bolts. My particular bit was a pretty close match to the bolts’ diameter, so I had to hammer the bolts in a little bit.
The rail was a little too long for the spot where it was going, so I just used my angle grinder to trim a little bit off of the end. Worked just fine. I actually didn’t want to find any paint, so I used a sharpie to color the end where I cut it. Ha!
INSTALLING THE RAIL
Next, I installed the rail. If you notice, you’ll see a board in the photos. Well, that is not really there for strength, but rather for offset. If I did not use this board, the door would have a chance at hitting the trim on that opening, and mar it. I didn’t want this, so I used the board to hold the door off of the wall a bit more. I just painted it the color of the wall, so it would not be the focal point of the room. The door would still get the attention.
There is a piece that attaches to the floor, and rides in a groove on the bottom of the door to keep it from going in and hitting the wall or swinging out. I just cut a groove in a board on my table saw that would work for this…and attached it to the bottom of the door with some brad nails.
ADDING HANDLES
Next, I turned my attention to the handles. I bought a large, 12 inch handle for the front side of the door. This door is so big that it can really accommodate something this large. For the back side of the door, I bought a recessed handle that was 6 inches overall, and that matched the styling of the front handle. (I’ve linked the handles that I’ve used above in the Tools & Materials section, if you want those specific handles)
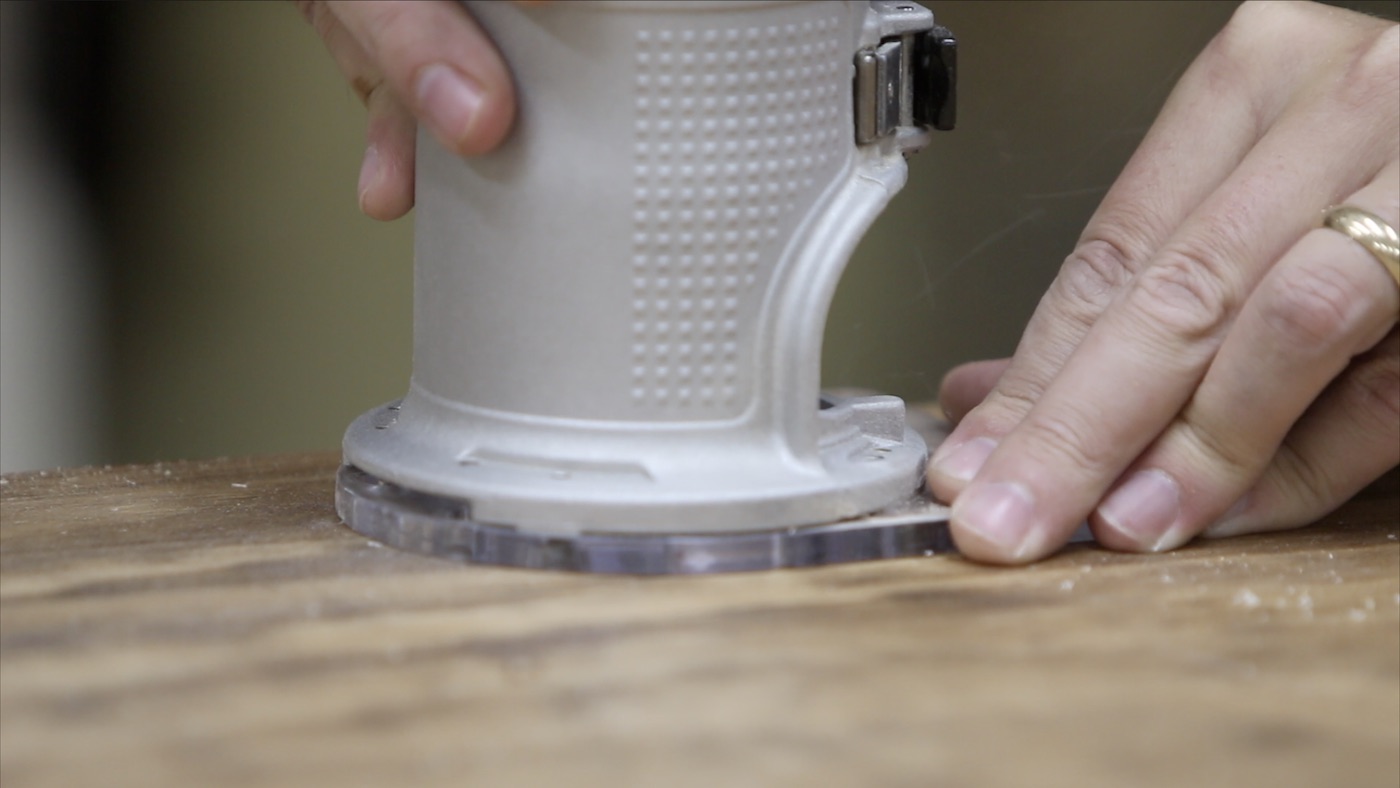
I started with the rear, recessed handle. I put it where it needed to be, and traced around it with a pencil. Then, I used a 1/8” spiral bit in my trim router to route out a groove for the handle to drop into. There were a few adjustments that needed to be made, but just a little trial and error and I was able to get it to fit in there nicely. Going back to the discussion about not wanting to have nails in this door to hold the front pieces, it came back to bite me a bit that I used the nails. As I was routing, I notices that I hit a couple of nails with the bit. It’s a good thing they were just 18ga nails, which are tiny. I would still like to get a pin nailer (which I think is 23ga), which would have even smaller nails and less noticeable holes.
HANGING THE DOOR
One of the final parts was to hang the door on the rail I had already installed. As far as what to do, it is really easy. You just set the carriage rollers on the rail in the groove they sit in. The how was a little trickier because this door is a beast! My younger brother came over to help me carry it in from my shop and lift it onto the rail. Man, I think this thing weighs more than 160 pounds!
One cool feature of this hardware kit is that they have these pieces you screw into the top of the door, that basically make it where you cannot lift the door off of the rail once on there. That way, you don’t have to worry about someone lifting it slightly and it falling off. There are also some stops for the left and right movement that you can set wherever you want. In this spot, we needed the door to stop in a particular place, so it would not cover up a light switch.
I installed the front handle once the door was on the rails. I was having a hard time picture how high I needed the handle when it was lying on its back in my shop, so I just waited until the door was in place.
CONCLUSION
Thanks for sticking around to the end! This was a big project to take on, but we love it. My wife and I always love functional art, and we think this door definitely fits into that category. What do you think? Did you see the video? Go give it a watch if you haven’t already.
See you on the next project!


