DIY Slant Board
VIDEO
I was having some foot pain associated with plantar fasciitis, so I made a quick and easy slant board to help with it. Watch the video below to see how I made it and how to use it:
BACKGROUND
A while back, I started to have some really sharp pains in my foot around the heel area. After some research, I determined that it was due to plantar fasciitis, inflammation of a thick band of tissue that runs across the bottom of your foot and connects your heel bone to your toes (plantar fascia). It is usually worst right when I wake up in the morning, but if I have sat for a while and then stand up, it can hurt again.
One of the solutions to help with this is to keep the plantar fascia really stretched out. And the more regularly you do this, the less you feel the pain after times of inactivity.
TOOLS & MATERIALS
Miter saw - http://amzn.to/2xJdUQB
Wood Glue - http://amzn.to/2fJu1Tt
Drill & driver - http://amzn.to/2xeW9ap
Random orbit sander - http://amzn.to/2xeUGk7
Table saw - http://amzn.to/2wPS6xq
STEPS
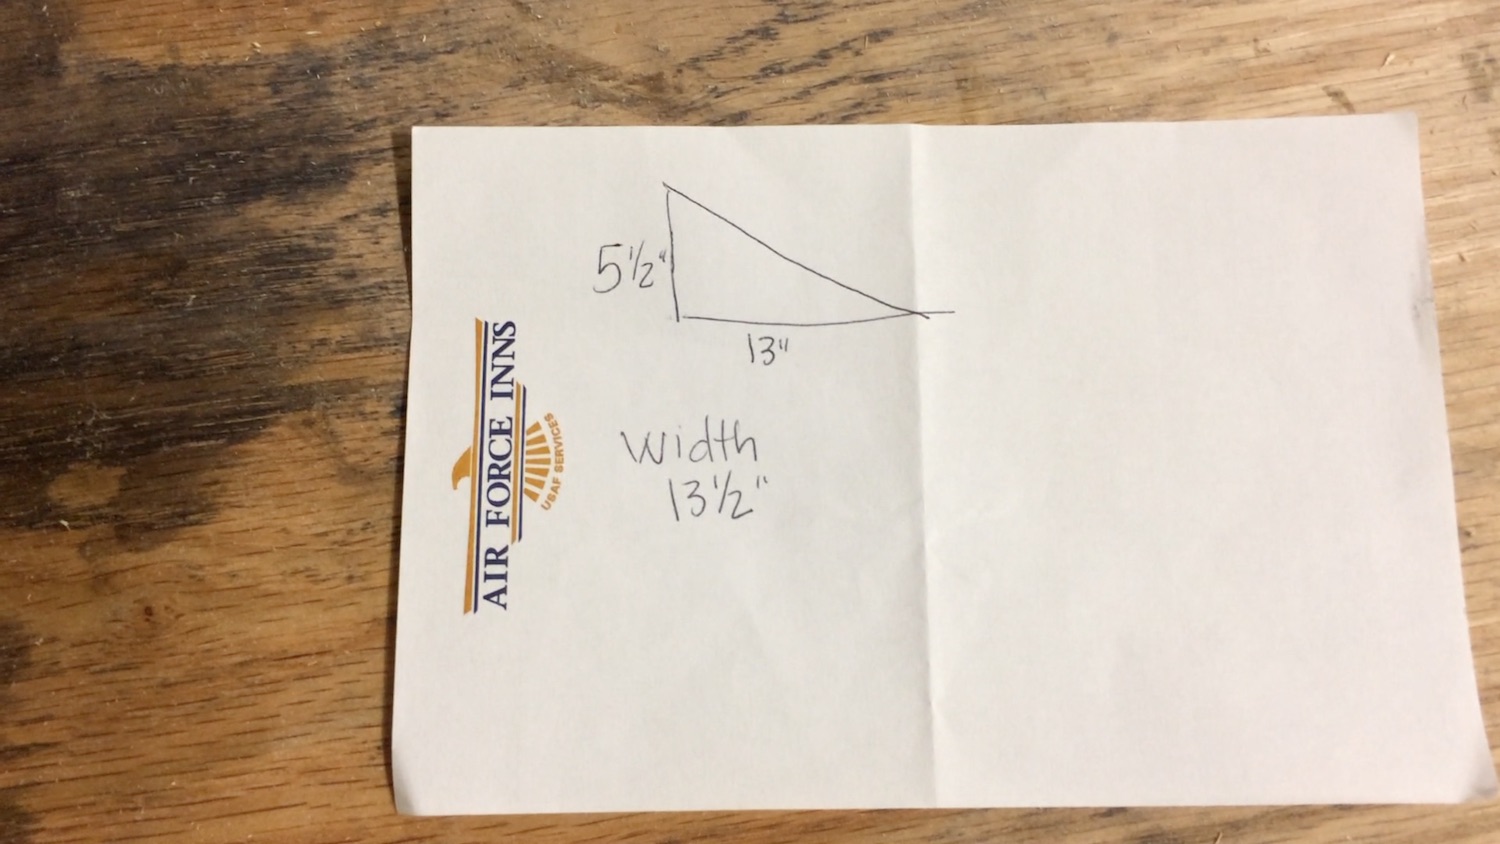
To get started, I took some measurements from a slant board my sister had gotten from her doctor. I figured it was a pretty good idea to just use these angles, rather than trying to research the best methods.
I found a 1" thick pine tread that was left over from our house being built. This will make the perfect material for this build. The back of the slant board needed to be 5 1/2" tall and about 13" long, because I have large feet. Obviously, if you shorten this, it will change the angle a little bit, but I don't think enough to matter. As for the width, just make sure you can accommodate both of your feet on there.
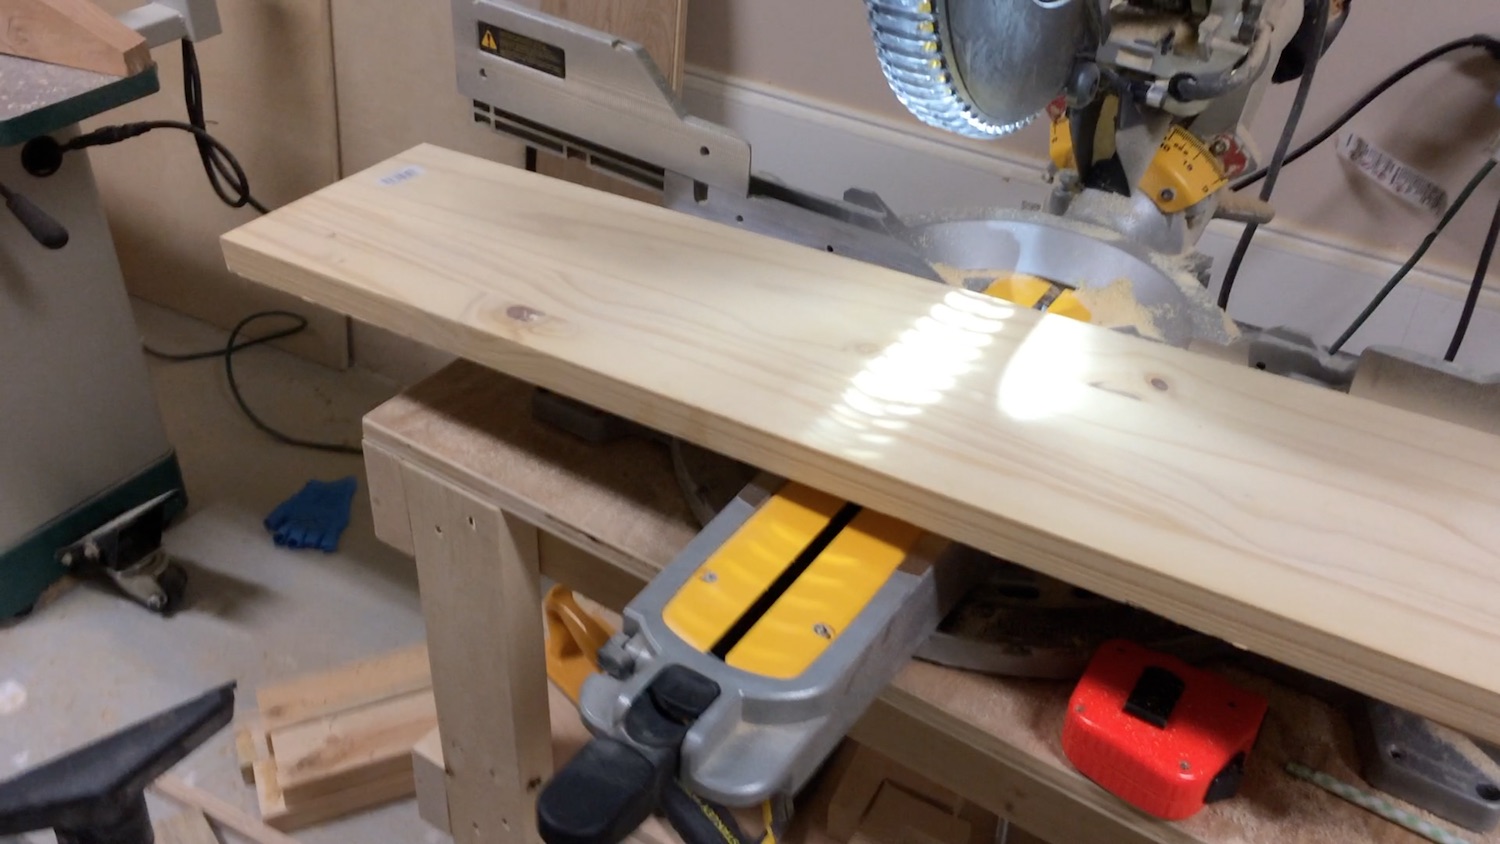
Next, I took the stair tread over to the miter saw to start making the pieces.
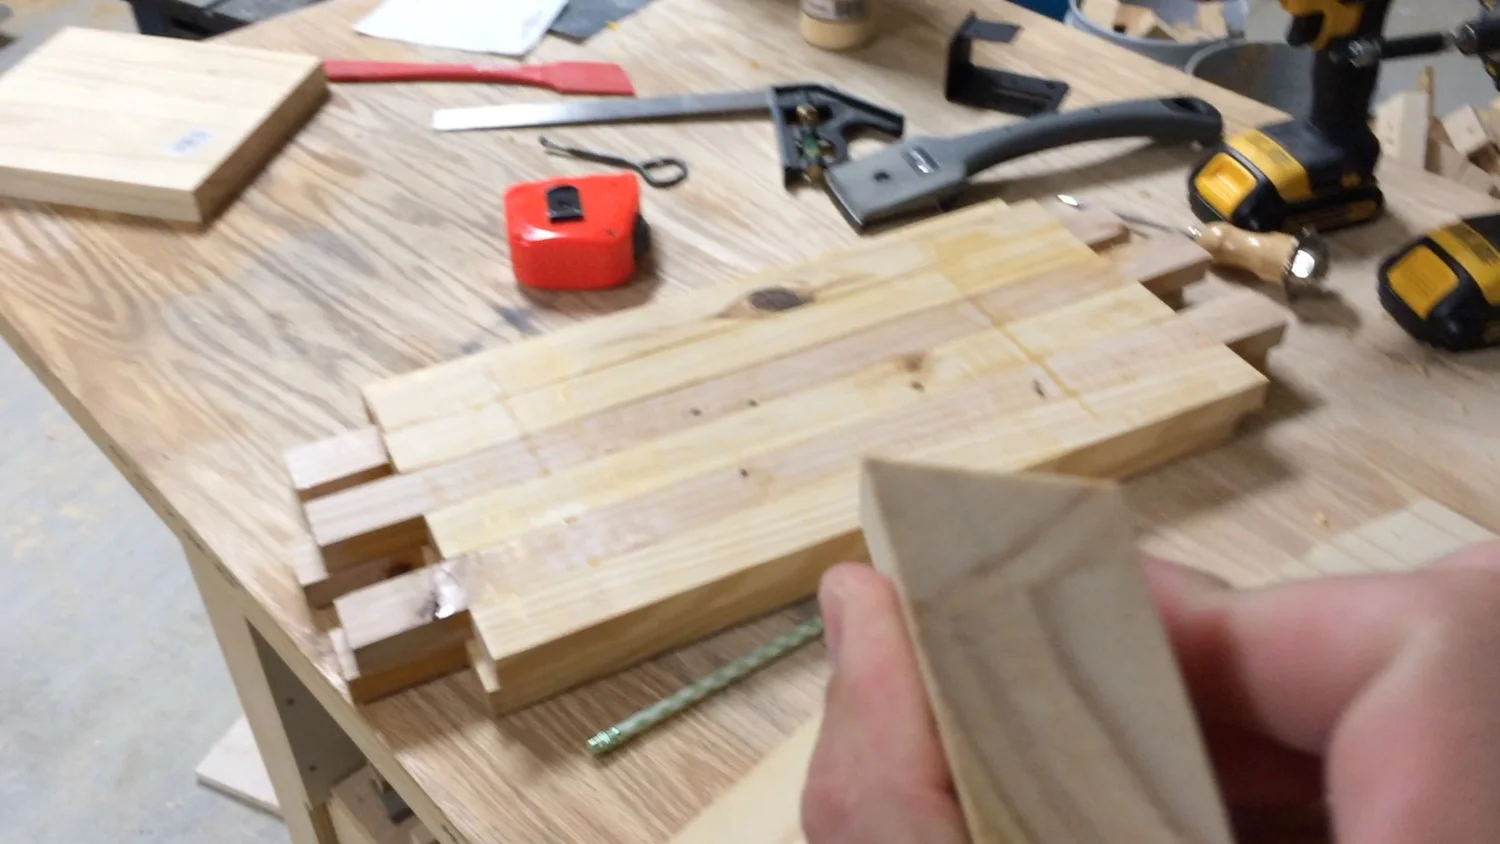
After you have the basic triangles cut out that you will use for your base, just decide on the width you want and cut some strips to join the two triangles together.
I cut an angle in the piece that will go underneath the top and join to each of the two triangular legs. The angle will just need to match the angle of the top.
Then, attach it using some screws from the top. I decided to go this route and make the screws just part of the design. I was also not too worried about how this looks...it is just meant to be stepped on.
I left the back of this kind of open so it could act as a handle. I would just reach under there and grab it. For that reason, I wanted to round over the edges a bit, so it was smooth to the touch.
HOW TO USE
Now, how to use the slant board to improve plantar fasciitis.
Start with a flat surface to place your slant board on. you don't want it slipping around as you're standing on it.
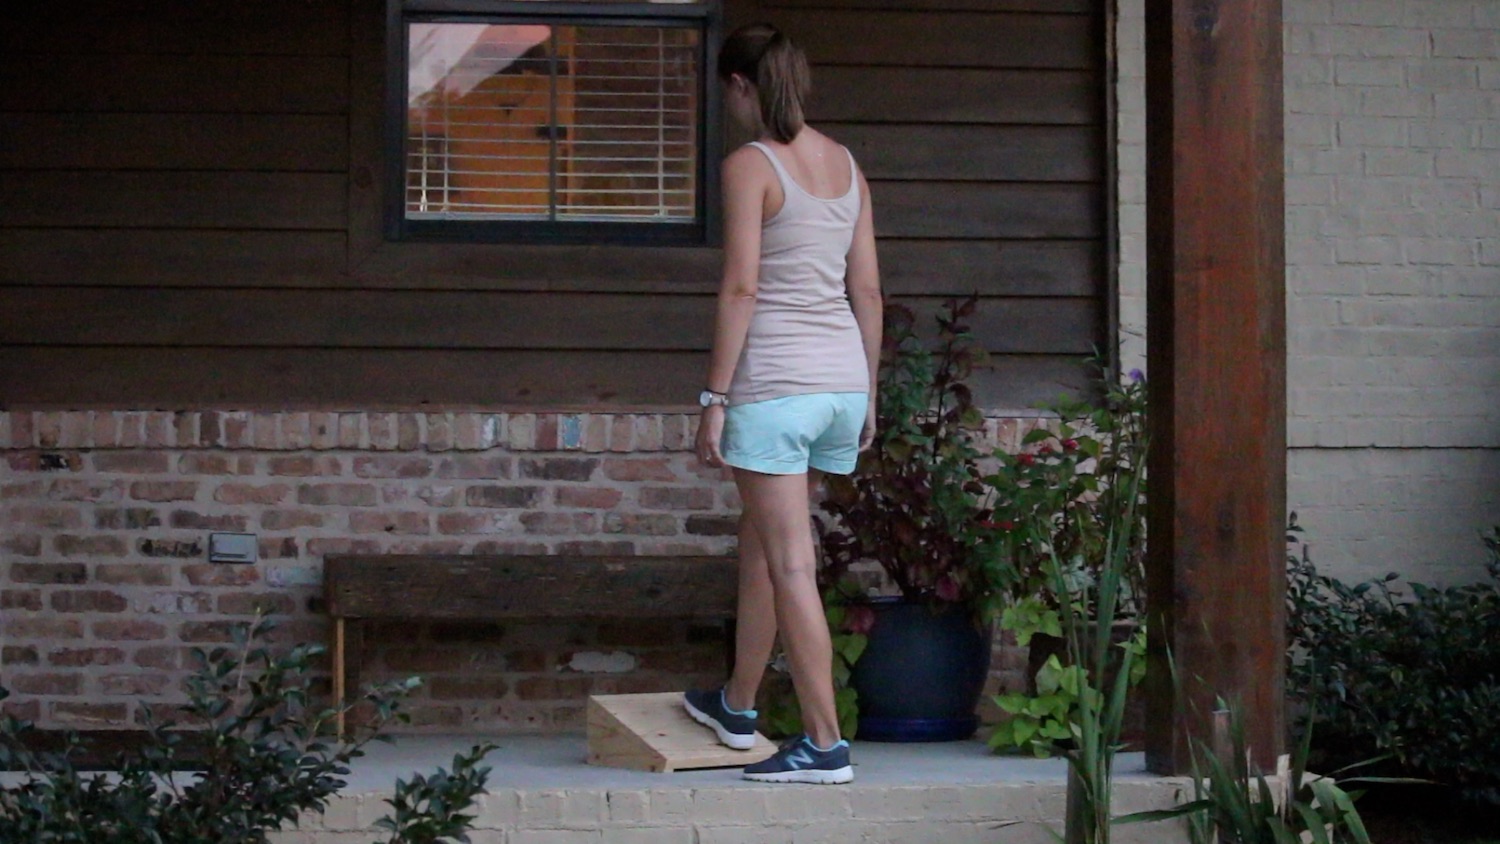
Step up with one foot, slowly straightening your knee. You will start to feel a pull in the back of your leg, probably all of the way from your knee down through your calf and into the back of your foot. I don't usually feel anything in my foot, or very little at all. I mostly feel it in my calf, but it definitely helps the condition of my foot.
Hold it for about 30 seconds, and then step back off of the slant board.
Step up with the other foot, and repeat the steps for another 30 seconds.
Then, step up with both feet, straighten your knees and even lean forward a bit. I have found that I like to do both feet at once the best. This seems to stretch my legs the most.
This was a really simple build, but it is really useful. Do you ever have a pain in your heel? You might benefit from the same thing, and I've found that having one readily available has really increased the chances that I will actually use it. Let me know in the comments below if you have any questions about this build or how it has improved my condition.


