Quick and Easy Drill Charging Station
VIDEO
In this video, I'll show you how to make a cordless drill charging station to organize your drills, chargers, bits and a few other things:
BACKGROUND
Last year, when I build my clamp racks, I built a few platforms that could be used on the same French cleat system. I thought this would work well, but with them being just flat platforms, they just accumulated so much stuff, I could often not put my drills where they belonged. They needed a dedicated spot so I could know right where to get them each time I needed to use them.
TOOLS & MATERIALS
Table saw - http://amzn.to/2wPS6xq
Miter saw - http://amzn.to/2xJdUQB
Drill & driver - http://amzn.to/2xeW9ap
Wood glue - http://amzn.to/2fJu1Tt
Screws - http://amzn.to/2fYz3ie
Random orbit sander - http://amzn.to/2xeUGk7
Drill press - http://amzn.to/2z3NJBp
STEPS
As with many shop-made things, I try to make use of scraps I have lying around. I found some pieces of 3/4" plywood that would work, so I started laying out everything I thought would need to go in this drill charging station. I grabbed my drill/driver, the 2 chargers I have and some cases that hold bits. I eventually want to build something (probably closer to where the drill press is), where the bits are more easily accessible without having to open a case each time, but for now, this will have to do.
After I saw how wide to make it, and how tall it must be to accommodate all of the items, I started milling all of the plywood pieces to those specifications. I used my crosscut sled for most of this, taking advantage of stop blocks that I could set up for repeatable cuts. As often as possible, I just use one of the pieces in the project to "measure" for the next piece. That way, regardless of the actual measurement, you know it will be the same as the other pieces.
I drew some inspiration from some plans that Jay Bates put out a couple of years ago. He built one of these drill charging stations, but his was considerably larger. Again, I am just using what I have on hand, so I am building it smaller to use the material I have and it will still fit my needs. There were a few elements that he used that I incorporated into mine though, one of which was to have a little lip on the very top of the piece so it could be used as a shelf. I ended up putting my 2 part epoxy up there, so it was a great spot!
I used my hand to mimic what the shelf will look like to hold the drills. This allowed me to see just how wide and deep to make the cutouts that will actually hold the drills. I marked out this information on the board and took it over to the drill press to drill out a hole the width of the slot.
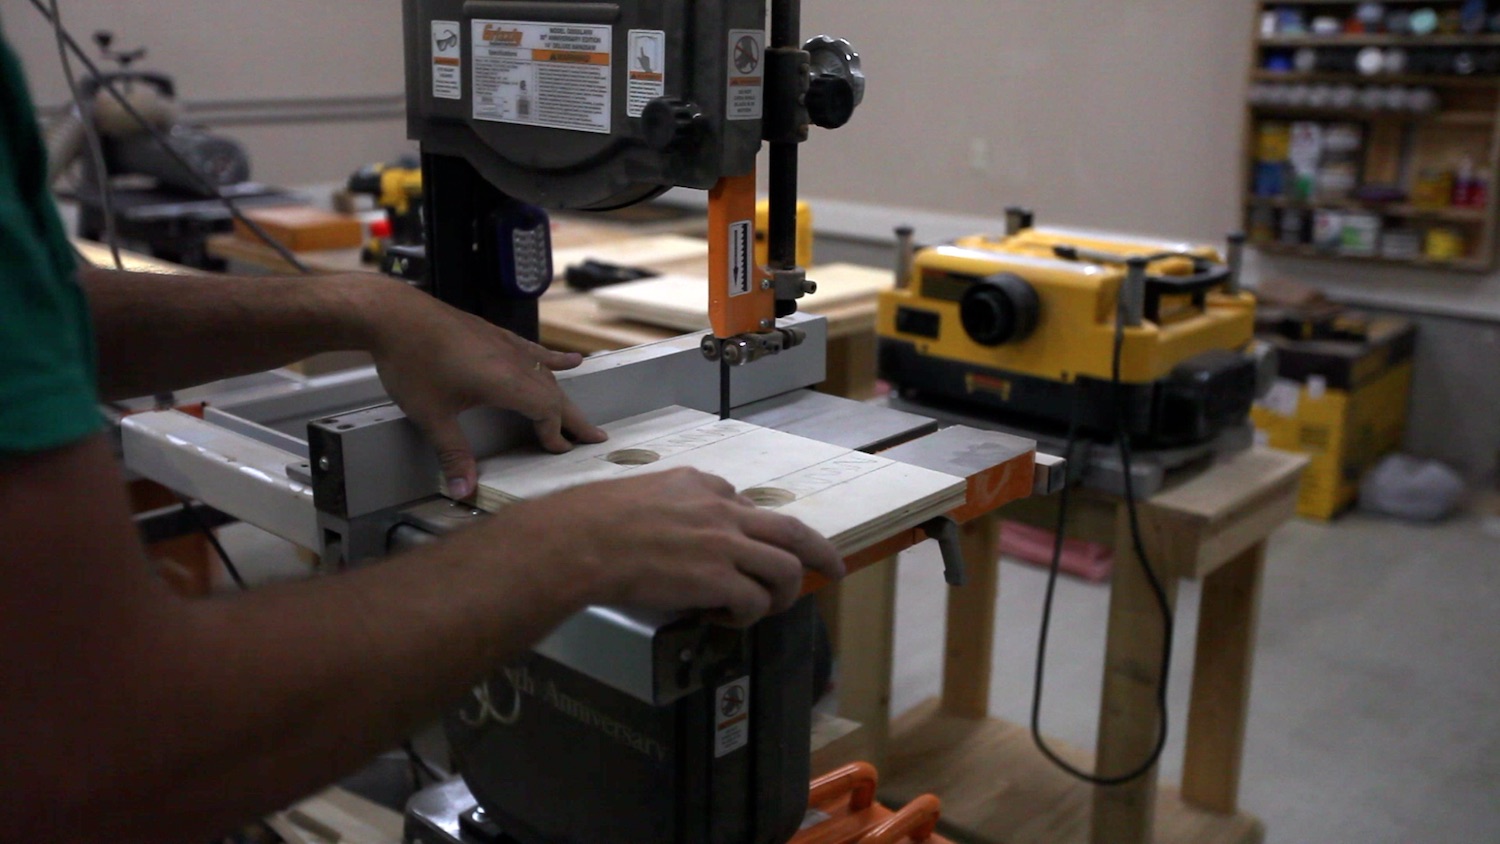
Then, I finished the cuts on the bandsaw, bringing the slot all the way to the edge of the board.
As I mentioned above, I wanted there to be a little visual interest to this little cabinet, so before I started assembling everything, I taped the two side pieces together, drew an angle toward the bottom, and cut that out on the bandsaw. Taping these together ensured they would both be the same.
Since I cut this angle in the bottom of the side pieces, I needed the bottom most shelf to be shorter, and the front lip of that shelf to have the same angle. Again, I measured the length this shelf needed to be by just holding it up to the work piece and marking it. I honestly don't know what the angle was, but I just used my t-bevel to transfer the angle to the table saw, where I cut out the bottom shelf.
I took one of the side pieces over to the drill press and drilled a hole large enough that the power cords from the two battery chargers could fit through. The side I used to drill the hole was dictated by where my outlet was, so be sure to do this according to where your outlet is located.
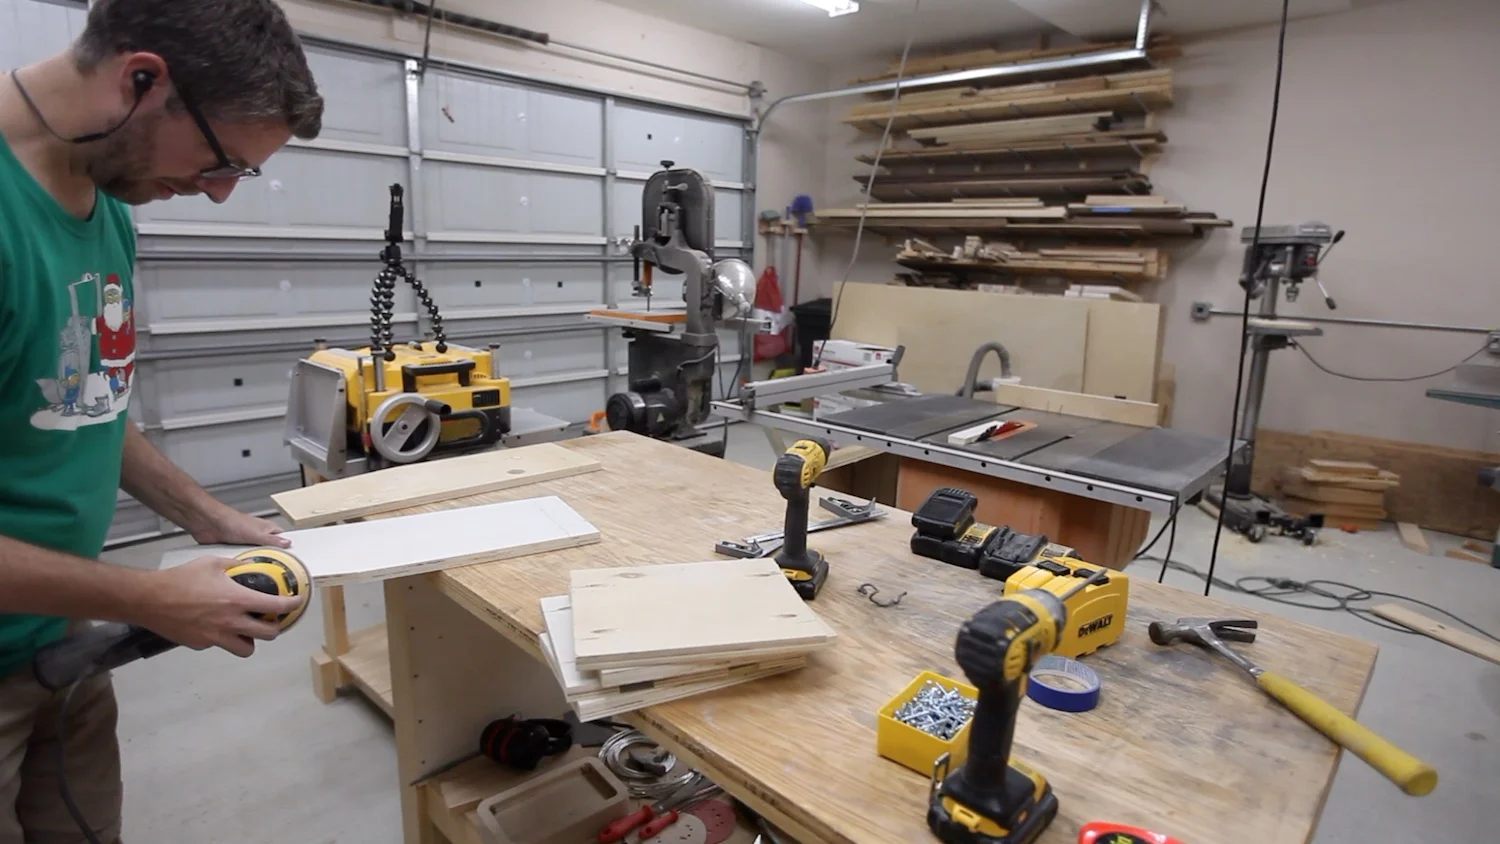
I lightly sanded some of the materials, mostly on the edges to get rid of the bandsaw marks.
I started by assembling the top shelf and one of the sides. I didn't do anything fancy for joining these, just some pocket hole screws. I actually didn't put a back on this shelf since it will be up against a wall.
I added on the other side, making sure it was square. Then, I added the other two shelves with some glue and pocket hole screws.
I wanted the top two corners to kind of be rounded. Since I didn't do it before assembly, I couldn't really use the bandsaw for this. I chose to just use the random orbit sander to round these corners. I really like how it looks, so I'm glad I did it. It's always amazing how such a small detail can change the whole look of something.
Next, it was time to turn my attention to the French cleat that would be used to hang the drill charging station on the wall. When you're doing a French cleat, there are a few things to keep in mind:
- the angle does not have to be 45 degrees, so long as both of the boards have complimentary angles
- if you're not doing a whole wall of cleats, be sure to at least make the wall cleat wide enough to be secured into 2 studs (this was 16" in my case)
- You need to have a piece of material at the bottom of your cabinet or whatever you're hanging that is the same thickness as the cleat material. That way, your piece will sit flat against the wall and not try to rock down.
Pre-drill your holes for your cleats...this will make it much easier when you are installing on the wall.
Mark the stud locations so you can be sure to hit them when securing the wall cleat. Again, be sure to hit at least 2 studs to be very secure.
Level your cleat, and you're ready to hang the drill charging station on the wall!
All that's left at this point is to load up the new cabinet with tons of stuff that was previously probably sitting on the floor (No? You're shop is not like mine?), plug in the chargers and enjoy how much more organized your shop is.
CONCLUSION
All of these shop improvements I've done in the last few months have really helped me to be more productive. Having things off of the floor an in their "home" when you're done using them helps an incredible amount.
Have you made something like this in your shop or for your home? Maybe in a pantry? Let me know if you have any questions or comments below. Thanks for following along!


