How To Make A Mickey Mouse Mug Holder
VIDEO
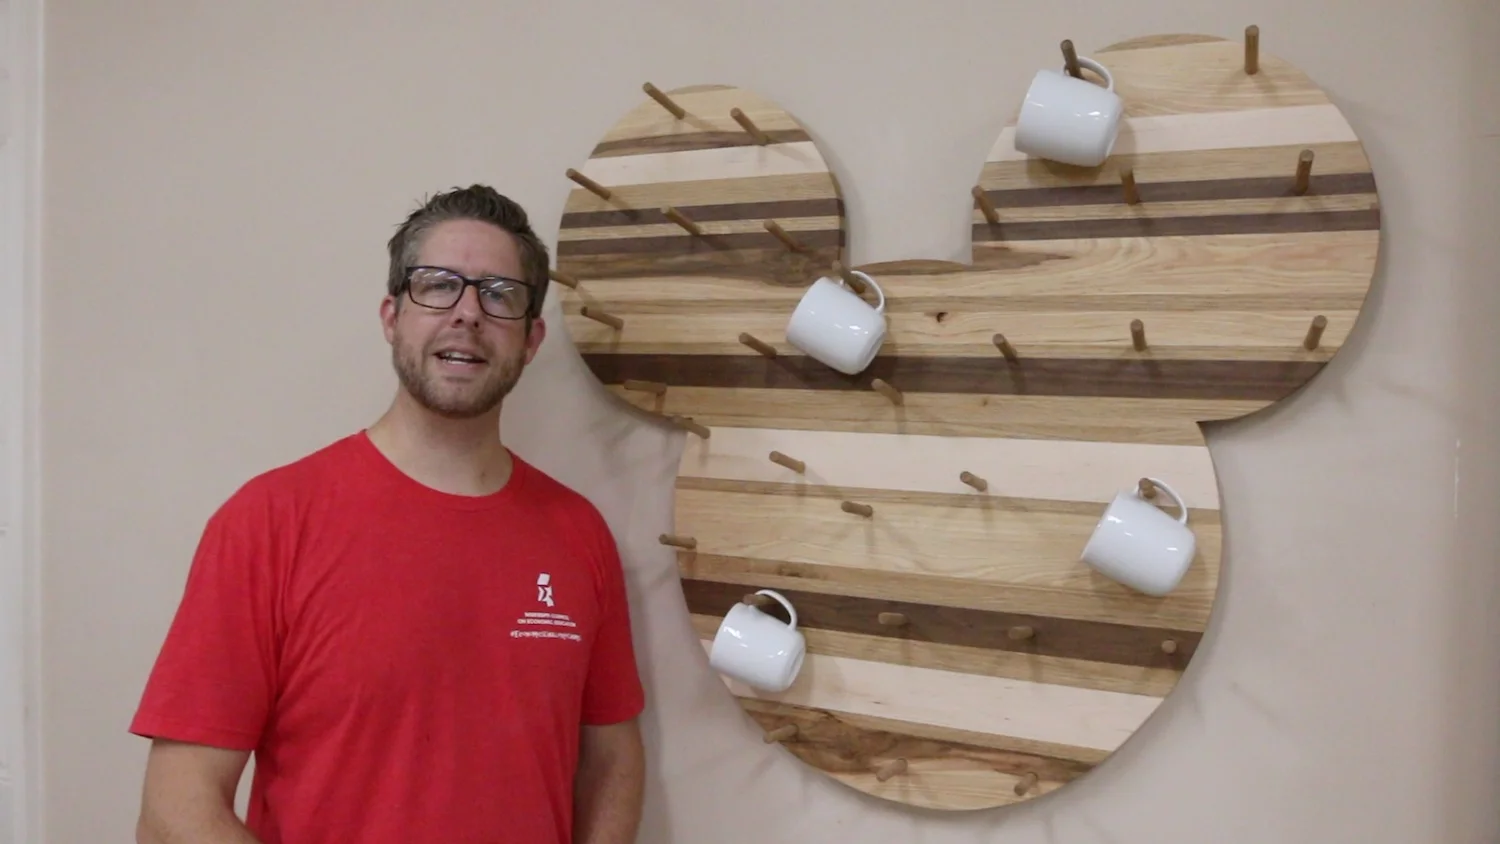
Some friends of mine are really, really into all things Disney. They were setting up a new coffee station in their house, and they wanted a large, Mickey Mouse mug holder for the wall, so I made one. Watch the video to see how it was made:
BACKGROUND
Some of the requirements for this project were as follows:
- Be over 3' tall
- Butcher block style with different hardwoods
- Hold a ton of mugs
- Pegs spaced for odd-sized or large mugs also
TOOLS & MATERIALS
Miter Saw - http://amzn.to/2ynOXJv
Table Saw - http://amzn.to/2yxWdQr
Bandsaw - http://amzn.to/2hNB7a4
Jigsaw - http://amzn.to/2A3ToKR
Drill & driver - http://amzn.to/2A1kj9R
Brass mallet - http://amzn.to/2A3TSk9
Belt sander - http://amzn.to/2zwcVnS
Random orbit sander - http://amzn.to/2BgGR4N
Files - http://amzn.to/2zgoFqC
Sandpaper
Screws
Wood glue - http://amzn.to/2kOWYCo
STEPS
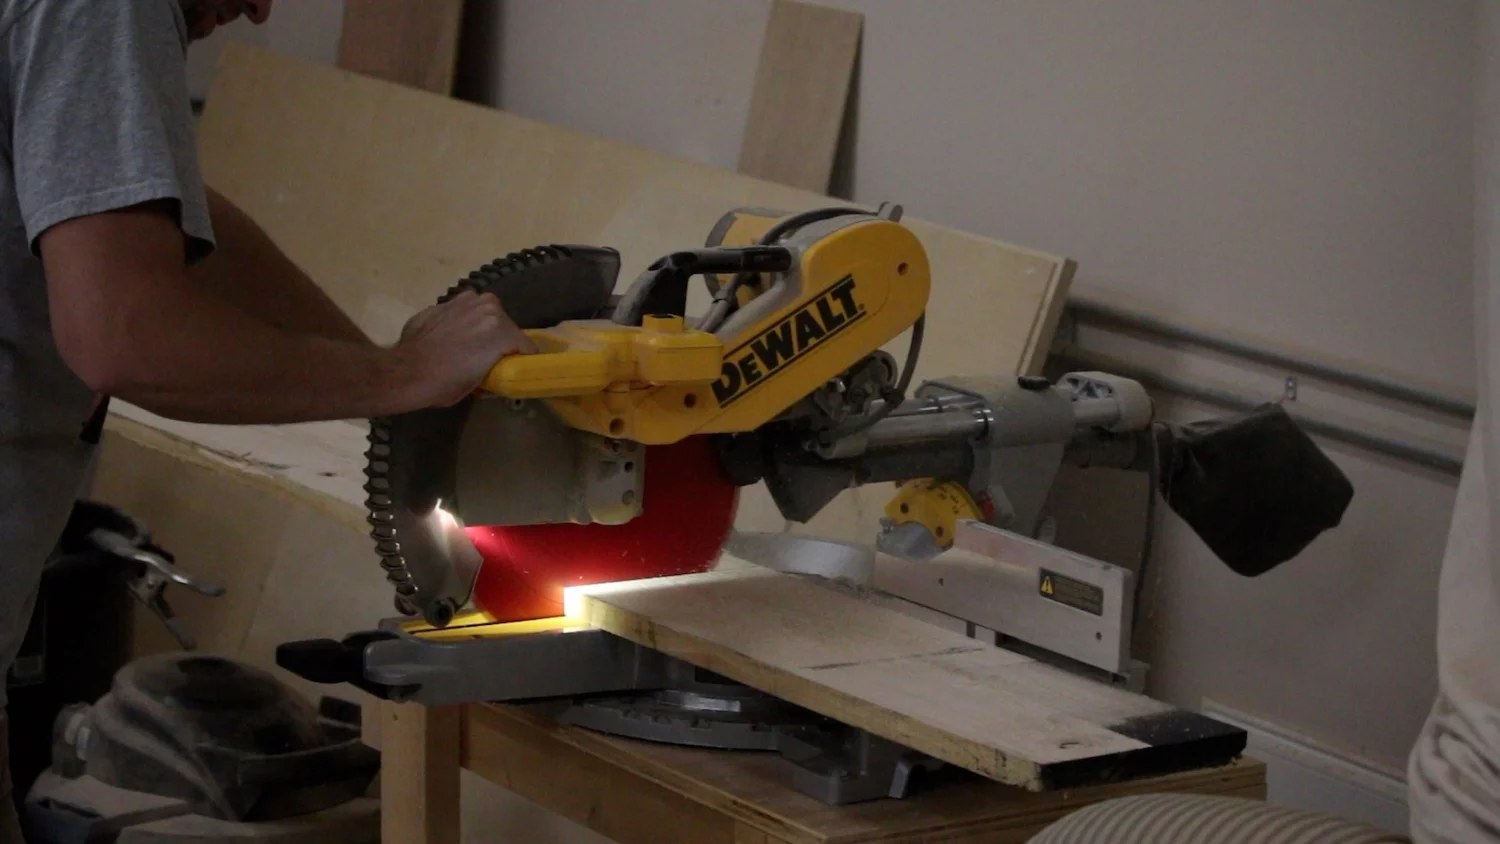

I started off by getting a bunch of different types of wood and cutting them to rough length on the miter saw. You can see me stacking them up on the bench to see if I have enough.

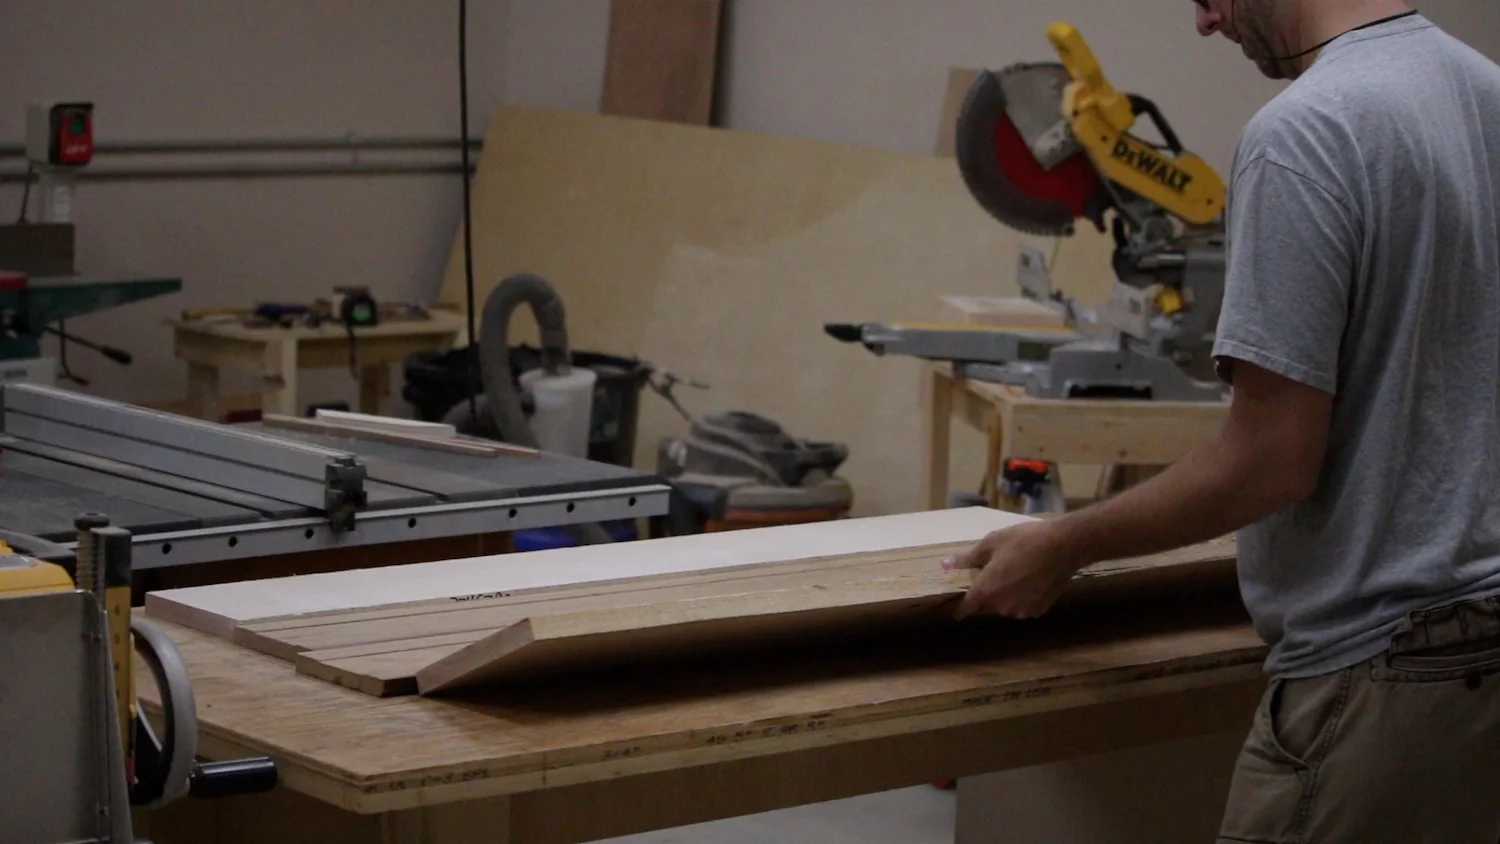
Then, I took them to the jointer to get one flat side.
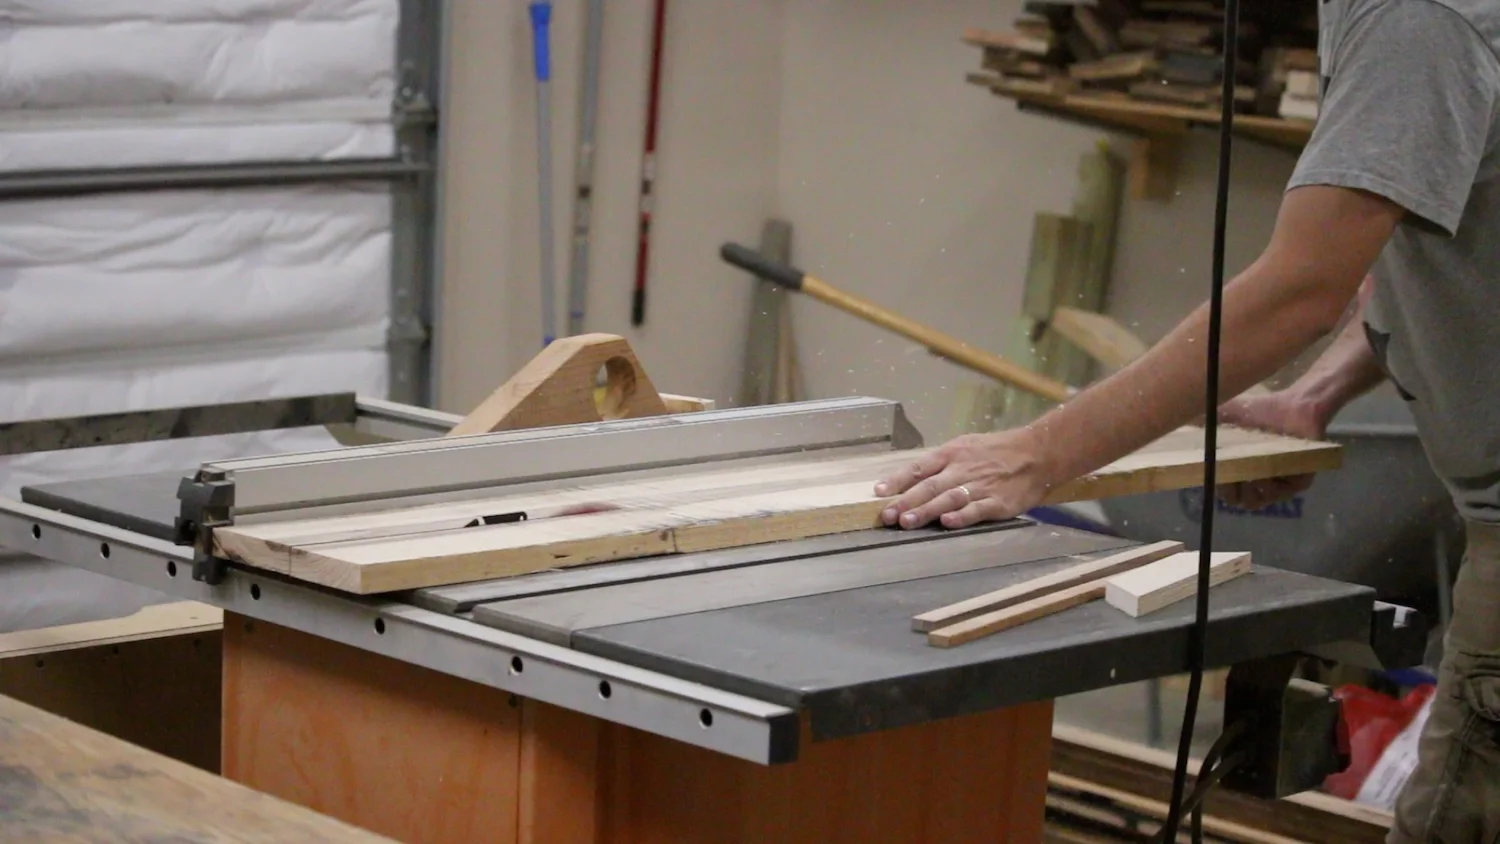
After I had one flat side, I used that side referenced against my table saw fence and ripped strips out of each board.
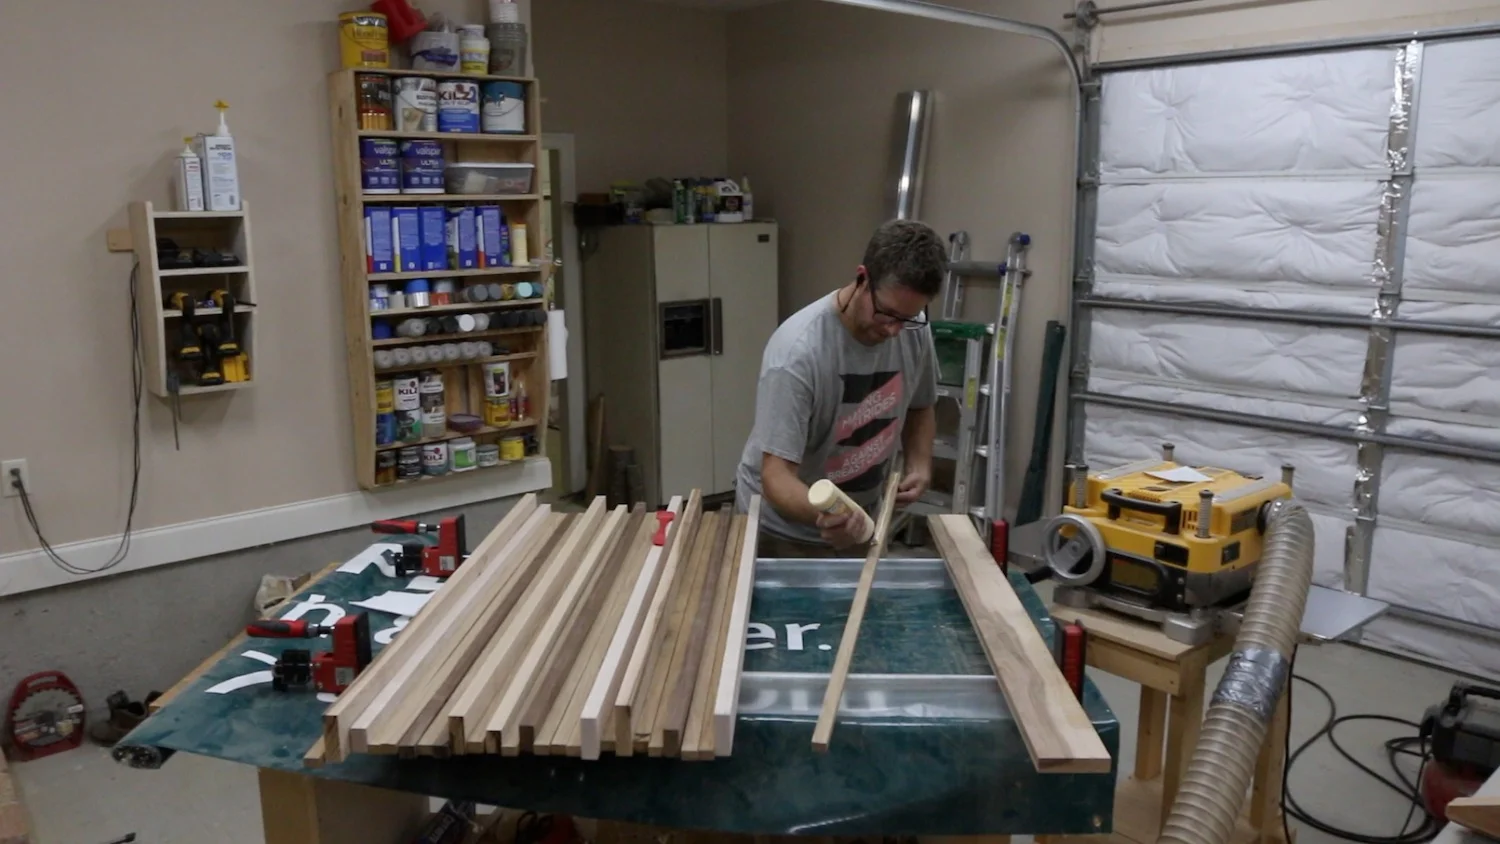
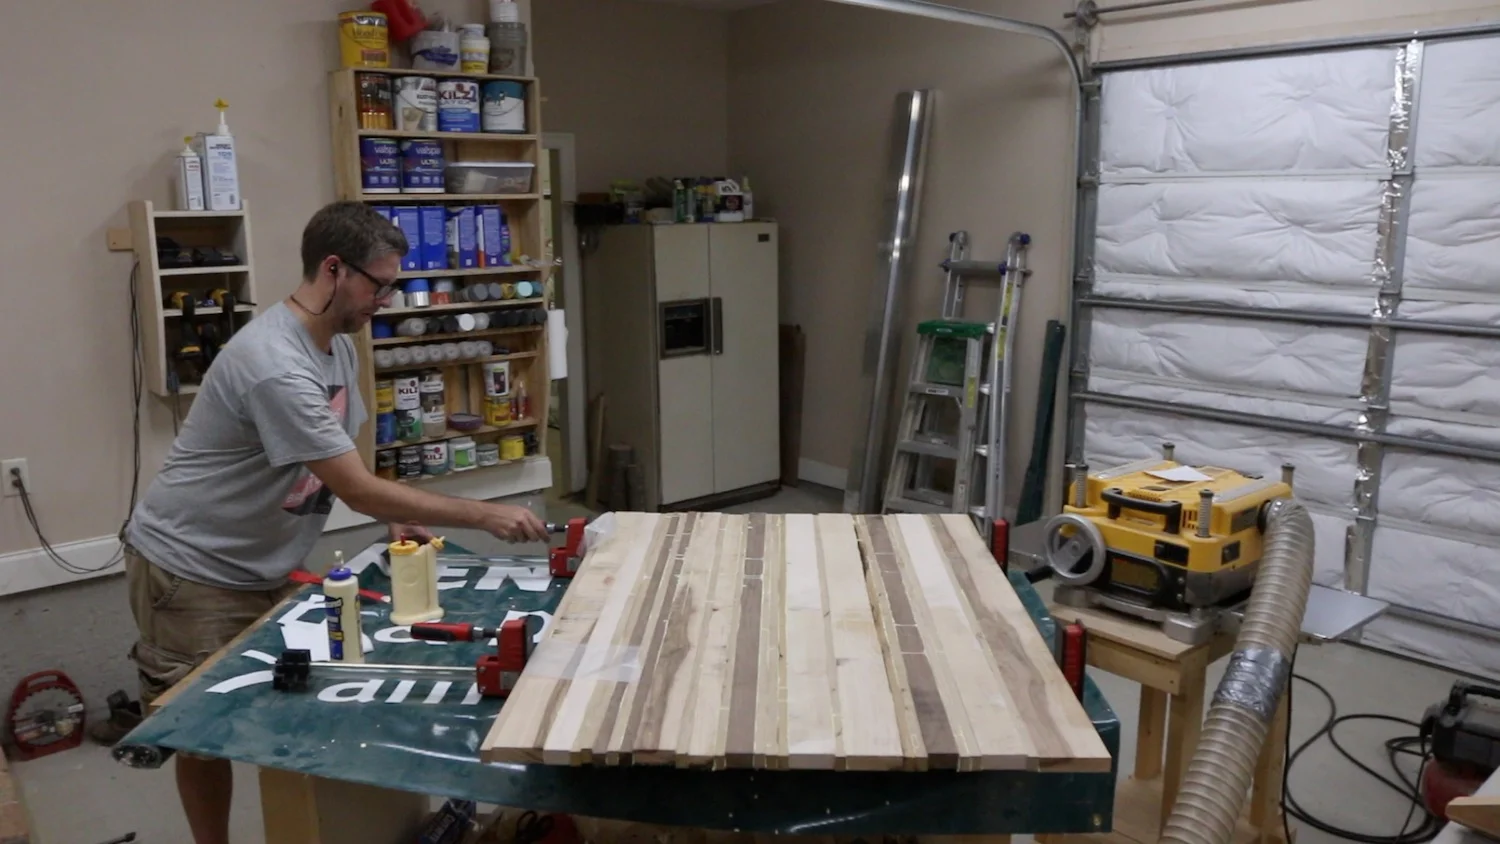
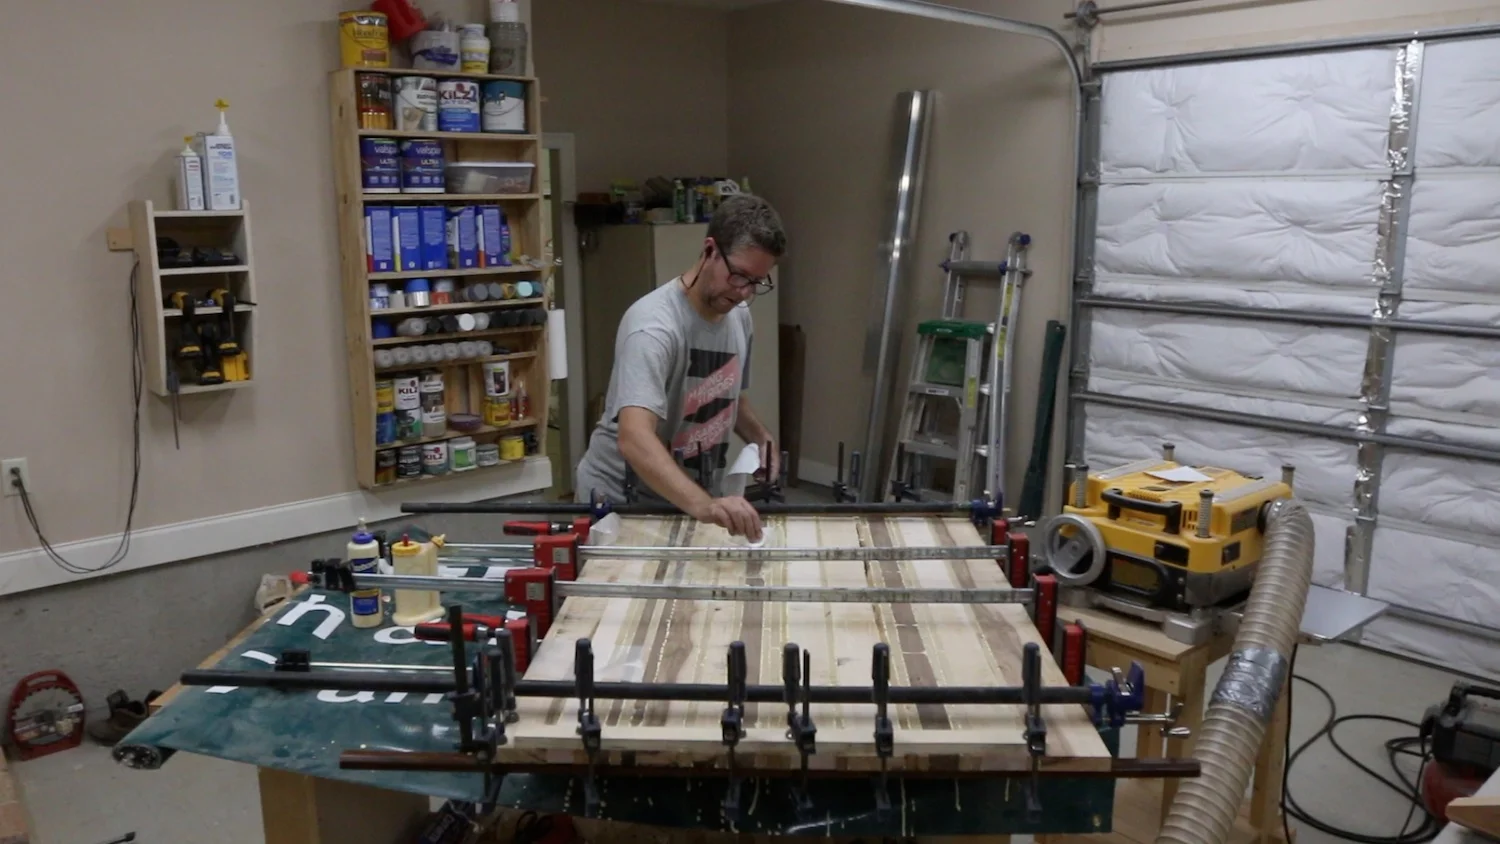
Once I had them arranged in a way that I liked, and all of the edges were flat and parallel, I started one of the most stressful glue-ups I've ever done! There were so many boards, and I wanted a good amount of glue coverage, so there was glue everywhere!
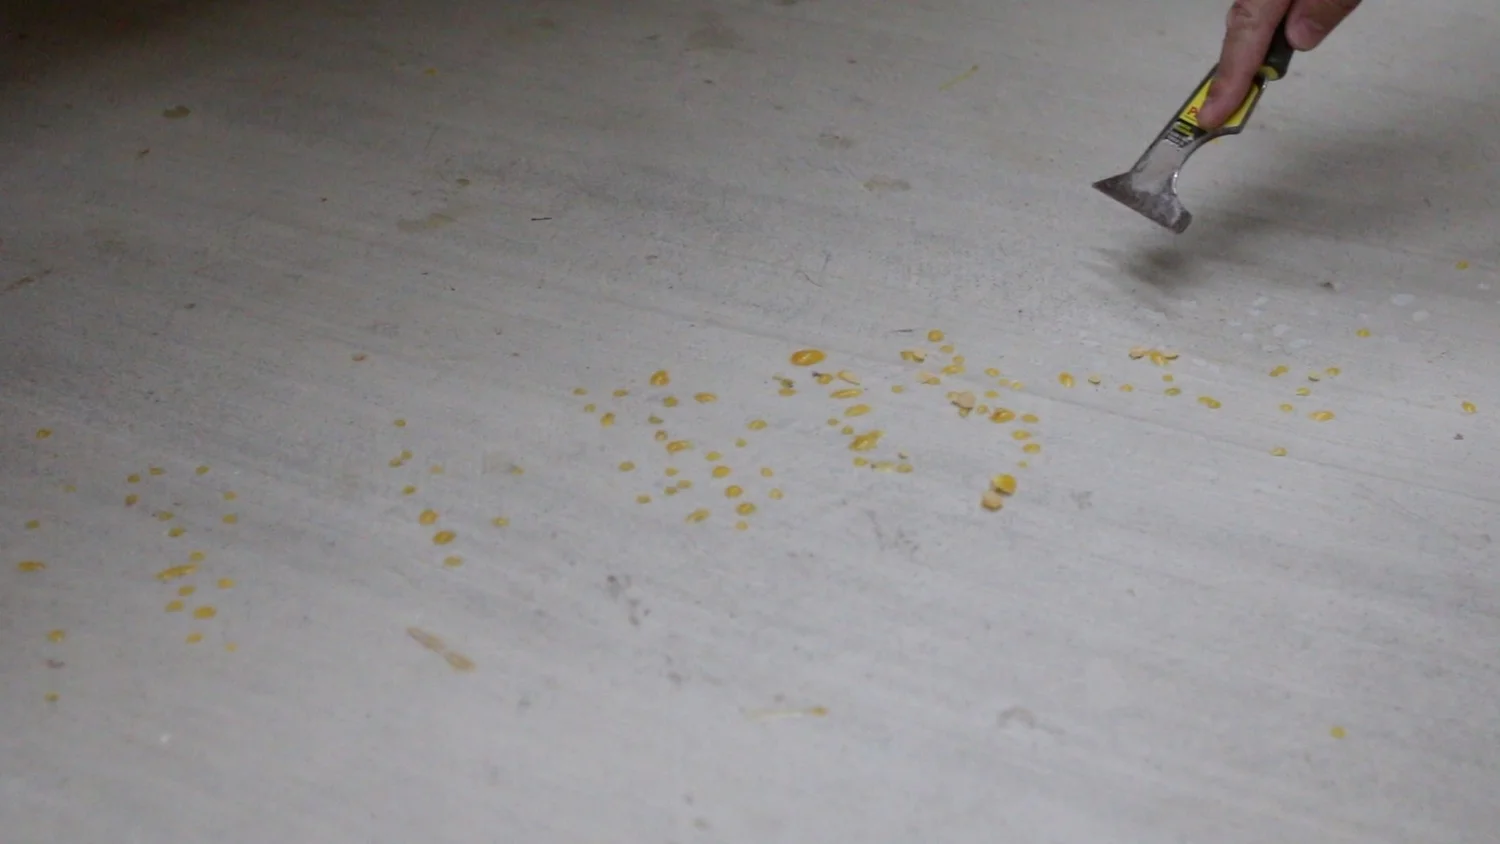
Quick Tip: if you drip wood glue onto your floor, don't try to wipe it up. That will only smear it into the concrete more. Wait until it dries. Then, you can come back with a scraper and pop the glue spots right off. Ask me how I know this?
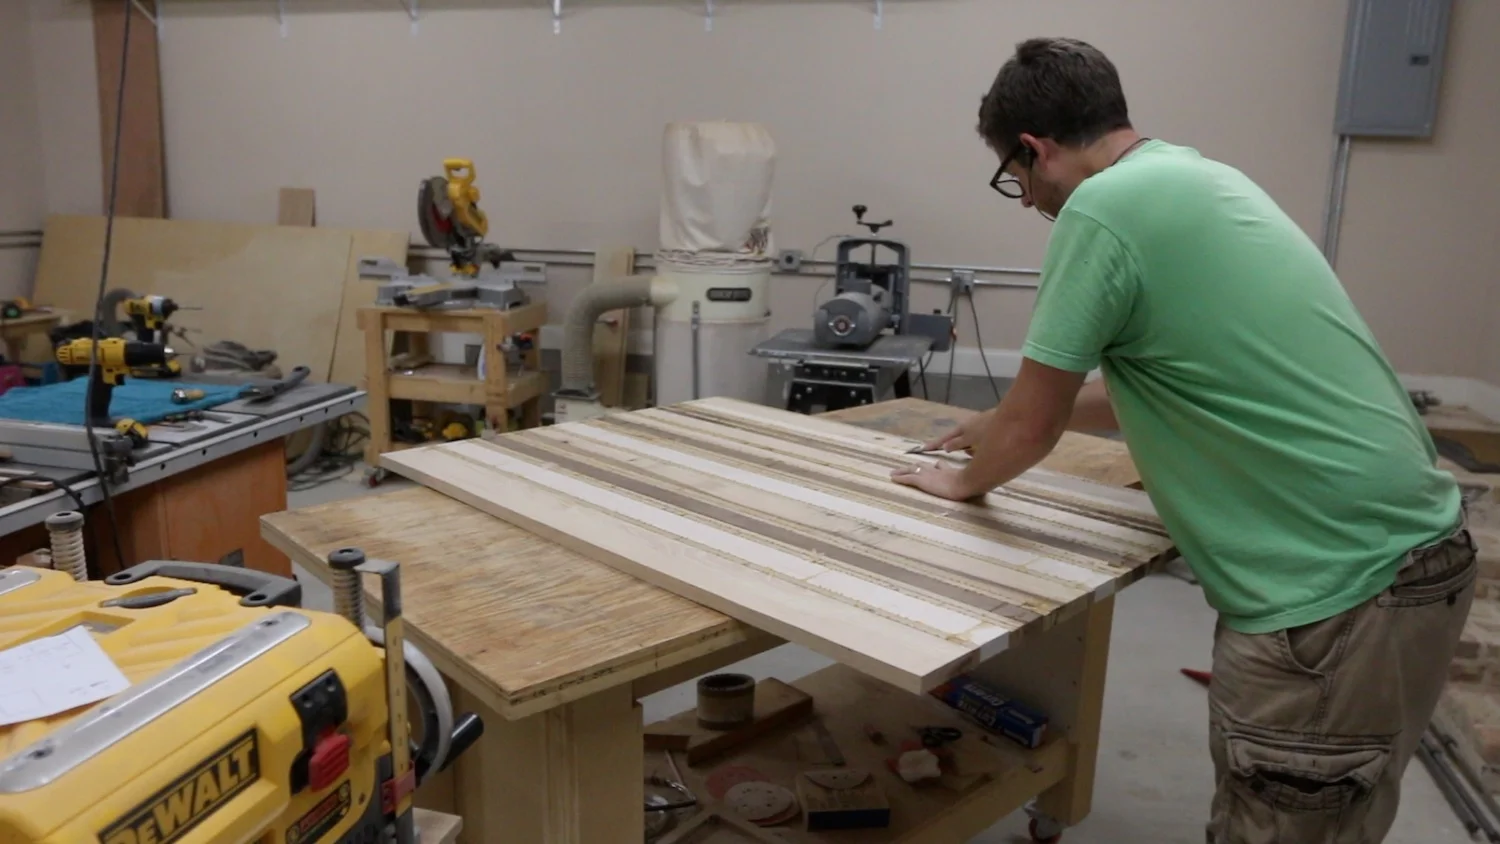
After I took the panel out of the clamps, I used some scrapers to remove the excess glue.
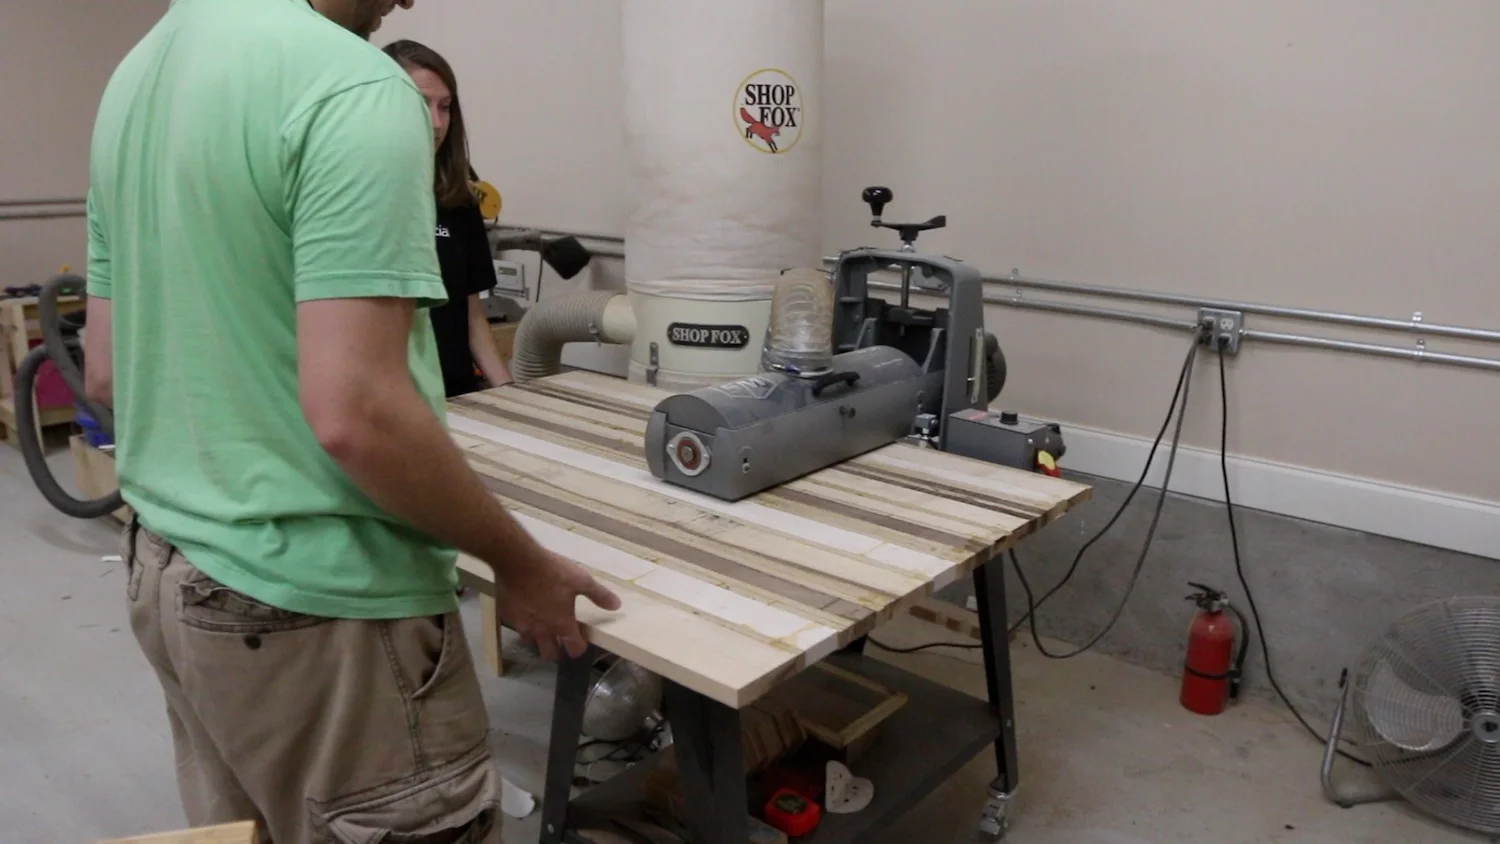
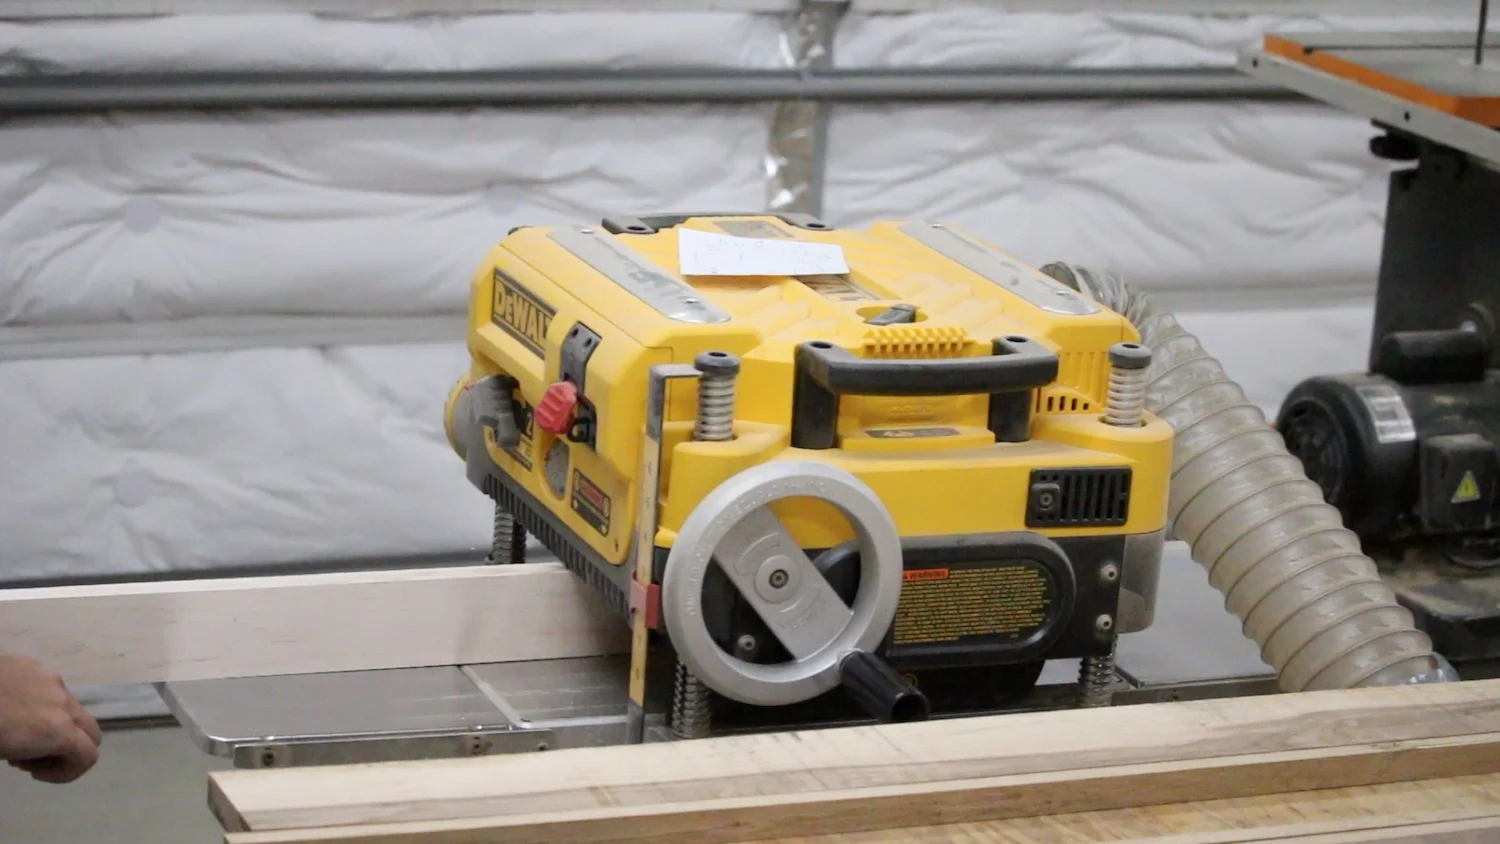
Then, I ran it through the drum sander a few times. This thing was so heavy, I had a hard time using the drum sander to flatten it effectively. It CAN be used for this kind of thing, but maybe I don't have the knowledge of how to use it for something so wide and heavy yet.
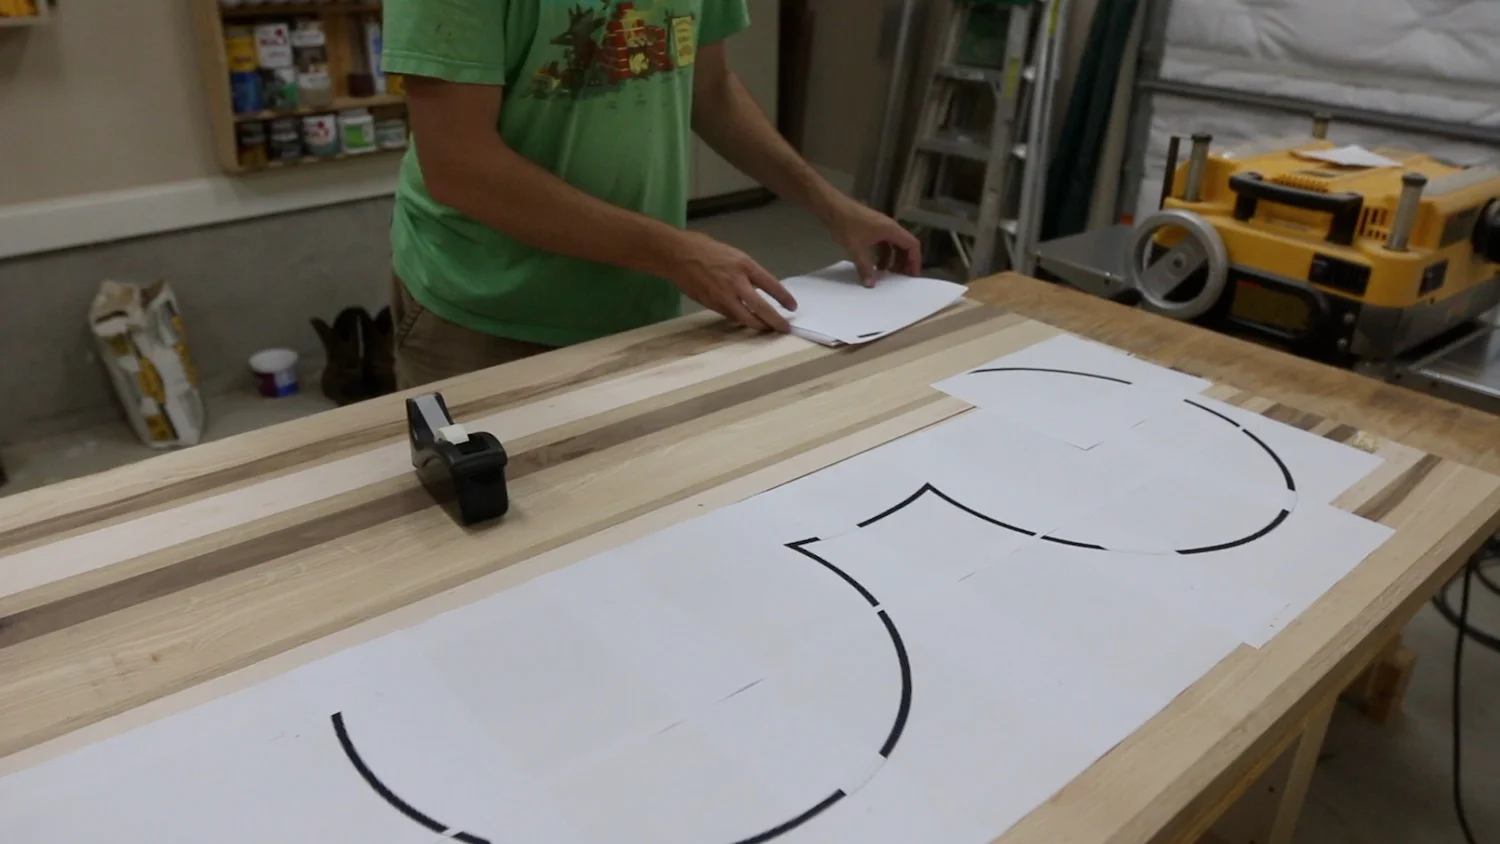

I took the dimensions my friends wanted the final piece to be, and used a site called rasterbator.com to blow it up into a poster. I didn't particularly like how it did it. It was quite hard to assemble and get it to look right.
Then, I sprayed some adhesive on the template, and stuck it temporarily to the board.
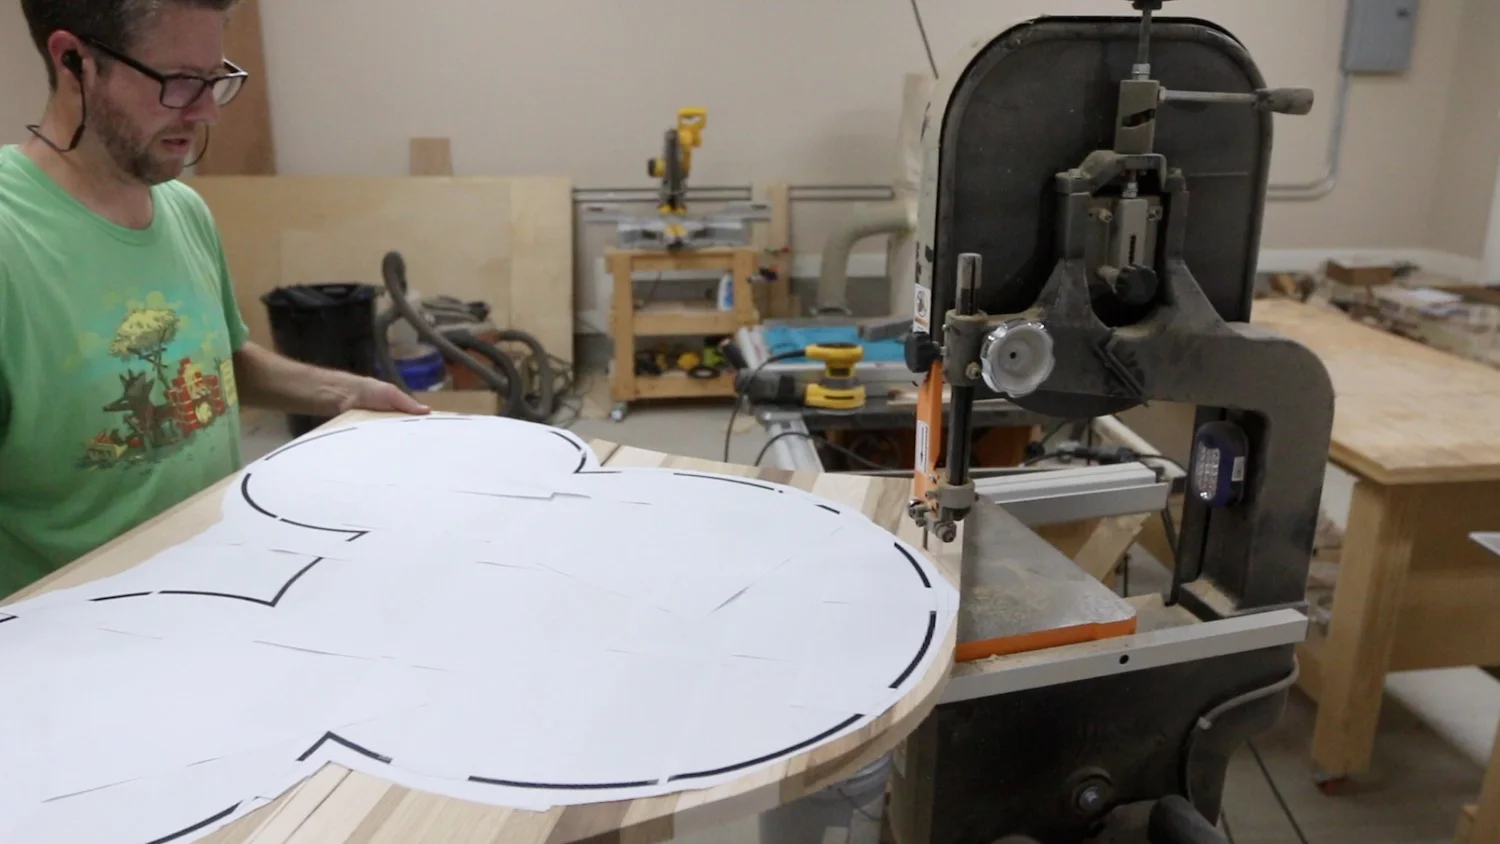
I took it to the bandsaw to cut off some of the bulk, but it was really to heavy to do much at the bandsaw.
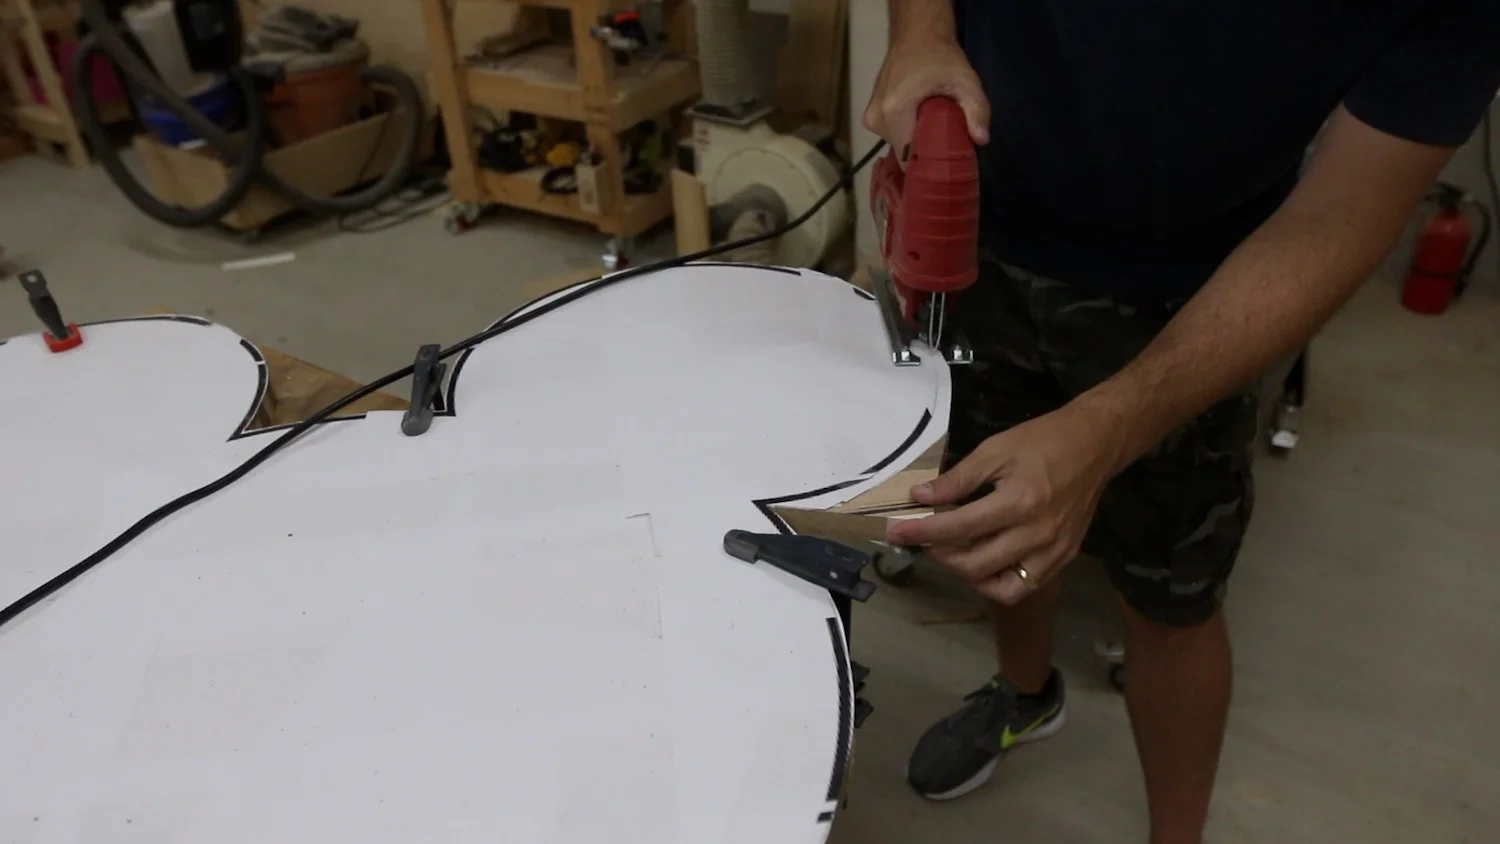
I finished cutting out the template with my jigsaw, which was awful. Even as tightly as I could clamp it, I got a lot of vibration. I generally don't like the jigsaw.
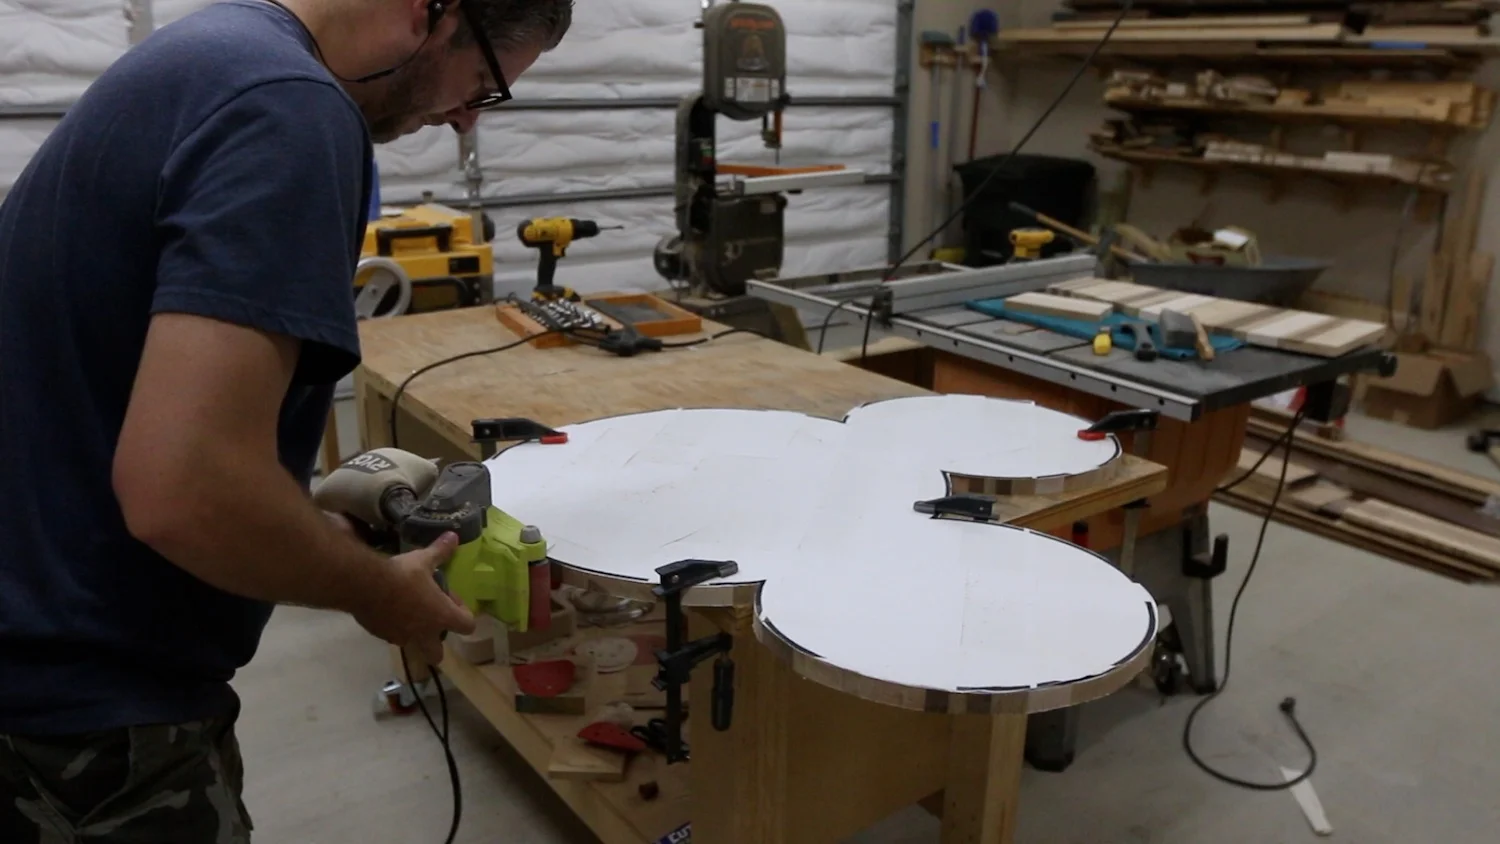

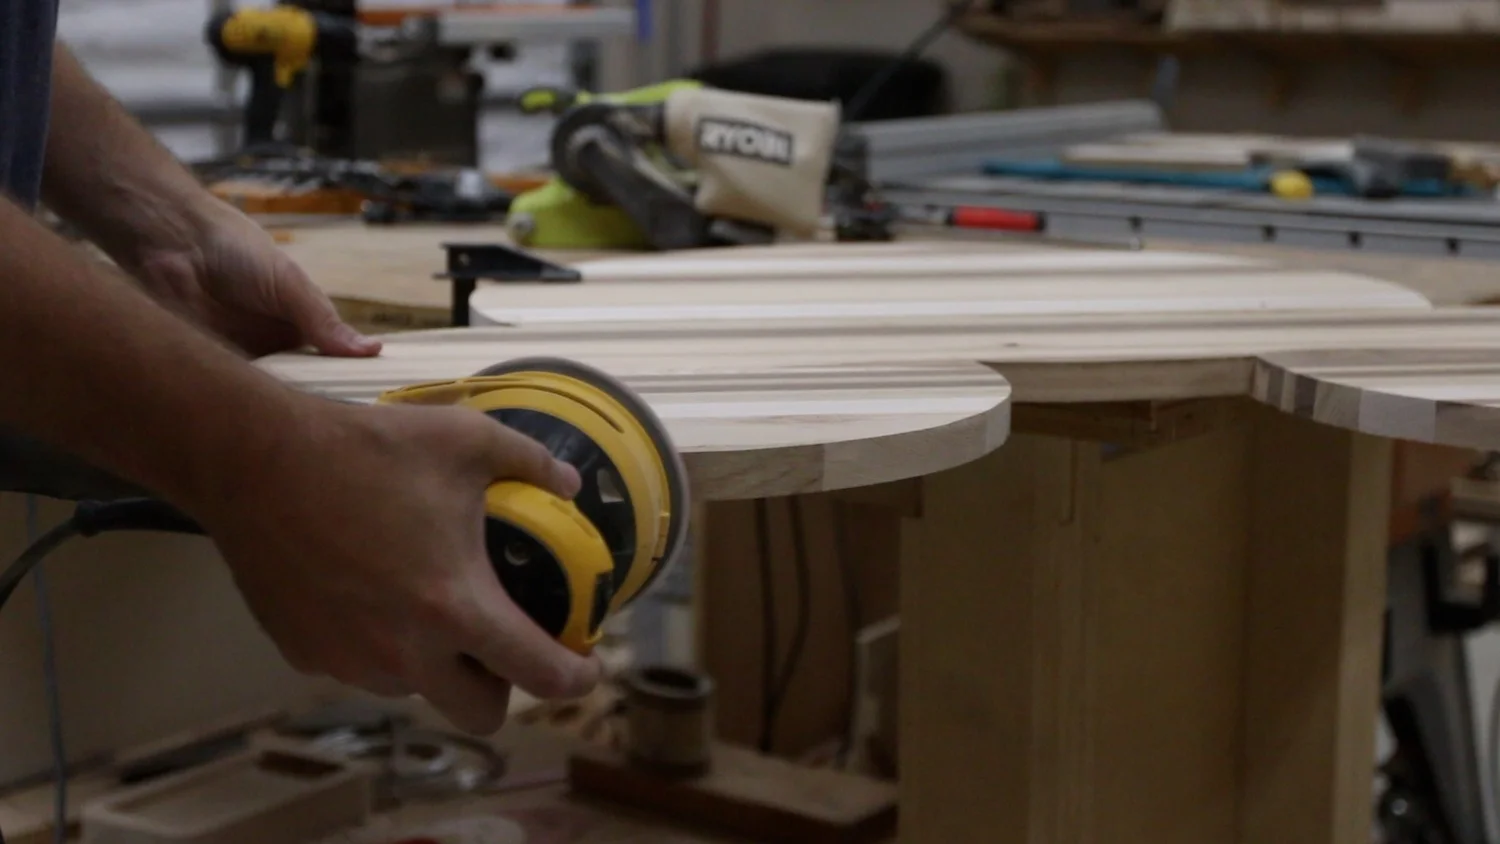
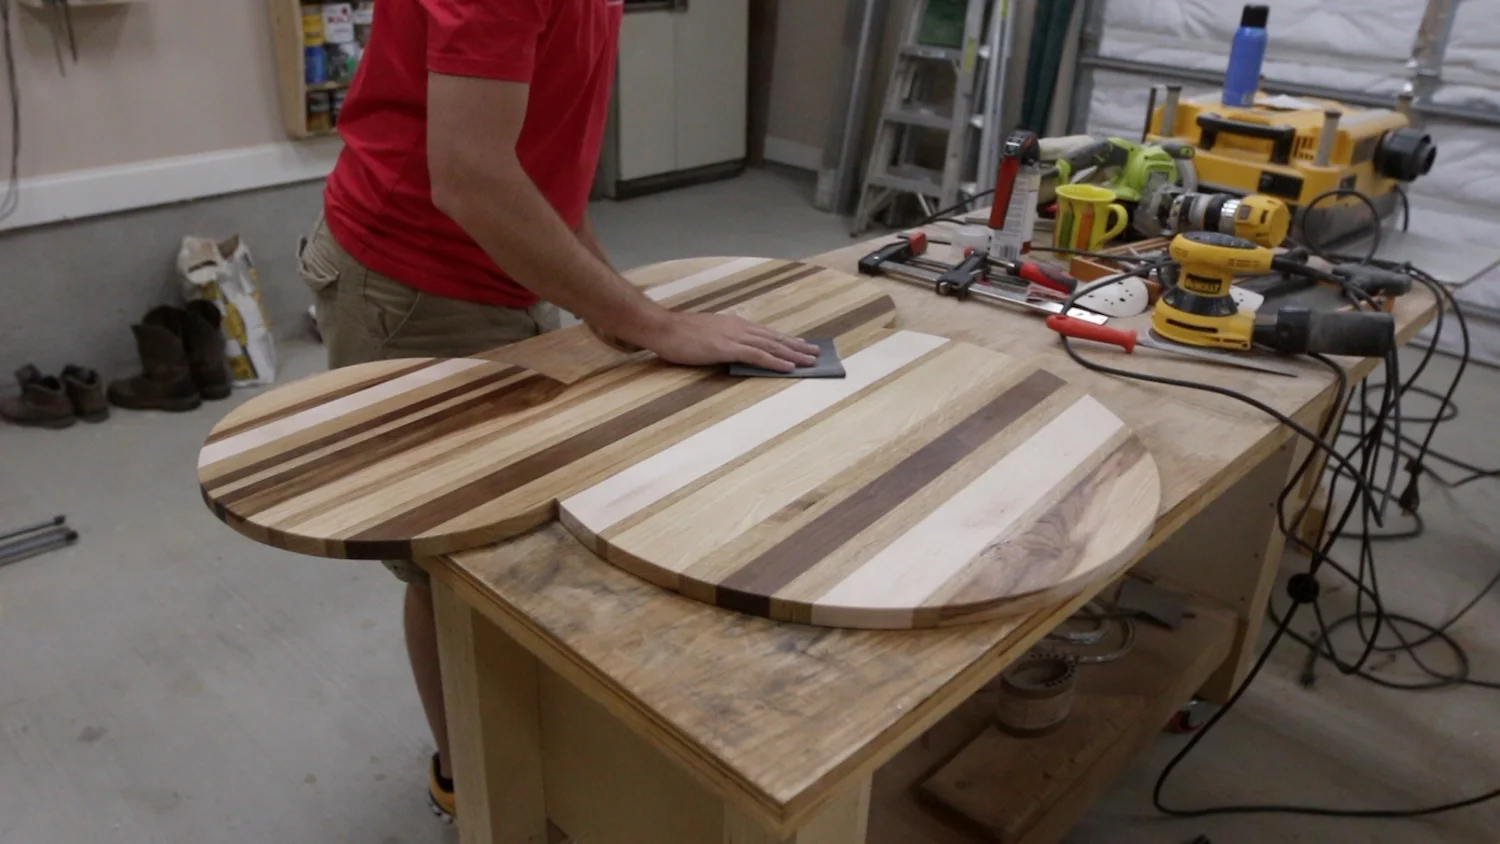
I refined the shape and edges through a series of belt sanders, files and my random orbit sander.
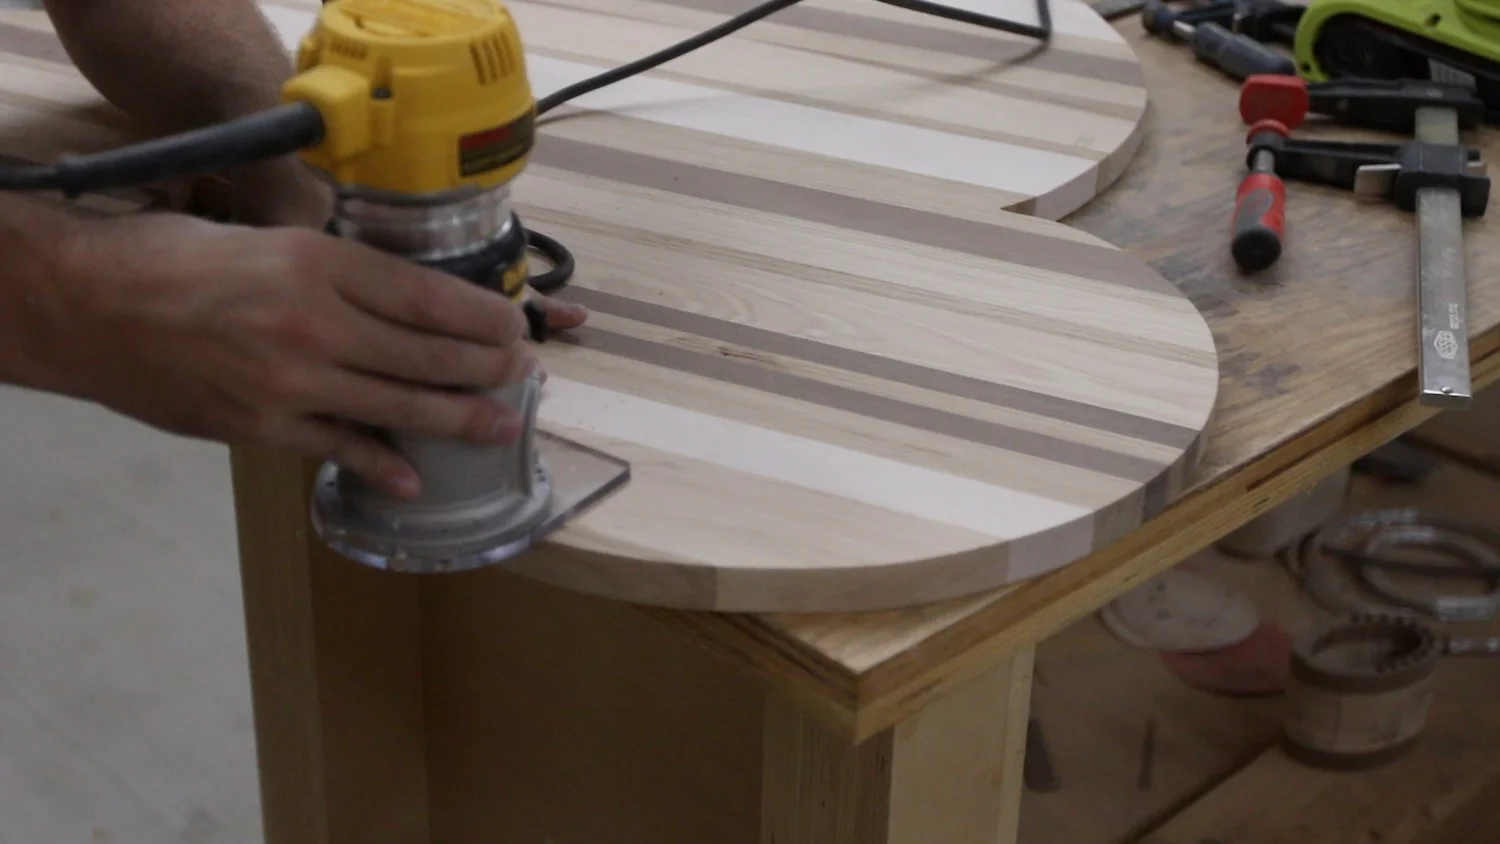
I added a 1/8" roundover to all of the edges with my router.
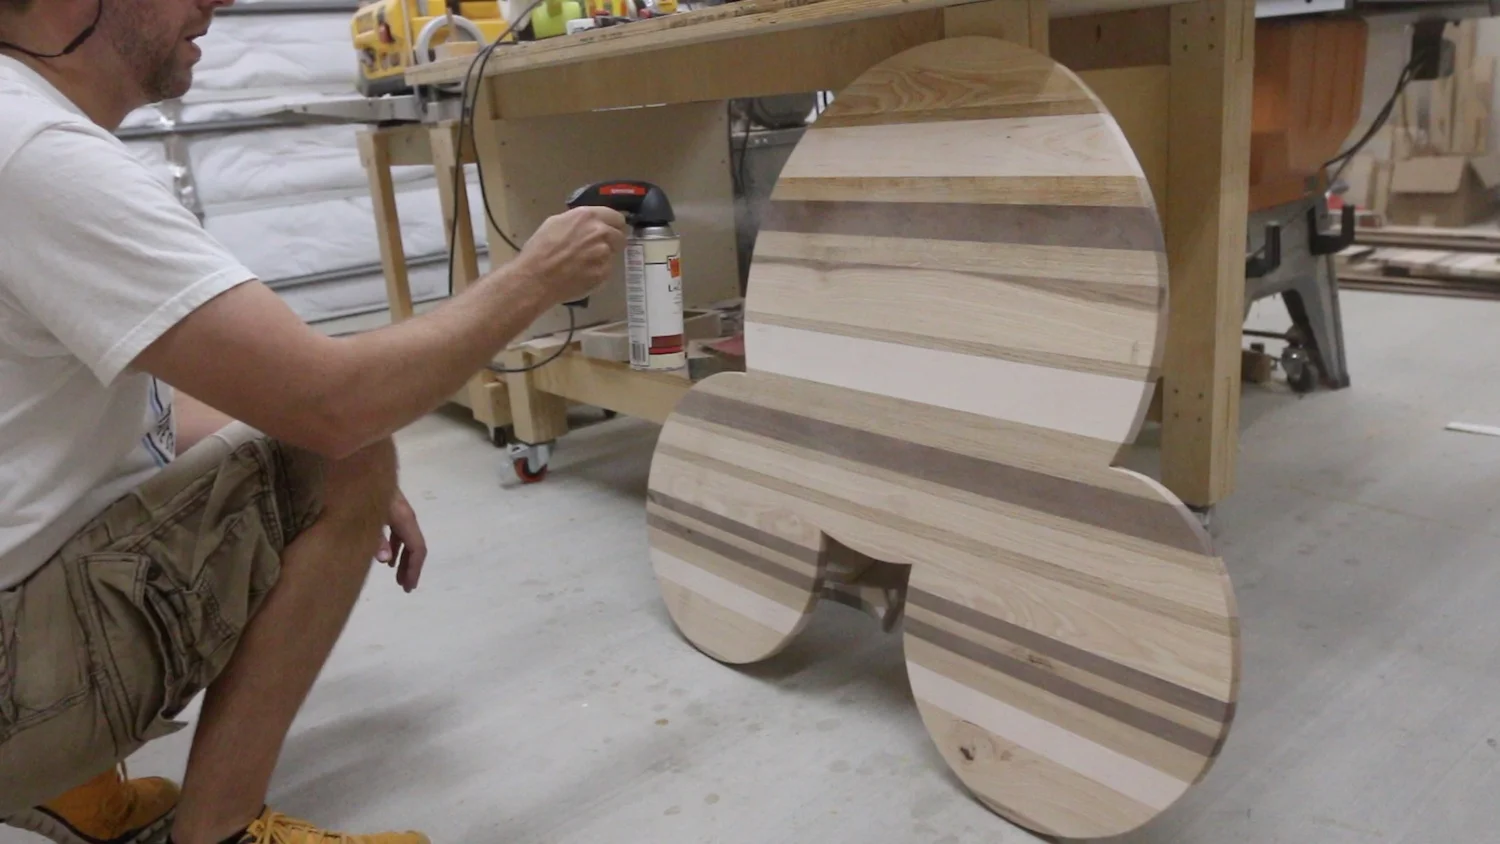
Then, I sprayed on a few coats of clear lacquer, sanding between with 320 grit sandpaper.
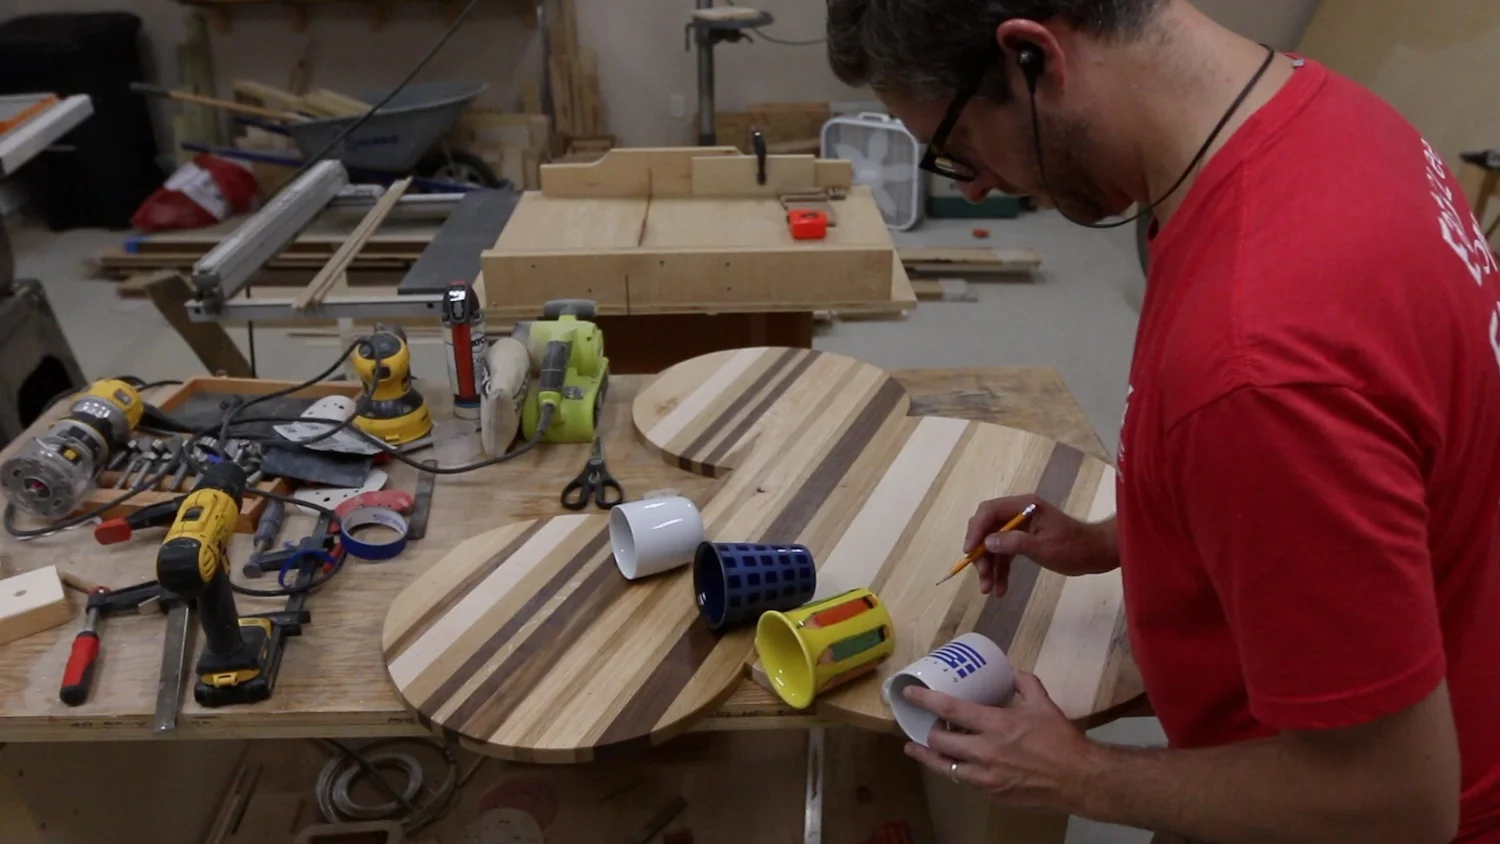
This next part was interesting...I used a few mugs of various sizes to sketch out where all of the pegs needed to be. They wanted to get a lot of mugs on this board, so I had to try to squeeze in as many as I thought looked good. I think it ended up with 40 spots to hang mugs, depending on their sizes.
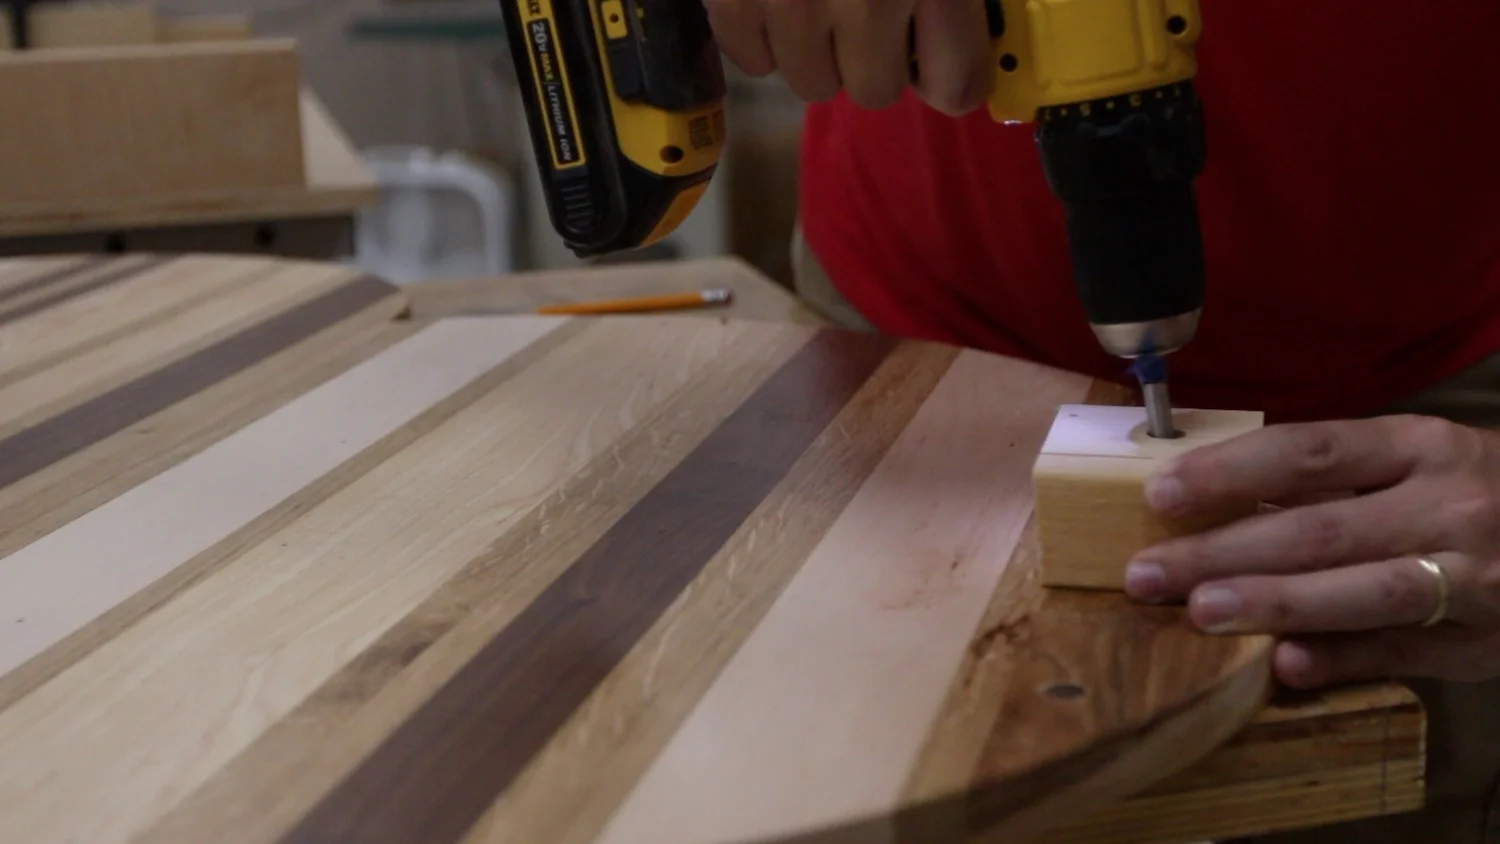
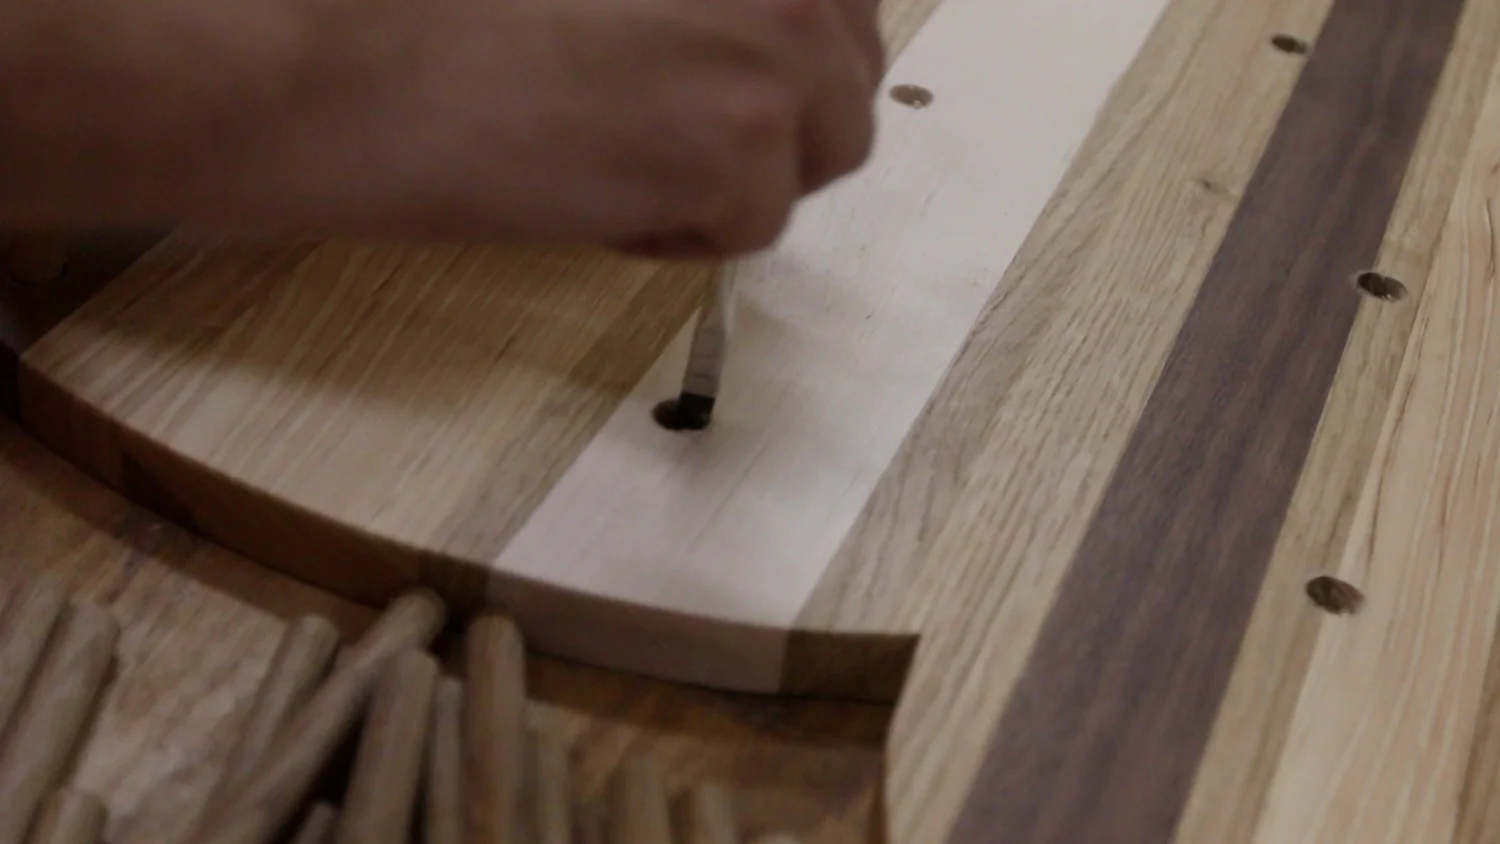
I put together this little jig to help me drill the holes for the pegs at a slight angle. They didn't have to be exact, but since I was using a handheld drill (too large to use on my drill press for many of the holes in the center), I needed something to help me repeat the angle. I drilled a starter hole in a scrap block at the desired angle, and then used that to guide my holes in the piece. This was a lot of drilling! I drilled 40 holes that were 1/2" wide, and at least that deep!
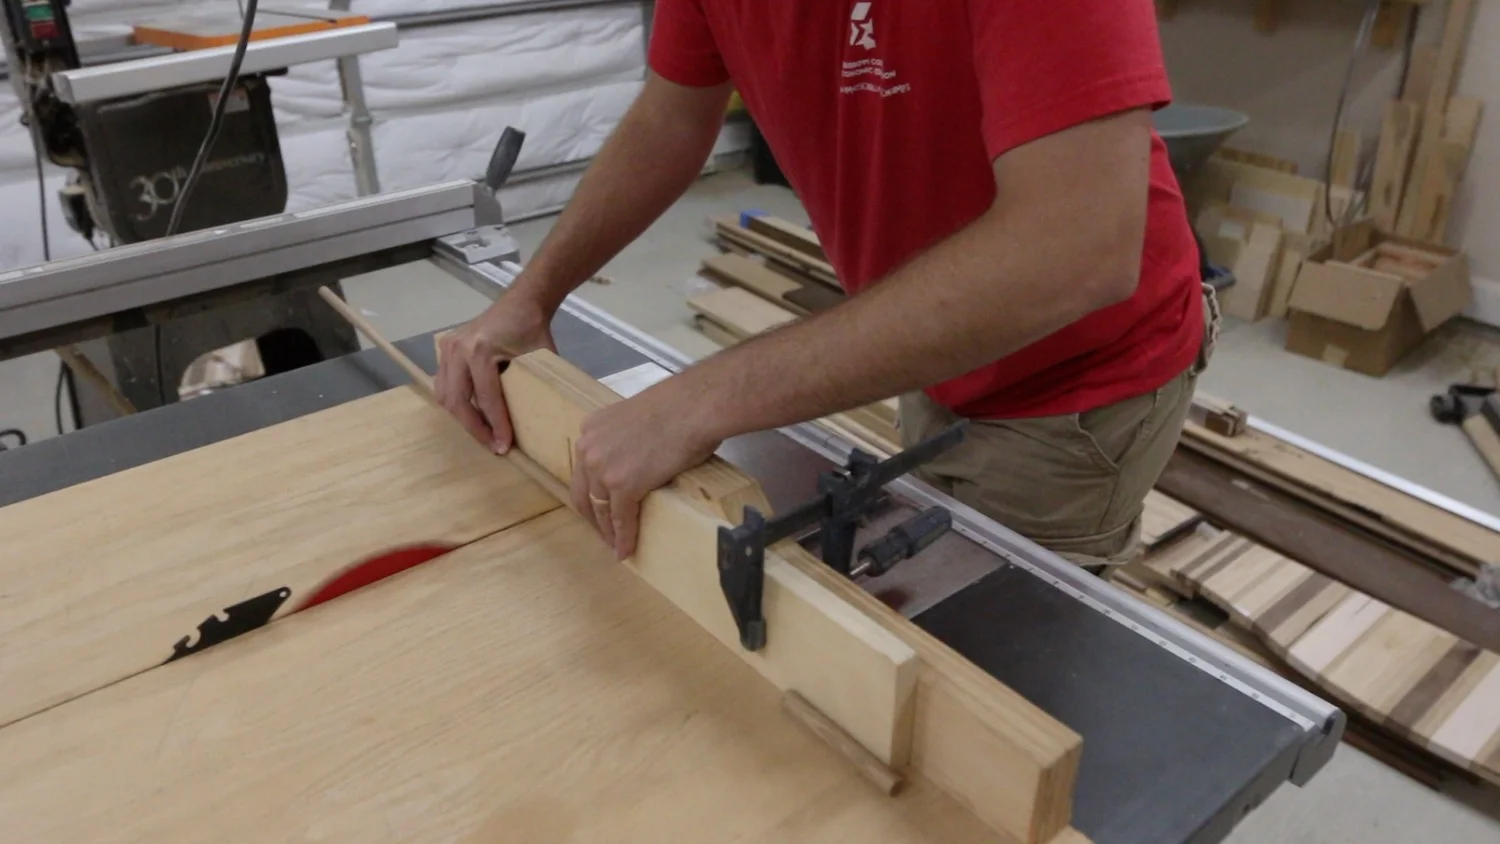
I used a stop block at my table saw sled to cut out all of the oak dowels.
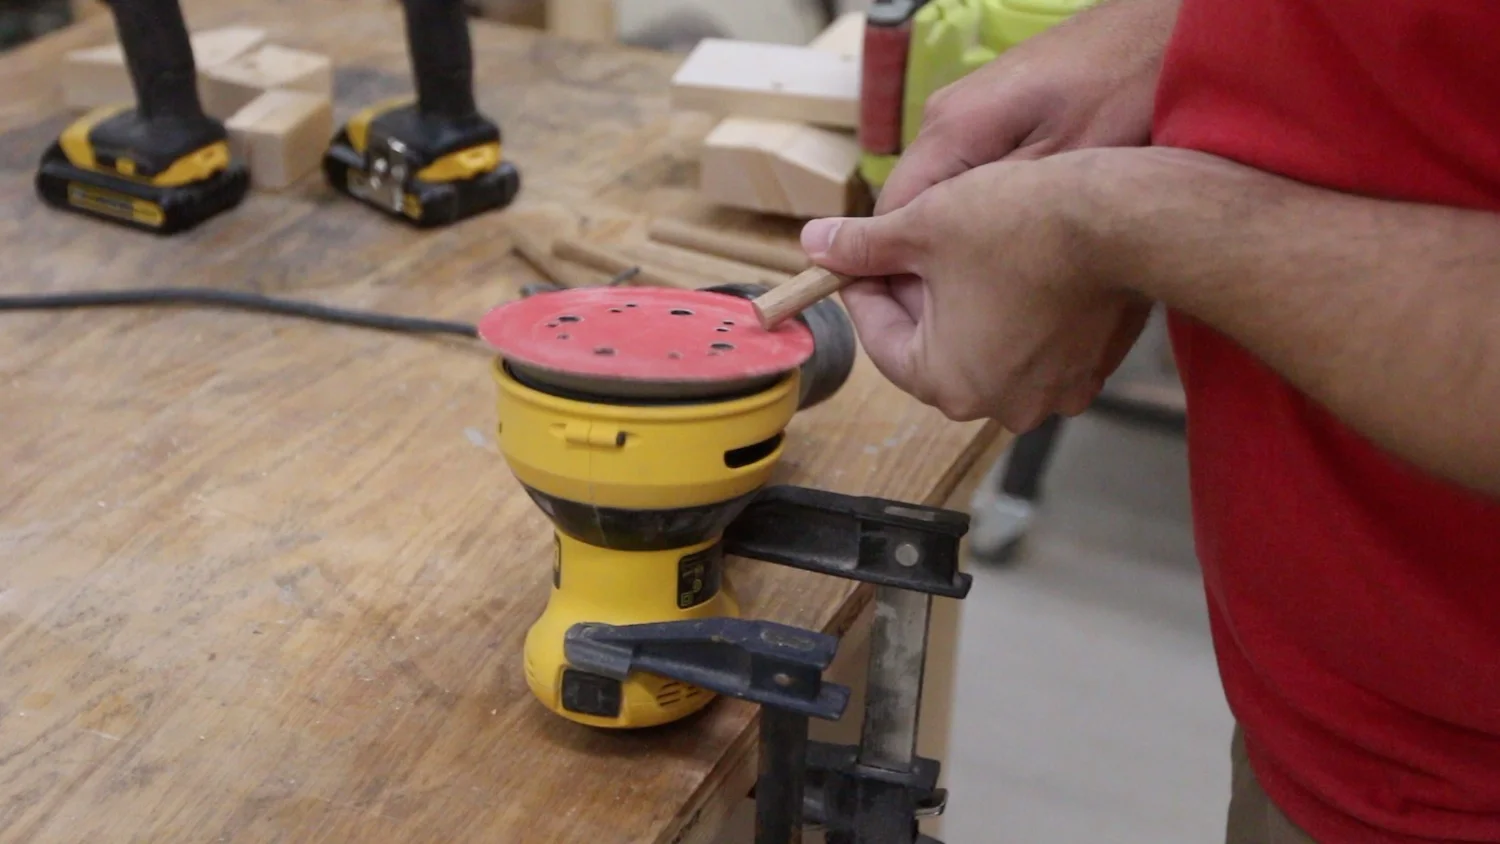
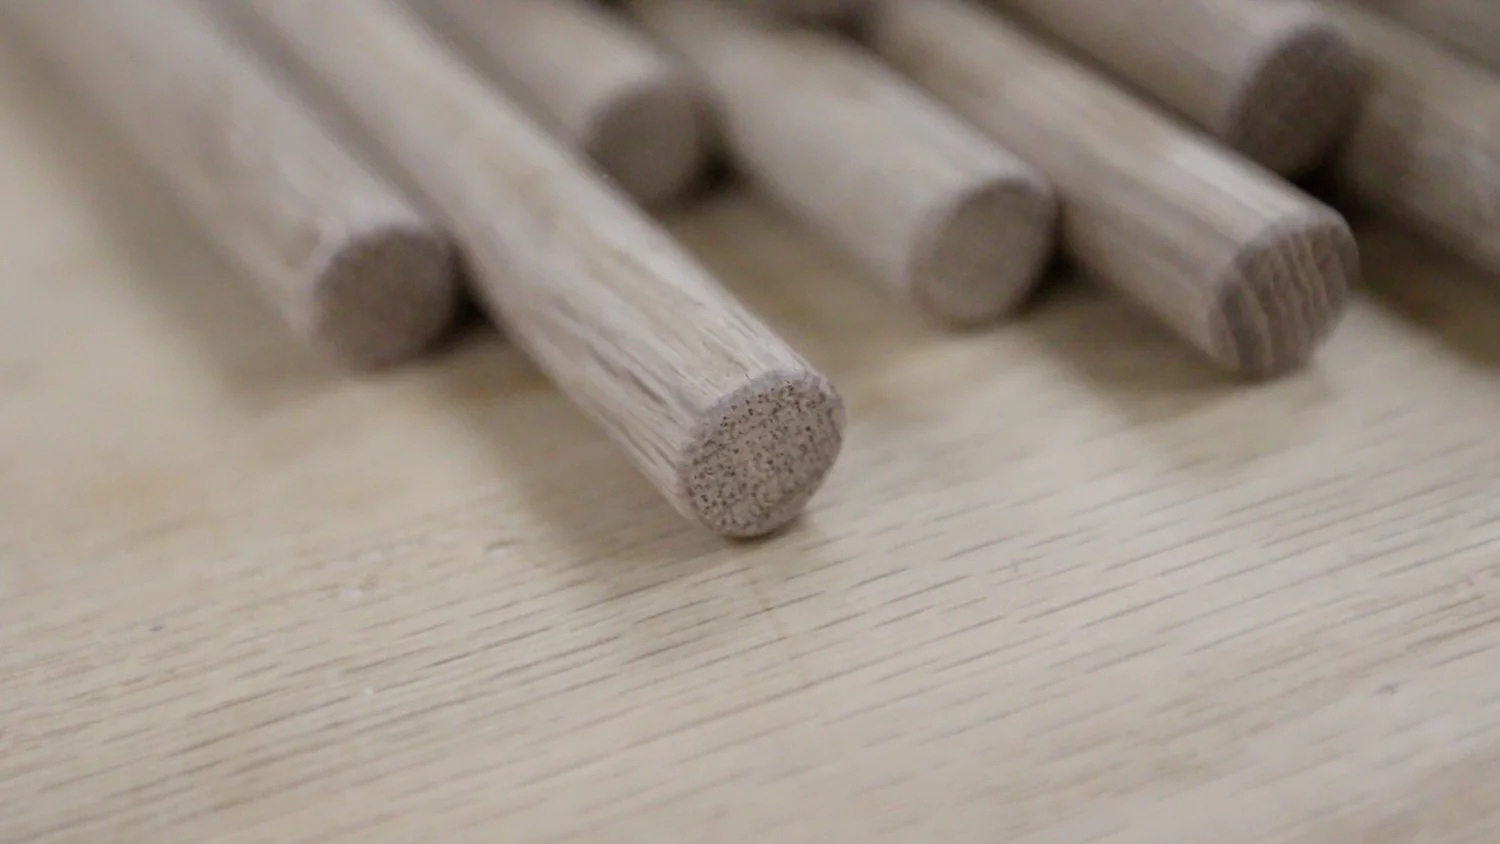
Then, I rounded over the edges that would show just a little.
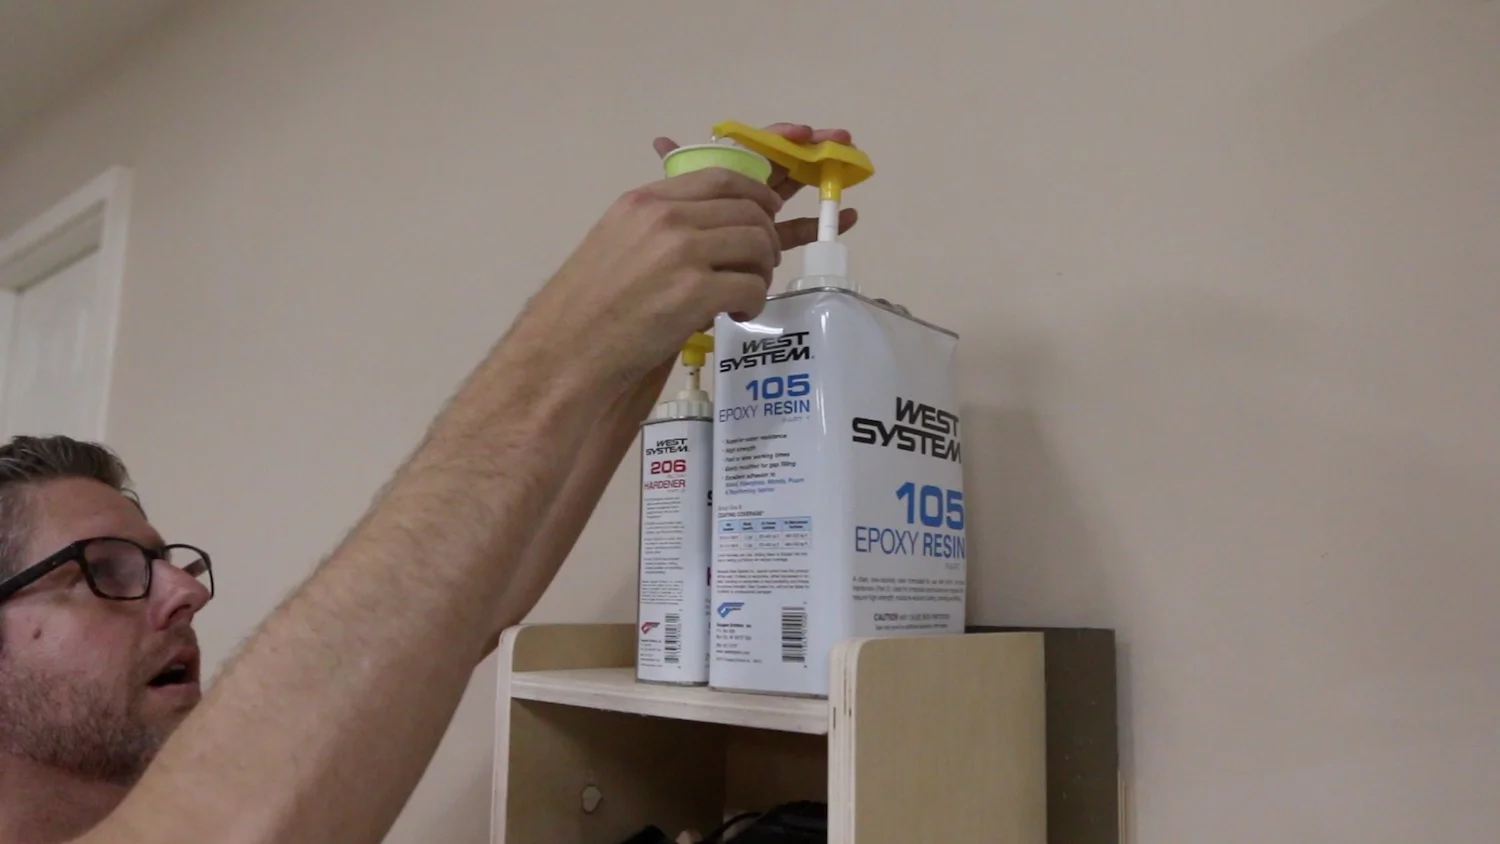
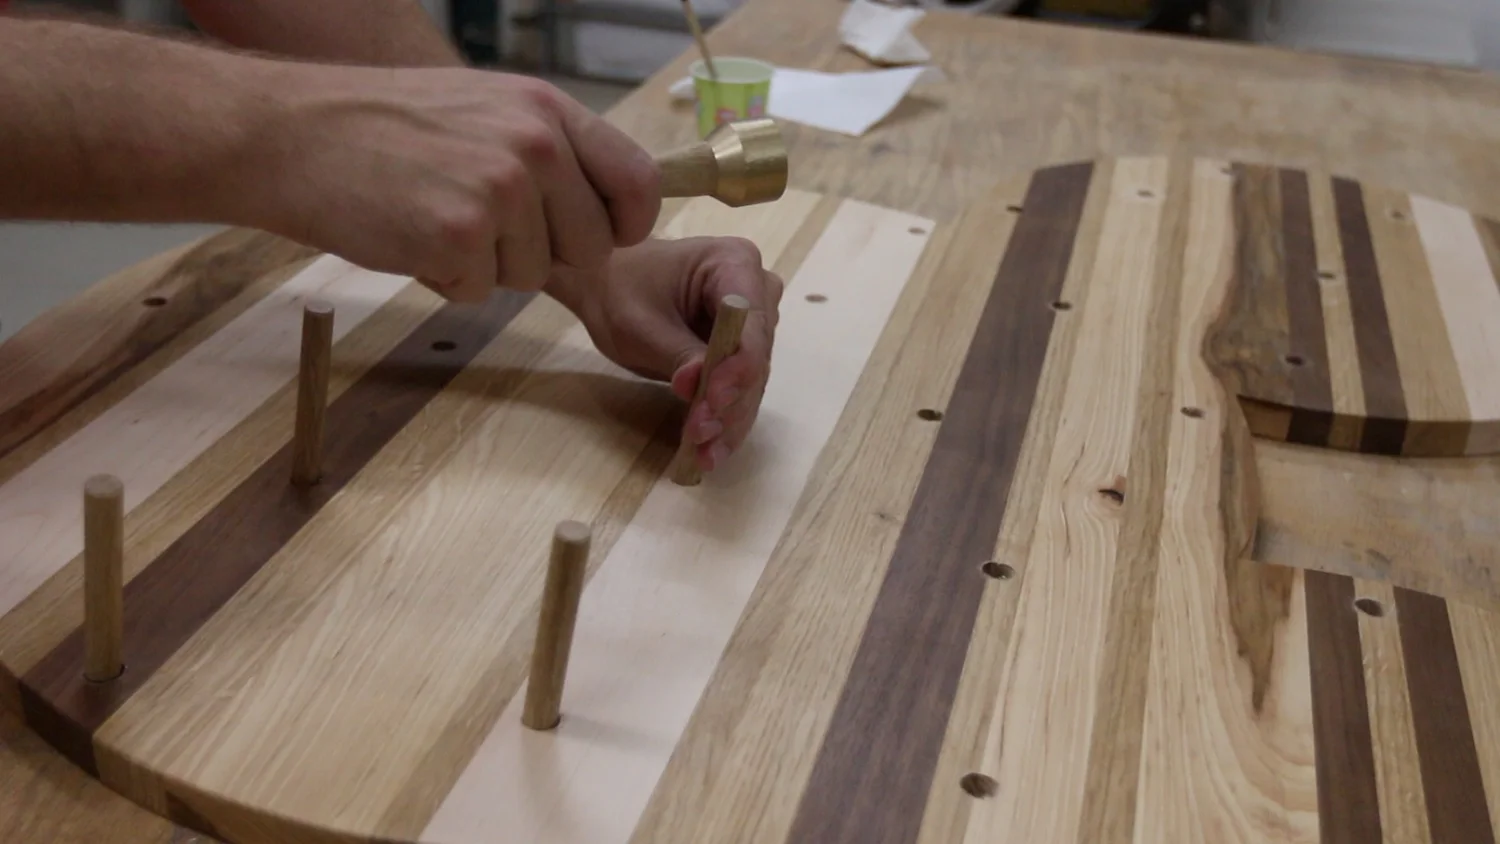
I decided to use some epoxy to glue in the pegs, just for a little more holding power. They had a nice, tight fit.
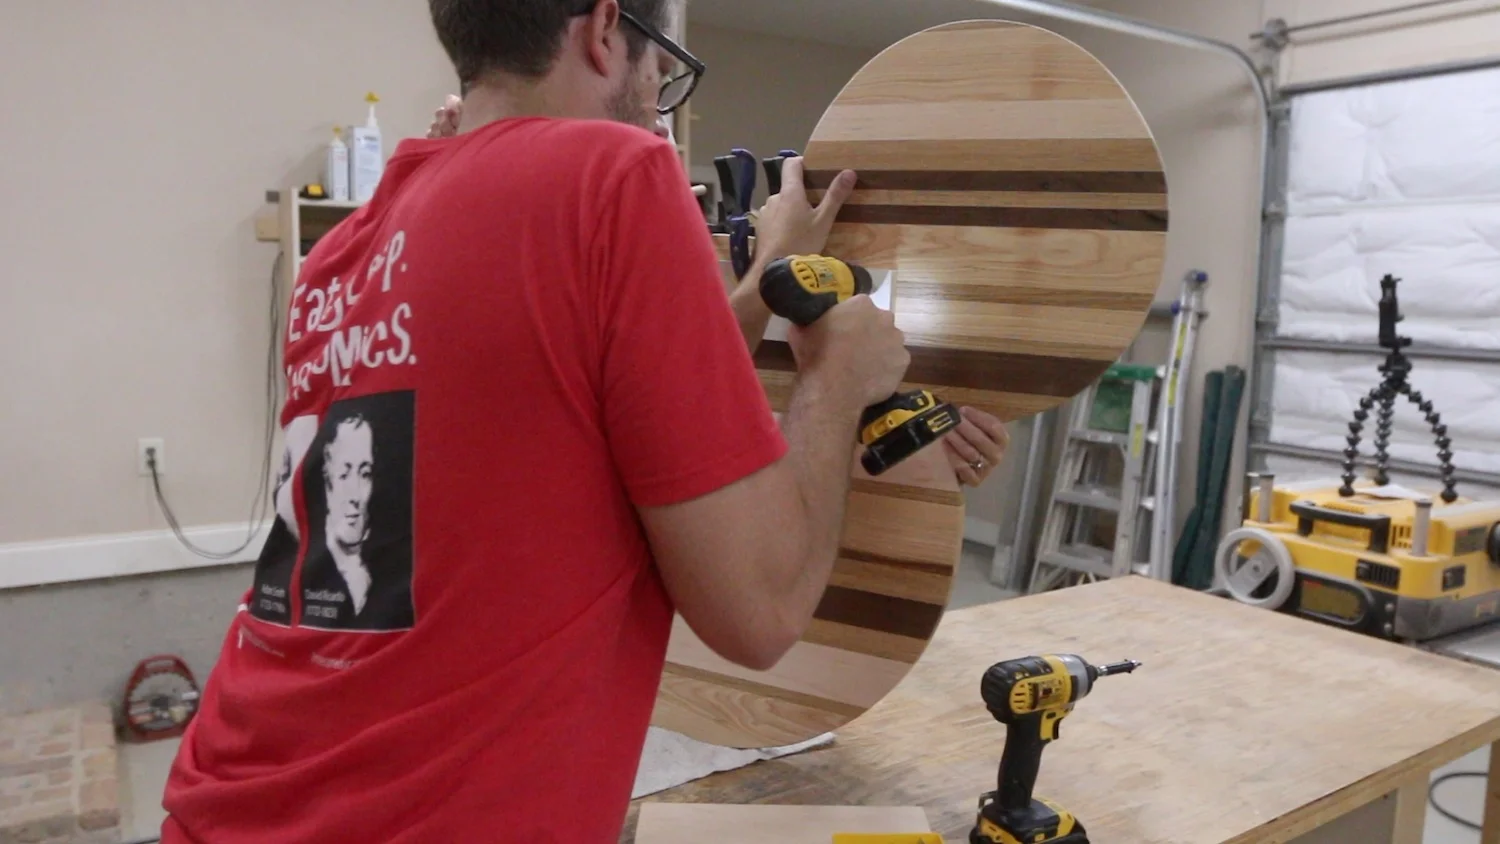
All that was left at this point was to attach the French cleat and try it out!
CONCLUSION
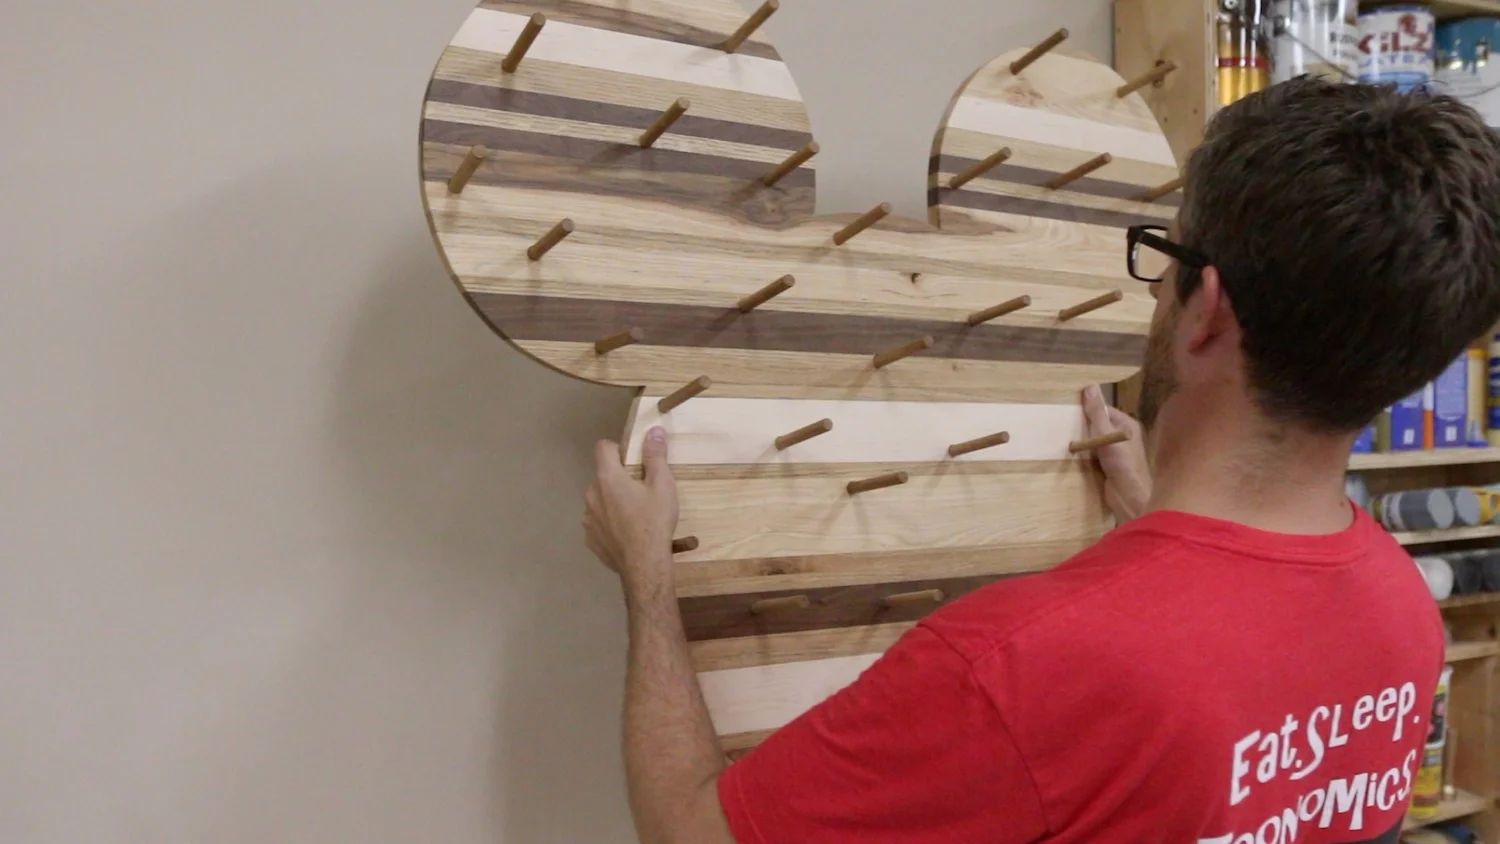
I love it this Mickey Mouse mug holder turned out! My friends loved it too, so that makes me smile.
Thanks for taking the time to read this and watch the video. I will see you on the next project!